Building a native plant garden comes down to matching plants to the ground you already have instead of reshaping the whole yard: choose species that grew wild in your region, remove turf without tilling, plant them close together by height layer, and keep them watered through one growing season. That is the whole of how to build a native plant garden for beginners, and a small starter bed is a weekend of work followed by twelve months of mostly waiting.
The waiting is the part nobody warns you about. Year one looks sparse and uneven, year two the plants fill in and creep outward, and by the third season the bed usually looks like it was never planted at all. Gardeners who panic in June of year one and start over are the ones who end up with a patchy, half-dead garden, not a lack of effort.
Here is the process, in the order it works.
Table of Contents
- What You Need
- Step-by-Step: How to Build a Native Plant Garden
- Step 1: Assess Your Site Before You Buy Anything
- Step 2: Choose the Right Native Plants
- Step 3: Prepare the Soil
- Step 4: Plant the Garden
- Step 5: Mulch and Water Wisely
- Step 6: Maintain and Observe
- Common Mistakes to Avoid
- Frequently Asked Questions
- How do I know if a plant is native to my area?
- Do I need to remove all my grass to start a native garden?
- Do native plants need fertilizer?
- Why are my native plants struggling in their first year?
- Should native gardens be mulched?
- How long does it take for a native garden to establish?
- Start Small and Grow From There
What You Need
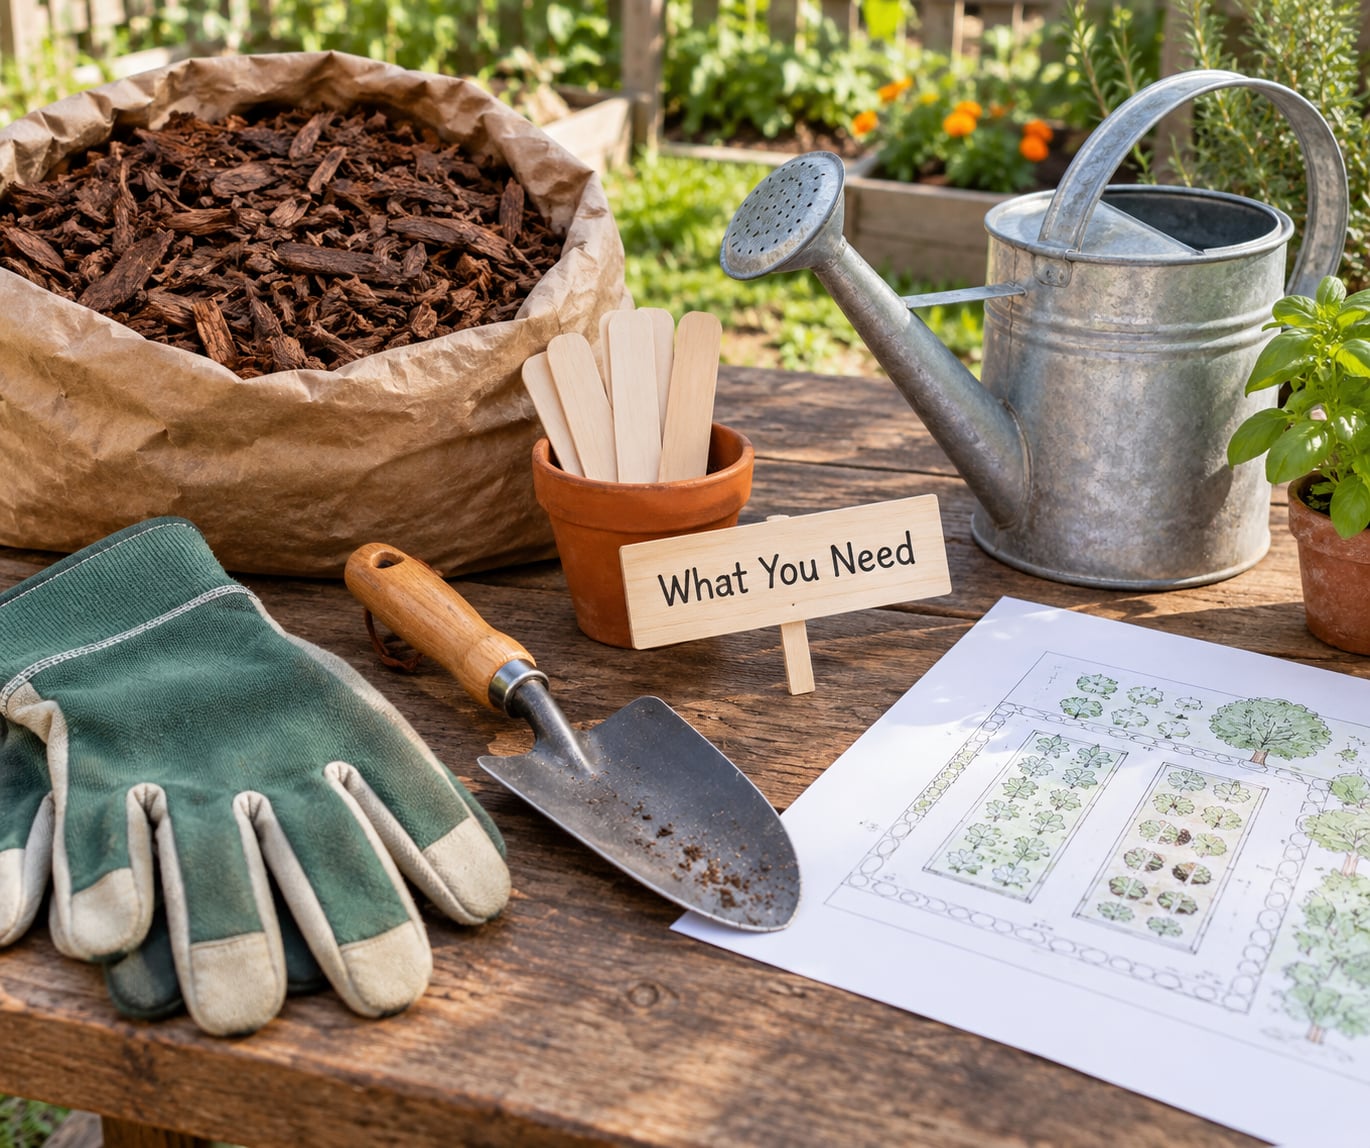
A native bed needs remarkably little equipment. You are not pouring a patio, and you are not building raised beds out of lumber, so the tool list is short.
- Hand tools: a spade or shovel, a hand trowel, a fork if you are working compacted ground, and a wheelbarrow or bucket for moving sod.
- Sheet mulching materials: plain corrugated cardboard with no glossy printing or tape, plus a heavy organic mulch such as shredded bark, wood chips, leaf litter or straw.
- Watering gear: a watering can with a rose for containers and plugs, and a hose or soaker hose for a bed wider than a couple of feet.
- Soil testing supplies: a home test kit for pH, and a jar for the ribbon test described below.
- Labels and a notebook: the cheapest item in the list and the one you will thank yourself for in August.
The more important preparation is knowledge, not hardware. You need four answers before you buy a single plant: what your site does, which plants are genuinely native to your county rather than merely to your country, where those plants come from, and what your hardiness zone and ecoregion actually are.
Get the first two from trustworthy local sources. A university extension service will run a soil test and publish plant lists for your county. Your state or regional native plant society publishes membership lists of locally native species, often with a plant sale in spring. Botanical gardens and plant conservancies keep species records for your ecoregion. USDA’s Plant Hardiness Zone Map tells you the minimum winter temperature your area sees, which rules out half a catalog in one step.
Beyond North America the same logic holds, only swap in your own national flora and regional conservation body. What matters is that the list is regional rather than a national wish-list.
Step-by-Step: How to Build a Native Plant Garden
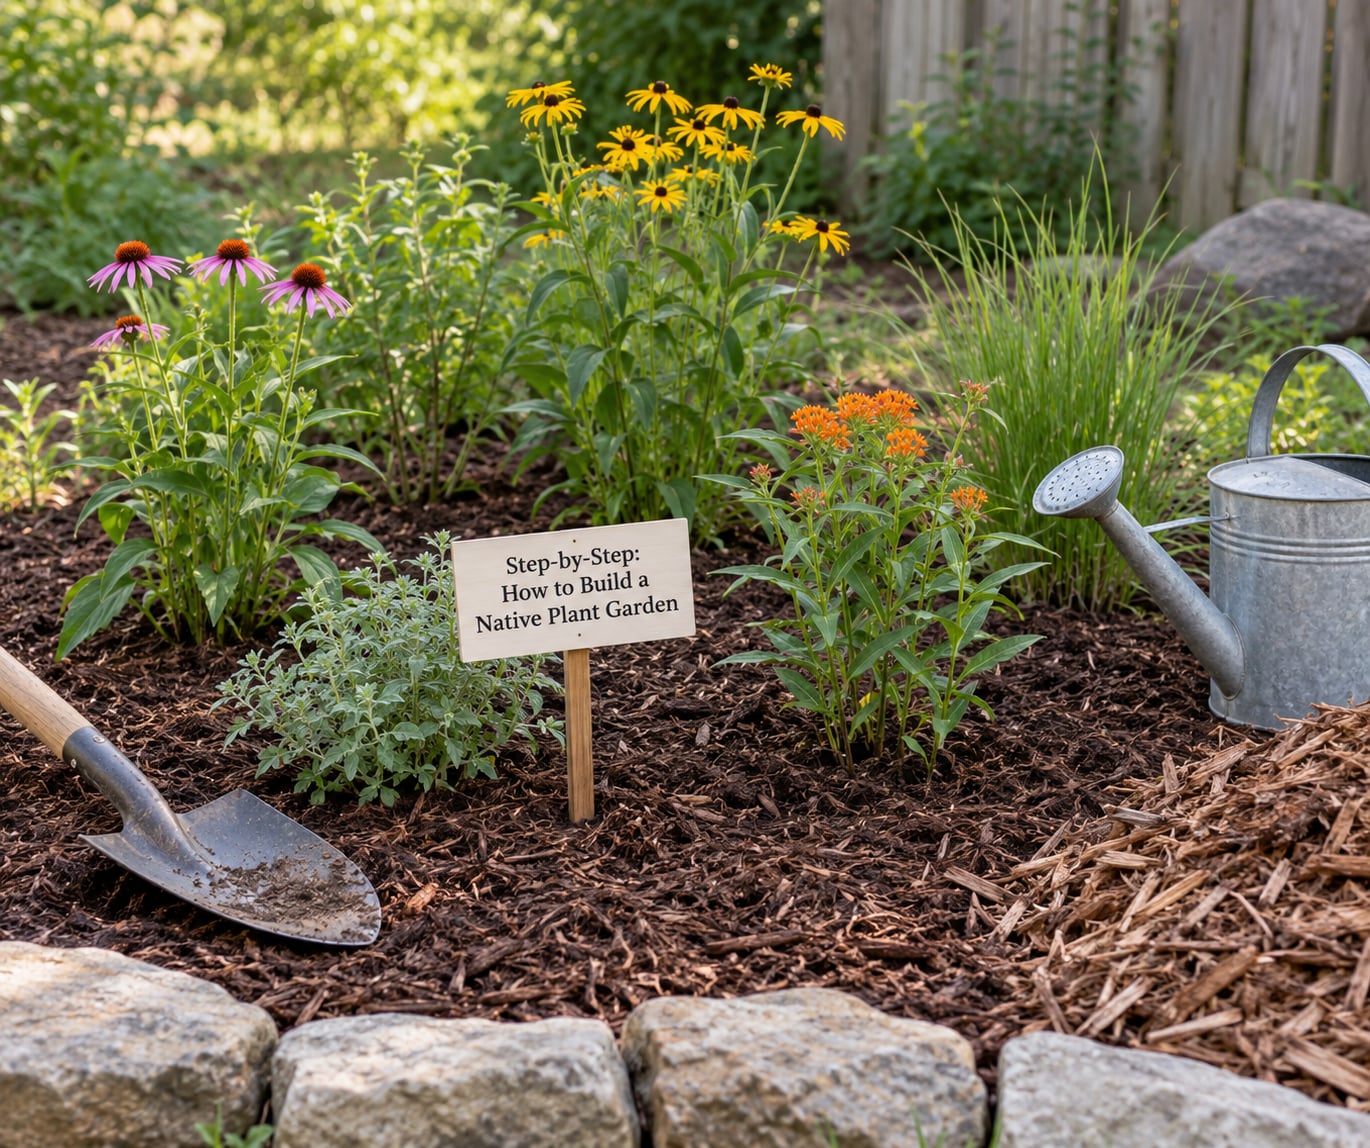
This is the process in six steps, and the order matters more than the detail at each one. Skipping step one is the single most expensive mistake a beginner makes, because plants placed in the wrong light or moisture condition fail no matter how carefully you tend them afterwards.
Step 1: Assess Your Site Before You Buy Anything
Spend two or three days just watching the spot before you decide anything. Watch where and when the sun lands, poke a finger into the soil after rain, and note what is already growing there without any help from you.
Record five things:
- Light: note which areas get full sun (more than six hours direct), part shade (three to six hours, or bright shade) and full shade. Check in both morning and afternoon, and again if a building or big tree blocks light seasonally.
- Drainage: after a decent rain, see where water pools and how long it takes to clear. Standing water an hour later means wet-site plants or a raised planting area.
- Soil texture: fill a jar with soil and water, shake it and let it settle. Roughly half mineral, half organic with a thin band of fine particles is loam and the easiest to work. Heavy clay sets hard, sandy soil dries fast.
- Existing plants: what is thriving there already is proof the conditions suit something. Existing volunteers often tell you more than any soil test.
- Space: check mature size, not nursery size. A plant that spreads four feet needs room for four feet, not the eighteen inches it occupied in its pot.
Keep the bed small. A five-by-five-foot patch is the recommended entry point for most beginners and it is genuinely enough to teach you everything.
Step 2: Choose the Right Native Plants
Choose plants by your site’s conditions, not by how the photograph looks in the catalog. A sun-loving prairie species in a shady corner, or a woodland fern in dry sand, will not survive your care.
Verify nativeness before you buy. Search your county on a regional flora database, check the plant against your native plant society’s list, and read the nursery tag carefully. If a big-box store labels something “native,” confirm the species name and its true range, because several invasive plants are still sold with the word on the label.
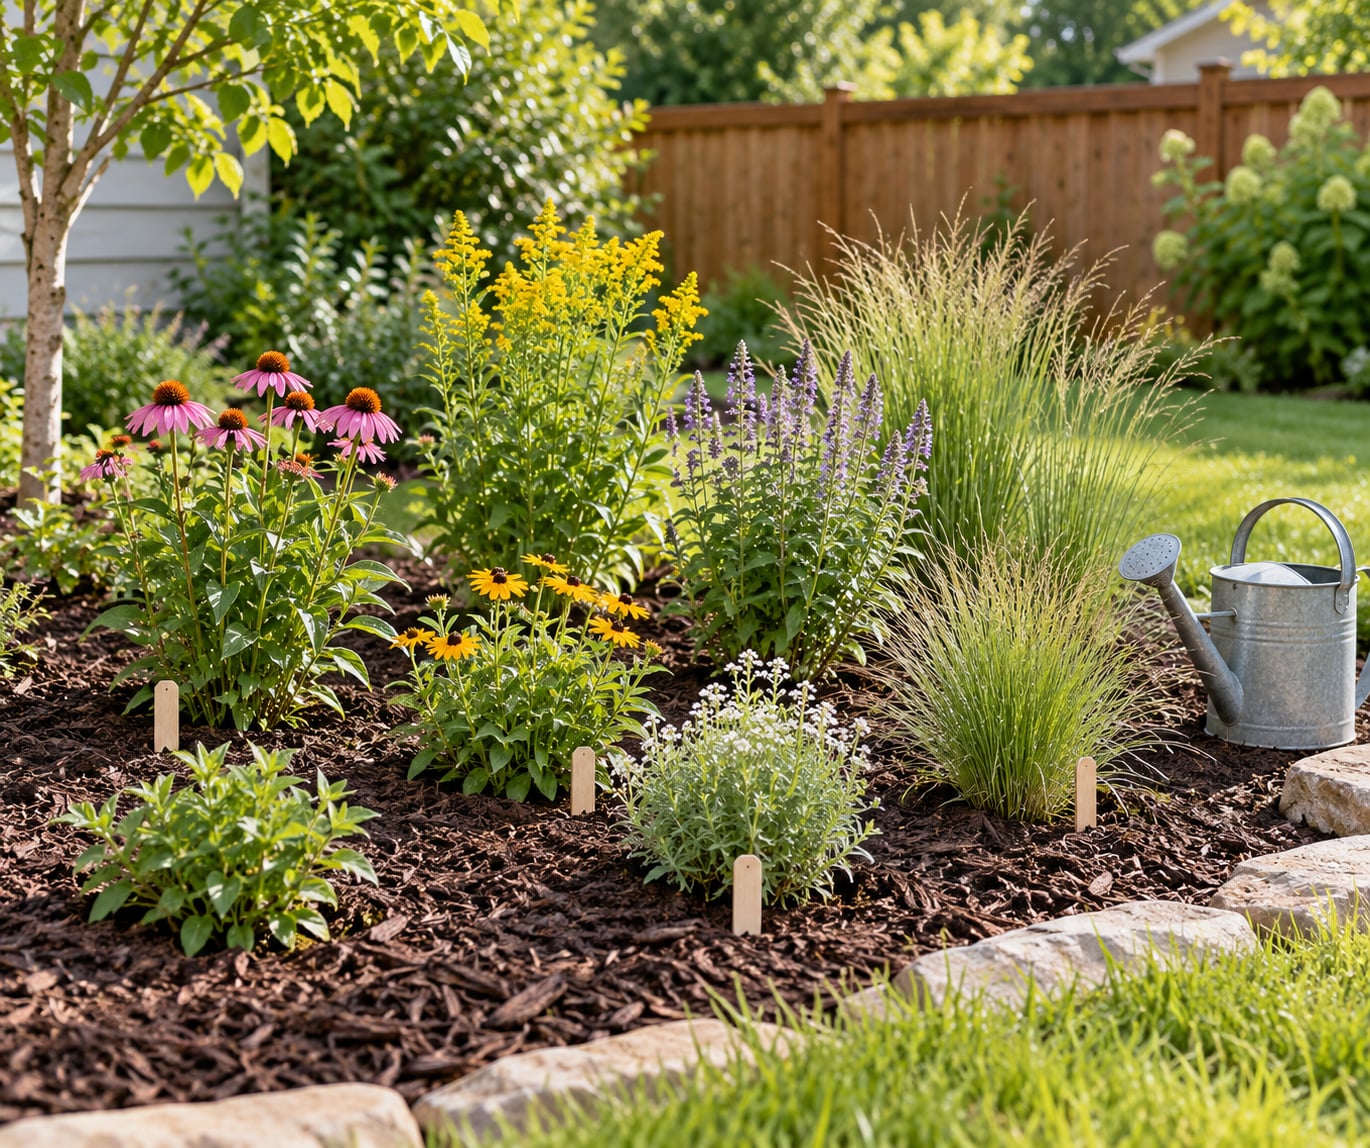
Then build the bed in layers rather than as a flat carpet:
- Ground layer: creeping plants that close the soil surface and shade out weeds once rooted.
- Mid layer: the flowering perennials that carry most of the season, roughly knee height.
- Tall layer: grasses and upright perennials that give the bed structure and a backdrop.
Check bloom timing too. Aim for at least three species flowering in each of spring, summer and late summer, so nectar is available continuously rather than in one six-week burst. Then ask what eats each plant: many native perennials are host plants for caterpillars, and that host value matters as much as the flower.
| Condition | Plant type to look for | Example regional species |
|---|---|---|
| Full sun, dry or sandy | Drought-tolerant perennials, bunchgrasses, low groundcovers | Purple coneflower, little bluestem, creeping thyme |
| Full sun, average moisture | Pollinator perennials and ornamental grasses | Bee balm, black-eyed Susan, little bluestem |
| Full sun, wet or low | Sedges, rushes, moisture-loving perennials | Sedge, iris, swamp milkweed |
| Part shade, average moisture | Woodland-edge perennials and shrubs | Joe Pye weed, wild geranium, serviceberry |
| Full shade, dry under mature trees | Woodland groundcovers and ferns | Wild ginger, maidenhair fern, hepatica |
| Full shade, moist | Woodland perennials and spring ephemerals | Bleeding heart, foamflower, trout lily |
These are examples to check against your local list, not a shopping list. Before you commit to three or five plants, run them past a gardener in your area who has kept one going for more than one season.
Step 3: Prepare the Soil
Prepare the ground without tilling. Tilling brings up a bank of dormant weed seeds that germinate all at once, and most native plants want average, even poor soil rather than rich soil.
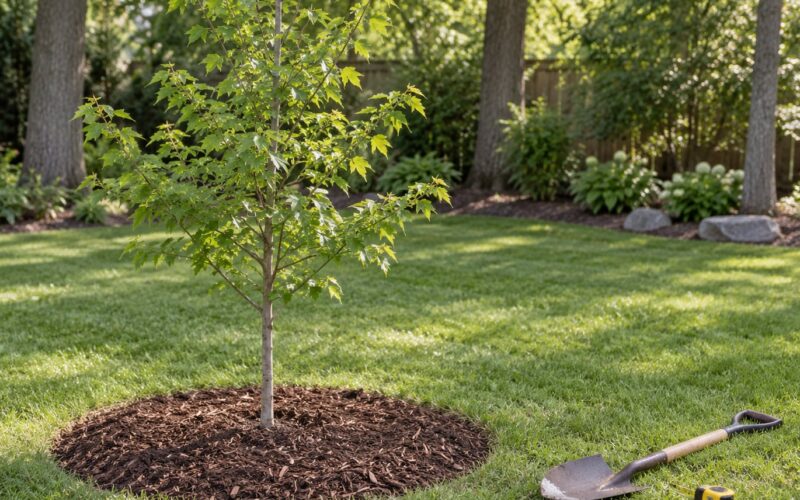
Converting lawn is usually done with sheet mulching: mow the turf short, water it dry so the grass wilts and stops competing, lay cardboard over it so the edges overlap and nothing pokes through, then cover the cardboard with five to eight inches of organic mulch. Nothing is dug, the existing soil structure stays intact, and the bed begins decomposing the sod underneath over the season.
One warning carries over from maintained lawn. Many people treat turf with broadleaf weedkiller, and the herbicide can persist in the soil and damage sensitive native plants for a season or more afterward. Most advice is to wait roughly six months after the last application before planting, and to check what your lawn treatment actually contained.
Pull perennial weeds by hand before you mulch, especially anything running underground. Daylilies, tree of heaven and creeping charlie are the usual inherited-yard problem, and each one regrows from a fragment left behind. Remove the whole root or accept that you will be doing it again next season.
Skip the manure and the compost heap. Native species evolved in soils that most gardeners would call mediocre, and rich amendment pushes them toward soft growth that flops over and lives shorter.
Step 4: Plant the Garden
Plant container stock at the same depth it sat in the pot, loosening the root ball only if it is circling. Tease the outer roots apart with your fingers so they grow outward instead of in a tight ring.
Set plants closer than the label spacing suggests. Labels are written for isolated specimens, and a bed that looks crowded in year one looks full in year two once each plant spreads.
Group compatible plants together so their water and light needs match, and repeat a species in groups of three or more rather than scattering singletons. Repetition reads as intentional design; scattered singletons read as untidy.
Water each plant in thoroughly as you go, and walk the bed gently rather than stomping it, so your weight does not compact the soil you just protected.
Step 5: Mulch and Water Wisely
Keep the mulch layer you started at, topping it up as it breaks down to the same depth. Mulch is the main weed control you will ever use, because a shaded soil surface stops new weed seeds from germinating at all.
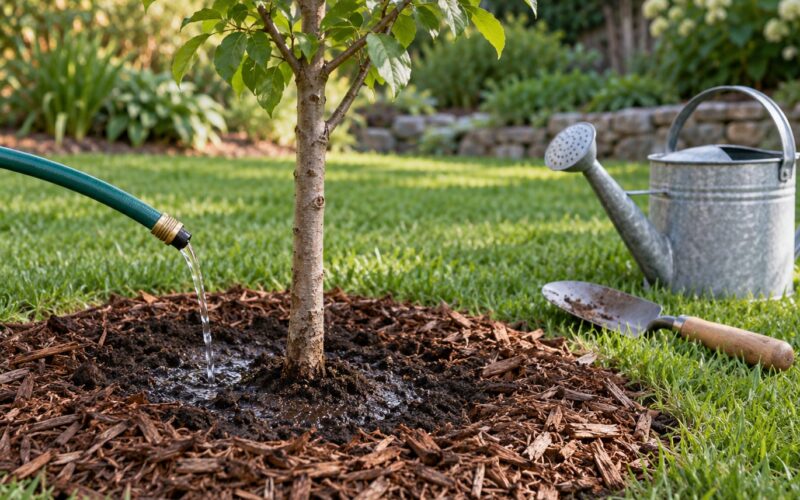
Water consistently for the first growing season, which for most of the country means the first three months after planting. Aim for a slow, deep soak once or twice a week rather than a daily sprinkle, since shallow daily watering trains shallow roots. Check the soil under the mulch before you water, not the surface, which can look dry while the root zone is still damp.
Then taper. Reduce watering as rainfall takes over, and stop altogether once the ground is frozen or plants are dormant. Over-watering in the second and third year is a common cause of root rot in otherwise healthy native beds.
Step 6: Maintain and Observe
Native gardens are not zero-effort gardens; they are low-effort gardens with effort spent in the right places. Your maintenance jobs are deadheading spent blooms on plants that set seed if you want self-sown replacements, pulling weeds by hand in spring, replacing plants that failed, and dividing anything that has crowded its neighbours.
Resist the urge to tidy in autumn. Leave about twelve inches of standing stems through winter, because native solitary bees and other cavity-nesting insects spend the cold months inside that hollowed pith. Cutting everything to the ground in November removes more habitat than any other single thing you could do to the bed.
Keep a simple record: which species came through year one, which gaps stayed empty, which plants the bees visited, which failed. A handwritten line per month is enough. Most gardeners who do this end up redesigning their second bed around what the notes showed, and that is the real payoff of starting small.
Common Mistakes to Avoid
Most of these come straight from what beginner gardeners report going wrong, and each has a simple correction.
- Planting for the wrong light or moisture. Fix: match every plant to the site condition from step one, and check mature size, not pot size.
- Buying plants labelled native that are not. Invasive cultivars and Eurasian look-alikes are still sold in garden centres. Fix: verify the species name against a county or ecoregion flora list before you pay.
- Tilling the bed. Fix: use sheet mulching on existing sod, or hand-remove plants and loosen only the top layer with a fork.
- Adding compost, manure or fertiliser. Native plants in enriched soil grow floppy and short-lived. Fix: add nothing unless a soil test shows a real deficiency.
- Over-watering in year one. Daily sprinkles keep roots near the surface. Fix: soak deeply, less often, and let the top layer dry between waterings.
- Cutting everything down in autumn. Fix: leave stems standing until late winter, then cut back before new growth starts.
- Starting with the whole yard. Fix: begin with one bed you can water by hand, learn from it, then expand.
- Expecting a full garden in June of year one. Fix: judge it at the end of year three, not the end of its first summer.
One more worth mentioning, since it is the cheapest error to make and the most expensive to fix: reaching for pesticides anywhere near a pollinator planting.
Frequently Asked Questions
How do I know if a plant is native to my area?
Check the species name against your county or ecoregion flora rather than the word native on a tag. Your state native plant society and local university extension service both publish regional lists, and USDA’s Plant Hardiness Zone Map rules out anything that cannot survive your winters. If a nursery cannot tell you the botanical name, treat the label as unverified.
Do I need to remove all my grass to start a native garden?
No. You can keep turf and add beds inside it, though the result usually looks like grass with islands in it rather than a native planting. For a convincing conversion, sheet mulch the turf: mow short, lay overlapping cardboard, cover with five to eight inches of organic mulch, and let the sod decompose underneath over one season. Small patches can be cut out and replaced one at a time.
Do native plants need fertilizer?
Almost never. Native species evolved in soils that would look poor to most gardeners, and extra nitrogen produces soft growth that flops, needs staking and lives shorter. Leave a little leaf litter and standing stems each autumn and the soil builds its own nutrients. Run a soil test before adding anything, and correct a deficiency only if the test names one.
Why are my native plants struggling in their first year?
Most often it is normal. Establishment takes a season, and year one is spent building roots rather than show. Genuine causes to check: a plant in the wrong light or moisture, too much water, a root ball that never got soaked in, or soil compacted by walking on it. Replace plants that failed twice rather than moving them, since disturbed roots rarely recover a second season.
Should native gardens be mulched?
Yes, mulch is the main weed control in a native bed. Five to eight inches of shredded bark, wood chips, leaf litter or straw shades the soil surface and stops new weed seeds from germinating. Keep the layer topped up as it breaks down, keep it a few inches away from plant crowns and stems, and skip it in a pond or rain garden basin where standing water is the point.
How long does it take for a native garden to establish?
Budget three years. Year one the plants sleep and build roots, year two they creep and fill the gaps you can still see, and year three the bed closes over and shades out most weeds. Watering through the first full growing season is the one job that reliably speeds this up. A bed judged at the end of its first summer will always look worse than it is.
Start Small and Grow From There
If you do one thing this month, pick a single five-by-five-foot patch and spend three days watching it rather than shopping. Write down the light, the drainage and what is already growing, then take that list to your extension service or native plant society and ask which three to five species suit those exact conditions.
Sheet mulch the spot, plant those few species close together in layers, water deeply through the season and leave the stems standing this winter. That is how to build a native plant garden for beginners without gambling a whole yard on your first attempt.