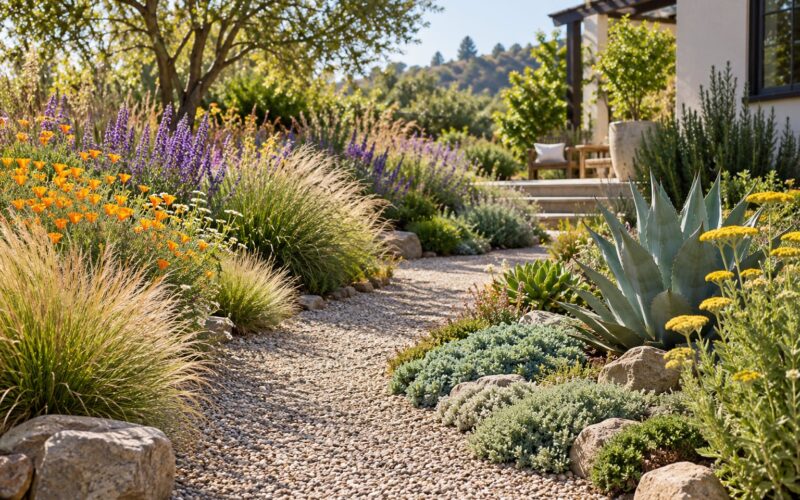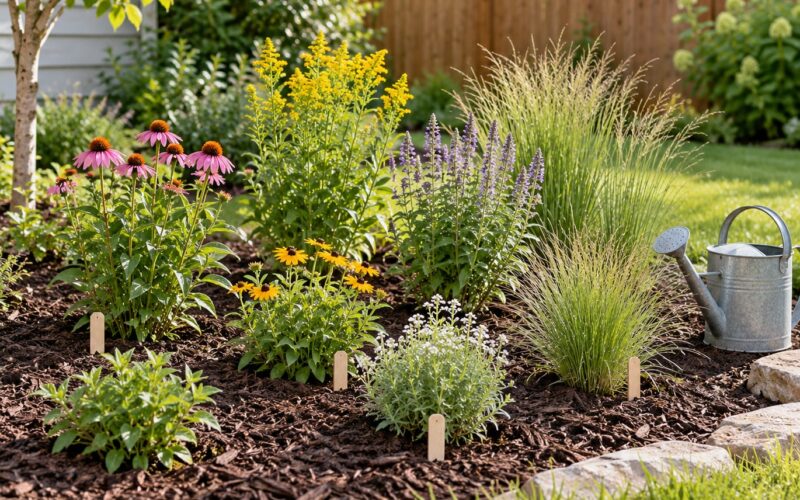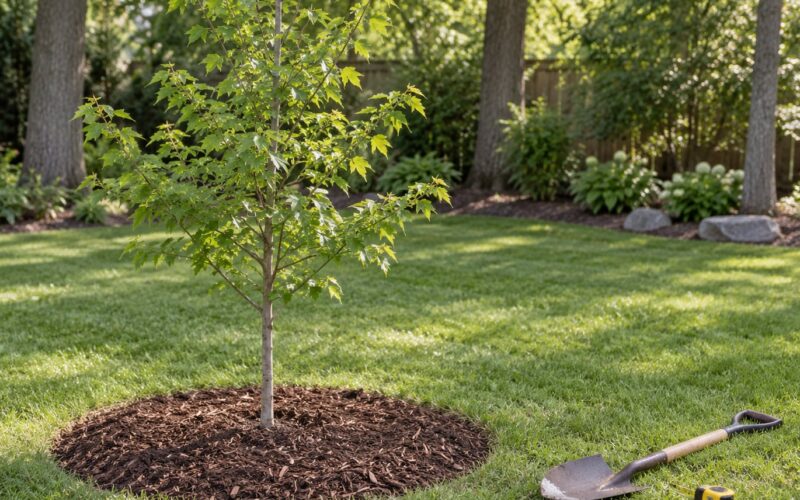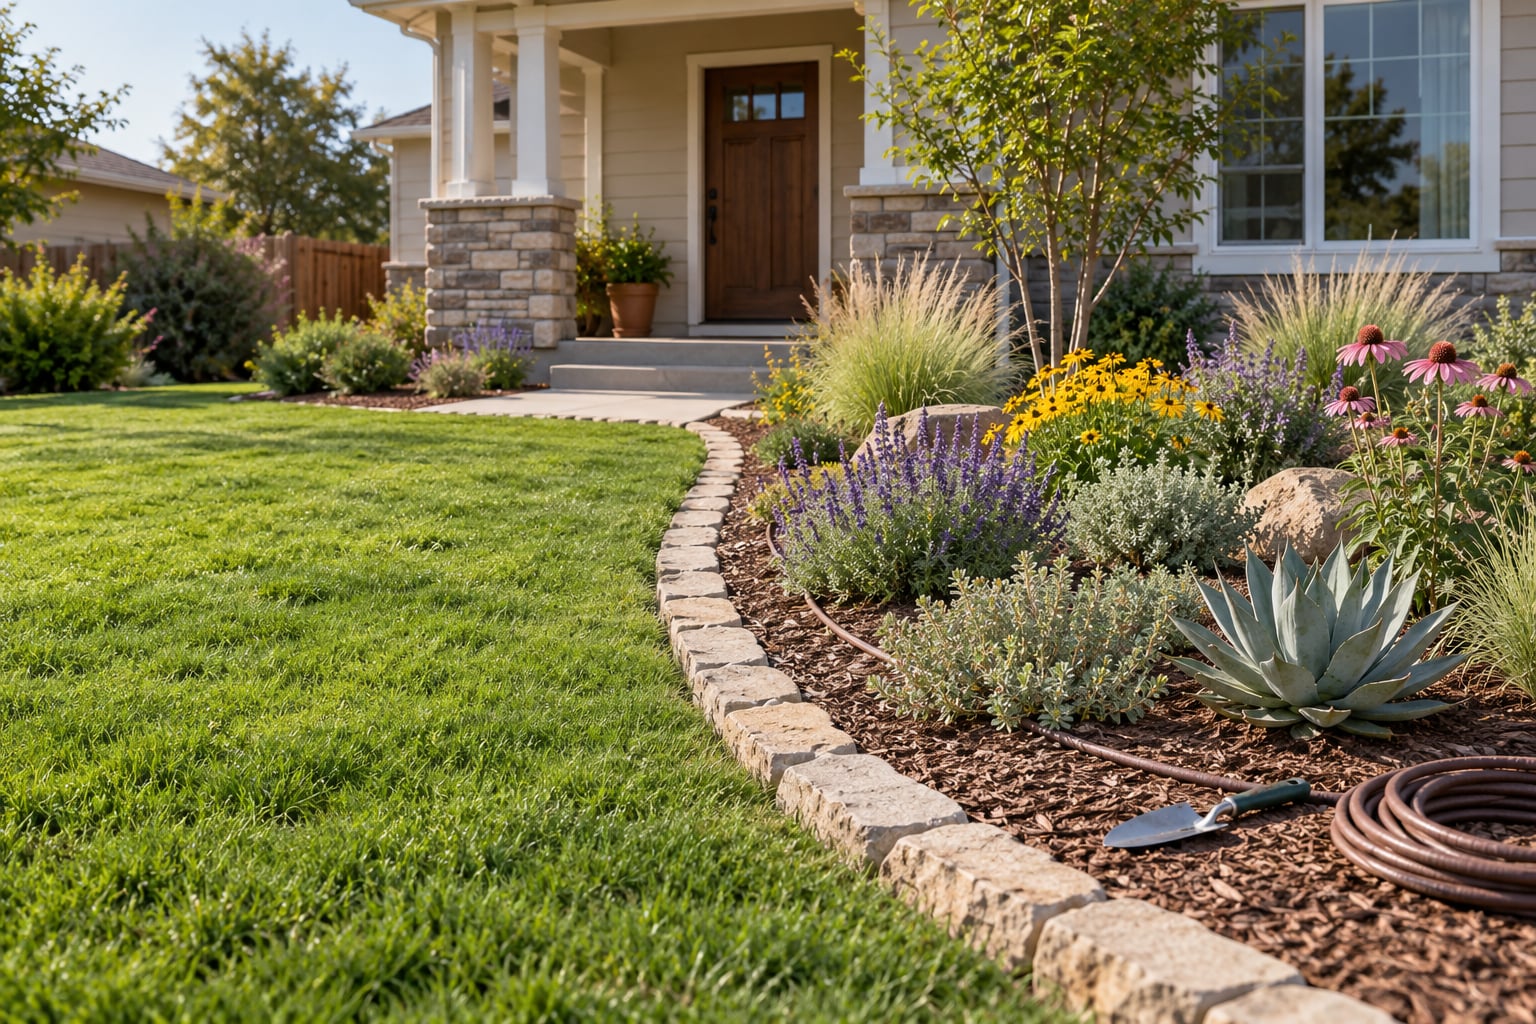
Xeriscaping for beginners step by step comes down to seven moves: read your site, group plants by how much water they need, take out the grass you don’t want, improve the soil, choose plants that suit your climate, water them efficiently, and keep them going. It is not a yard full of rocks and cacti, and you do not have to do it all at once. Most people convert one bed the first season and the rest the year after.
A full front-yard conversion is a weekend of work spread over a few months, plus a year of establishment watering. The first season is the hard part; after that a well-planned water-wise garden needs far less attention than a lawn.
Table of Contents
- What You Need
- Step-by-Step
- 1. Assess Your Site and Set Goals
- 2. Plan a Low-Water Planting Scheme
- 3. Remove Turf and Prepare the Beds
- 4. Improve Soil Without Over-Working It
- 5. Choose Plants for Your Climate
- 6. Install Efficient Irrigation and Mulch
- 7. Maintain the Water-Wise Garden
- Common Mistakes
- Frequently Asked Questions
- How much water does a xeriscaped garden use?
- What are the easiest plants for beginners converting a lawn?
- Can I create a low-water garden in a shady area?
- Should I remove my entire lawn before starting a xeriscape?
- How do I know if my soil drains well?
- Do xeriscaping gardens need regular maintenance?
- Conclusion
What You Need
Gather these before you buy anything, because the list changes with your site.
- Information: a rough sun-and-shade map of your yard, your soil type, your local water district’s rules and any rebate program it offers, and your homeowners association covenants if you have one.
- Tools: a spade and garden fork, a mattock or pick for compacted ground, a spade-width edger or a fixed knife for bed lines, a hose-end wand or drip line, a wheelbarrow, and a rake.
- Materials: compost, a two- to three-inch layer of mulch, landscape fabric only where you truly need it, edging, and low-voltage irrigation fittings if you are running drip zones.
- Plants: sourced from a native plant society sale or a local independent nursery rather than a big-box shelf, because staff at native nurseries usually know which selections actually survive in your microclimate.
- Soil test results: many university extension offices run them cheaply or free, and it saves you from buying amendments your soil does not need.
One more thing matters more than any tool: match the method to your climate and to local water restrictions. Xeriscaping in a dry region with summer water limits is a different job from reducing a lawn in a place with reliable summer rain, and your water district will tell you which one you are dealing with.
Step-by-Step
The seven stages below can be done over one weekend or spread across a full growing season. Work in this order, and it is much harder to go wrong.
One rule saves most beginners from regret: leave healthy established plants alone whenever you can. A mature shade tree, a fruiting shrub or a well-behaved perennial does not need to go just because it is not on your plant list.
1. Assess Your Site and Set Goals
You cannot plan a low-water garden until you know where the sun, water and slope actually are.
Spend one afternoon watching your yard in three parts of the day and note where the shade falls at midday and which areas bake in the afternoon. Mark any low spots that hold water after rain, since standing water rules out most drought-adapted plants. Locate the water source, the shut-off valve and any buried utility lines before you dig.
Then define your goal in one sentence. A park strip, a side yard too narrow to mow, or the patch that no hose ever reaches are all sensible first projects. A play area for kids is a good reason to keep some turf, and that is a perfectly valid choice.
2. Plan a Low-Water Planting Scheme
Group plants that need the same amount of water next to each other, and the irrigation problem solves itself. This is called hydrozoning, and it is the single most useful habit in water-wise gardening.
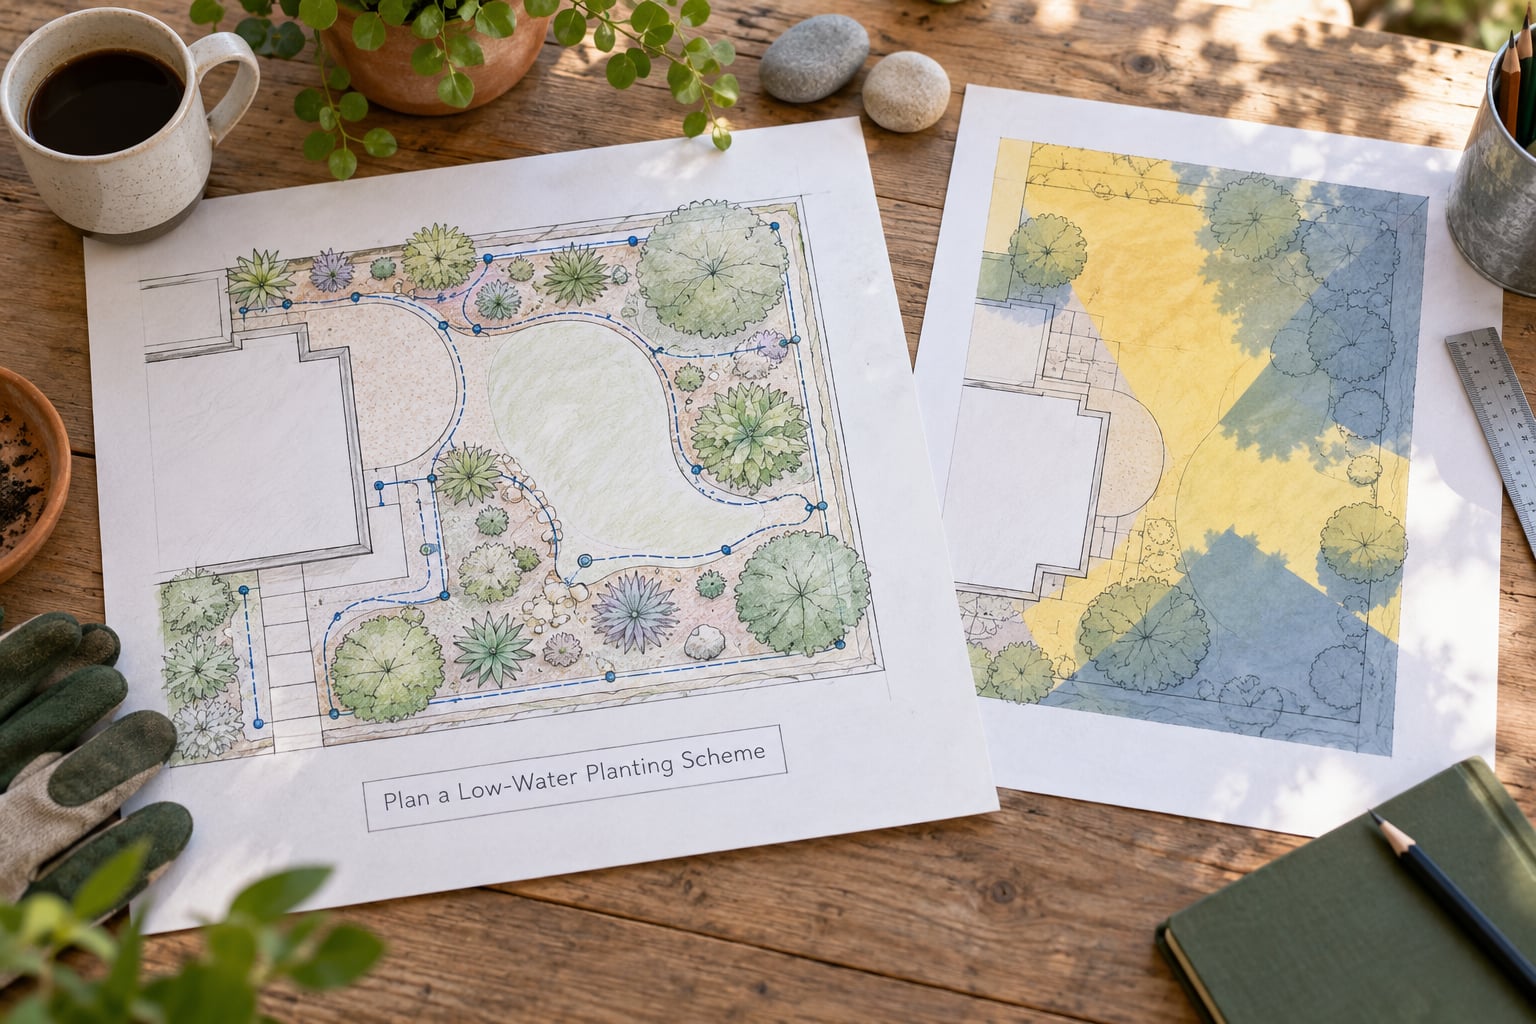
Sketch the yard from above on graph paper before you visit a nursery. Mark the sun zones, the existing trees and their shade patterns, the slope direction, the beds you want, and one water source per hydrozone.
Then reduce the lawn deliberately. Convert the strip between the sidewalk and the fence first, since it is the least useful turf on most properties and the most visible from the street. Keep turf where people actually walk, sit or play, and put low ground cover or mulch in the awkward corners that never get used.
3. Remove Turf and Prepare the Beds
Small sections of lawn come out more easily with sheet mulching than with a sod cutter, and beginner gardeners tend to have better luck with it.
Water the area first, then lay overlapping sheets of plain cardboard with no printed coating, soak them, and cover with 8 to 10 cm of mulch. Cardboard breaks down over a season and smothers the grass underneath, and the mulch on top keeps the sheet in place while roots weaken. Pull up anything that pushes through before it sets seed, because weeds that establish in new beds are the thing beginners complain about most.
Call your utility locating service before you dig or till anywhere, and never assume a shallow bed is safe.
Define the bed edges with a spade or an edger so the transition looks deliberate, and dig no deeper than the root ball you are planting. Loosen compacted clay with a garden fork, working the top 20 to 30 cm without turning the soil over completely. Soil is full of fungi, bacteria and worms, and wholesale rototilling destroys that structure for no gain.
4. Improve Soil Without Over-Working It
Skip fertilizer entirely, and add compost only when a soil test or the texture tells you it will help.
A soil test measures pH, organic matter and nutrient levels, so it tells you whether your ground is alkaline, acidic or simply tired. A handful of soil in a jar of water settles into layers within a few hours, and a heavy clay layer on the bottom tells you drainage will be slow. A loose, crumbly handful that breaks apart when you press it is closer to what drought-adapted plants want.
When compost makes sense, work a thin layer, roughly 2 to 5 cm, into the top of the bed and stop there. Rich soil sends plants into soft, fast growth that wilts in the first hot week. If you amend only one spot, amend the whole bed, because half-amended beds grow unevenly.
5. Choose Plants for Your Climate
Pick plants by their mature size, light needs and water requirement, not by how they look in a pot on the shelf.
Check five things for every plant before you buy it: mature width, mature height, full sun or part shade, how often it wants water once established, and whether it is listed as invasive in your region. Your state or county invasive species list is worth bookmarking, because one aggressive perennial can undo a year of careful work.
Build the palette across five types so the bed reads as a garden rather than a rock pile.
- Ground covers: low sedums, thyme, creeping phlox and native bunchgrasses for the front edge, spaced by mature size rather than by pot size.
- Perennials: penstemon, coneflower, lavender, Russian sage, hardy cactus and native wildflowers that handle heat once established.
- Ornamental and native grasses: blue oat grass, switchgrass and bunchgrasses give height, winter structure and seed for birds.
- Shrubs and small trees: local species such as serviceberry, rabbitbrush or a regionally adapted native, placed where they will not shade out the beds behind them.
- Succulents: agave, yucca, sedum and hardy cactus for the driest, sunniest corner.
Match the palette to your USDA hardiness zone and your actual rainfall pattern, and favour species that are native or well adapted rather than merely tolerant. In hot climates, fall planting gives roots a whole cool season to establish before the first summer, which is why many gardeners report better survival from autumn work.
6. Install Efficient Irrigation and Mulch
Water deeply and less often, put that water at the root zone, and keep it off the leaves.
New plants get hand-watered until their roots reach the surrounding soil, then a drip line or soaker hose takes over. Lay drip tubing in a loop a few centimetres from the crown of each plant, or run a soaker hose along a row of perennials at ground level, not on top of the mulch where it dries out and dries the plants with it. Group plants by hydrozone and run one zone per group so a thirsty tree never gets over-watered by a line meant for a succulent.
Cover bare soil with 8 to 10 cm of mulch, and keep it a few centimetres away from stems and trunks so that damp bark does not invite rot and rodents. Organic mulch such as shredded bark or composted wood chips breaks down and feeds the soil as it weathers. Gravel and rock can look tidy in a dry, rocky region, but in heavier soil it can compact the surface and make things worse, and it offers nothing to a seed.
Water early in the morning, when the air is cool and wind is light, and adjust for weather and soil rather than following a fixed daily schedule. After a week of rain, skip a cycle. A can or a moisture meter pressed into the soil tells you more than any calendar.
7. Maintain the Water-Wise Garden
The first season is establishment care, not full-grown care, and it is where most plant loss happens.
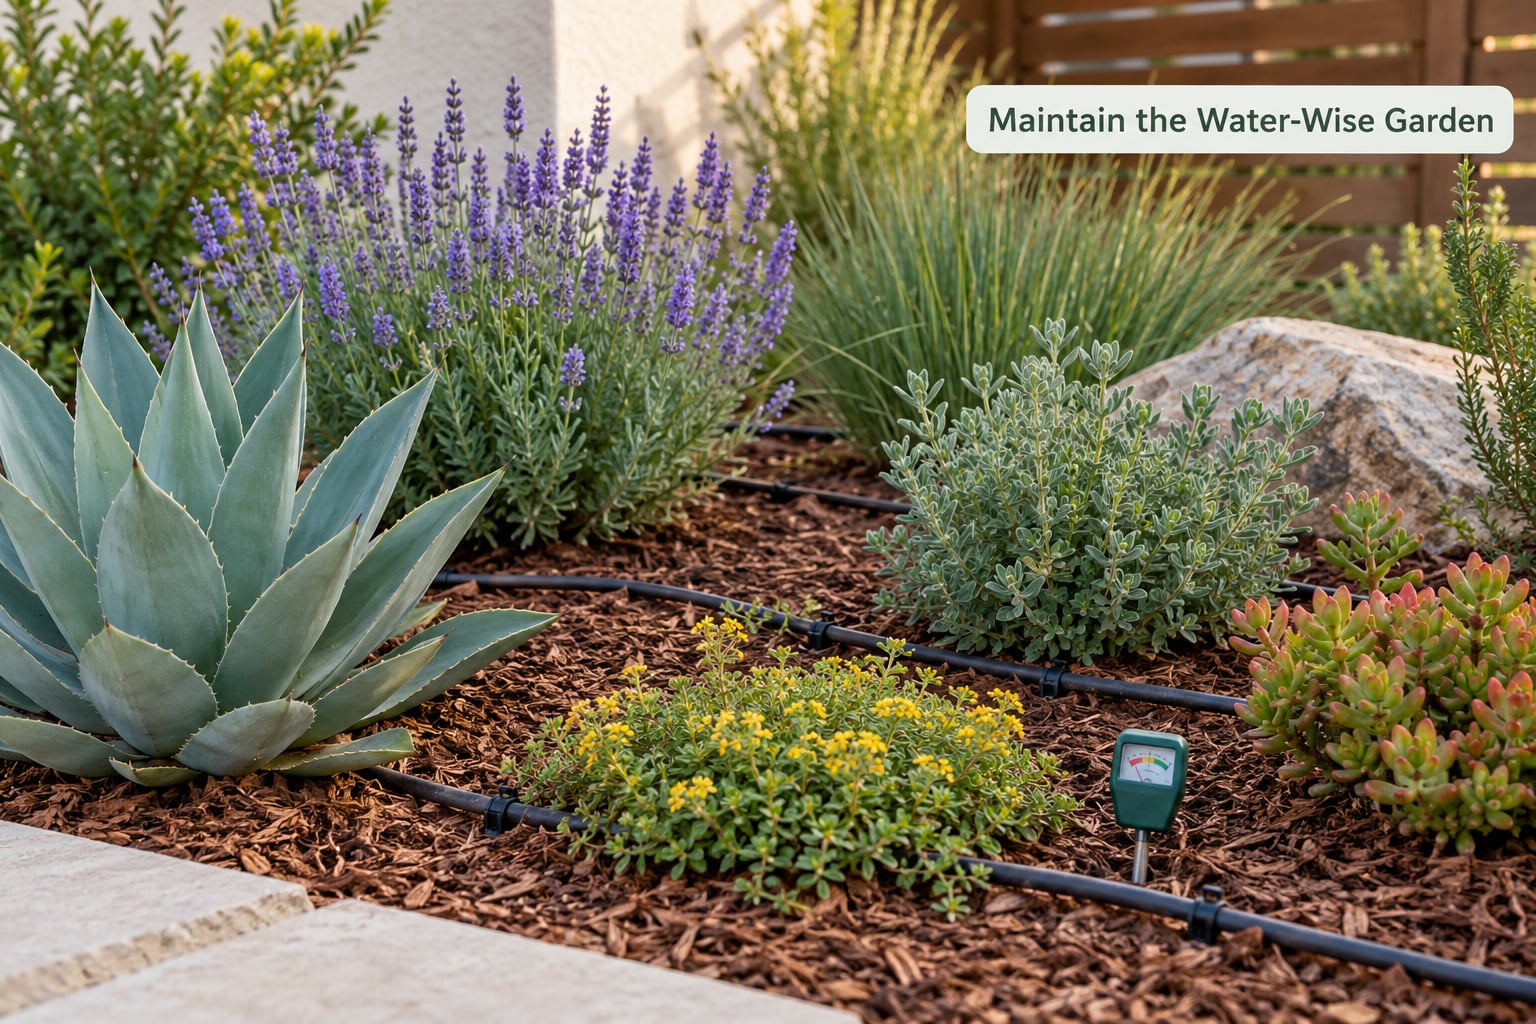
Check new plantings weekly through the first summer, even if they are sold as drought tolerant, and water them when the top few centimetres of soil are dry. Over-watering is the more common beginner error, because a wilting new plant is easy to see and a drowning one is not.
Weed while plants are still small enough to see the ground around them, and hand-pull rather than hoe, because hoes slice new stems and roots at soil level. Top up mulch each spring to the depth you started with, since it compacts over a year.
Watch for crowded clumps in the second and third season, and divide the ones that are thinning or pushing into a neighbour. Cut perennials back at the end of the growing season for your region, and water established shrubs on long dry spells rather than on a schedule. By the third summer, most of your watering should be reserved for the newest additions and the two or three thirstiest plants.
Common Mistakes
- Buying plants for their current size. A plant that looks right in a one-gallon pot can be four times wider at maturity and smother its neighbours. Fix: read the mature width on the tag and space for it.
- Watering on a fixed daily schedule. Light daily watering wets only the surface and encourages shallow roots. Fix: water less often and more deeply, then check the soil before you turn anything on.
- Piling mulch against stems and trunks. Constant dampness at the base causes rot and can attract rodents. Fix: leave a hand’s width of bare soil around every plant.
- Feeding generously. Rich soil pushes soft growth that fails in the first heat wave. Fix: skip fertilizer, and add compost only where a soil test shows it is needed.
- Stripping the whole yard at once. Removing every plant leaves a bare, exposed yard with no shade and no structure if a delivery is late. Fix: convert one bed, live with it a season, then continue.
- Ignoring local climate, soil and HOA rules. Check the covenants, the water district rebate program and your hardiness zone before you buy anything. Rebates often need approval before work starts, and a few states restrict how associations can limit water-wise yards.
- Removing turf on a slope all at once. Bare soil on a hillside washes downhill. Fix: convert slopes last, keep some ground cover rooted, and check whether a rain garden or swale makes more sense there.
Two habits keep the maintenance load down. Water at the root zone in the first two years, because that is when roots are shallow, and mulch generously, because it cuts evaporation and stops most weed seeds from reaching light. Add a note to your phone the first week of each month to walk the beds; ten minutes of attention catches a failing plant long before it is lost.
Frequently Asked Questions
How much water does a xeriscaped garden use?
A well-planned low-water garden typically uses 50 to 75 percent less irrigation water than the same space planted mostly in lawn, mainly because turf is replaced with plants that need little irrigation once established. The real saving comes from two places: less area being watered at all, and water delivered at the root zone by drip lines rather than sprayed across paths and air. New plants still need regular watering through their first season or two before they reach those numbers.
What are the easiest plants for beginners converting a lawn?
Native or well-adapted perennials, bunchgrasses and ground covers are the easiest starting point, because they are already suited to your rainfall and winter. Look for penstemon, coneflower, lavender, Russian sage, hardy sedum, thyme and local native wildflowers. Choose a mix of early, mid and late bloomers so the bed has colour across the season. Buy from a native plant society sale or an independent nursery, and check each plant’s mature width before you space it.
Can I create a low-water garden in a shady area?
Yes, though your plant list changes completely. Shade means less evaporation, so you need plants that tolerate low light rather than plants that tolerate drought. Look for native woodland perennials, ferns, sedges and shade-tolerant ground covers, and keep in mind that many of them want steady moisture rather than dry soil. A shade bed still saves water compared with turf if you group plants by moisture needs, mulch thickly and cut the irrigated area down.
Should I remove my entire lawn before starting a xeriscape?
No, and most successful beginners do not. Convert the least useful turf first, usually the park strip, a side yard or a corner no one uses, and keep lawn where people walk, sit or play. Living with one finished bed for a full season teaches you what your site actually needs before you commit the whole yard. Many people end up removing a third to a half of the grass on their own and being glad they did not start with everything.
How do I know if my soil drains well?
Dig a hole about 30 cm deep, fill it with water and let it drain, then fill it again and time how fast the level drops. If it empties in a few hours your soil drains freely; if water is still standing after a day, you have slow drainage that will hurt drought-adapted plants. A simpler check is the jar test: put a few handfuls of soil in a clear jar with water, shake it and let it settle, then look at the layers. A thick clay layer on the bottom means you should improve drainage, or choose plants that tolerate heavier soil.
Do xeriscaping gardens need regular maintenance?
They need less than a lawn, but they are not zero maintenance, especially in the first two years. Expect weekly watering checks while plants establish, hand-weeding while the beds are still small, a mulch top-up each spring, dividing crowded clumps by the third season and seasonal cutbacks. After establishment, most of the work is an occasional walk with hand tools. Finish a new bed with mulch and grouped plants and you remove mowing, edging and fertilizing from your list entirely.
Conclusion
Three actions get you moving. Watch your yard for a season of sun and water so you know your zones, convert one manageable bed rather than the whole yard, and group every plant in it by how much water it wants.
After that, work through the stages at your own speed. Each finished bed teaches you something the next one benefits from, and the more of them you do, the less water your yard uses and the less time you spend maintaining it. Start small, plant for your climate, mulch generously and give new plants a close eye through their first summer.