How to design a drought tolerant front yard comes down to three decisions: what you remove, what you plant, and where the water goes. Replace thirsty turf with native plant islands, mineral mulch or gravel hardscape, and drip irrigation grouped by water need. Most of the work is one demolition weekend plus a growing season of watering in, and the skill required is decision-making, not construction.
The approach has a name. Xeriscing, or building a xeriscape, is not a single style but a set of choices that trades a lawn for plants that suit the site. Here is the short version of what a good conversion looks like.
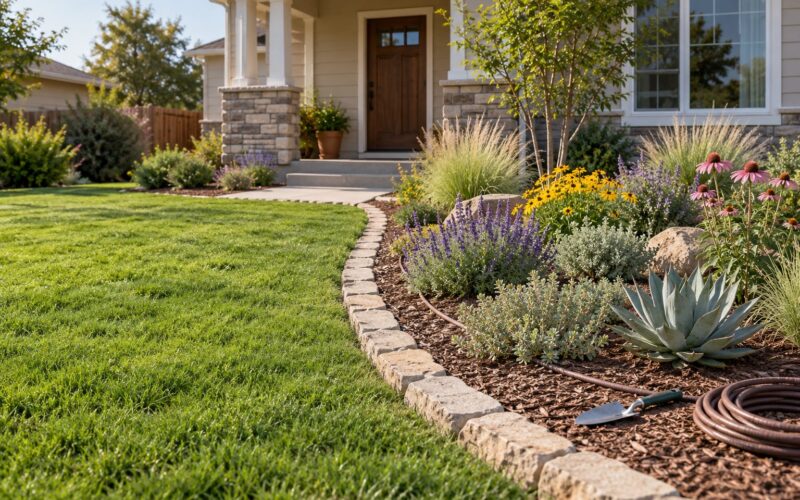
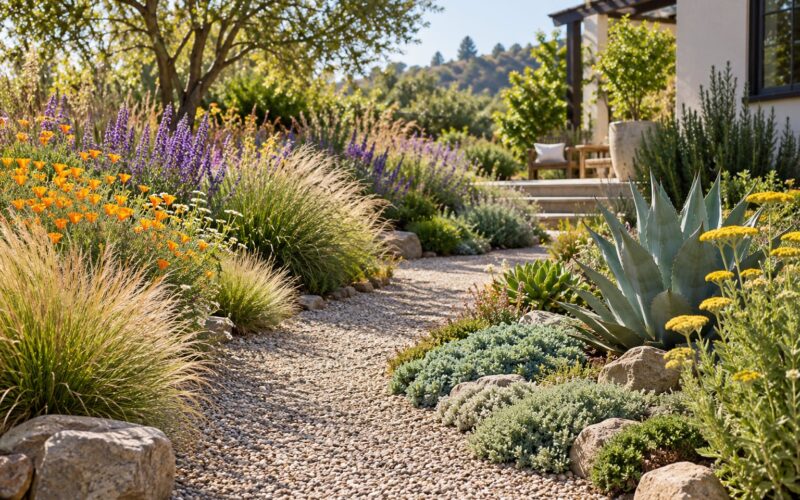
- Core design ideas. Keep turf only where people walk or gather. Put decomposed granite paths where foot traffic happens. Break up open beds with plant islands, boulders, and repeated groupings of one species.
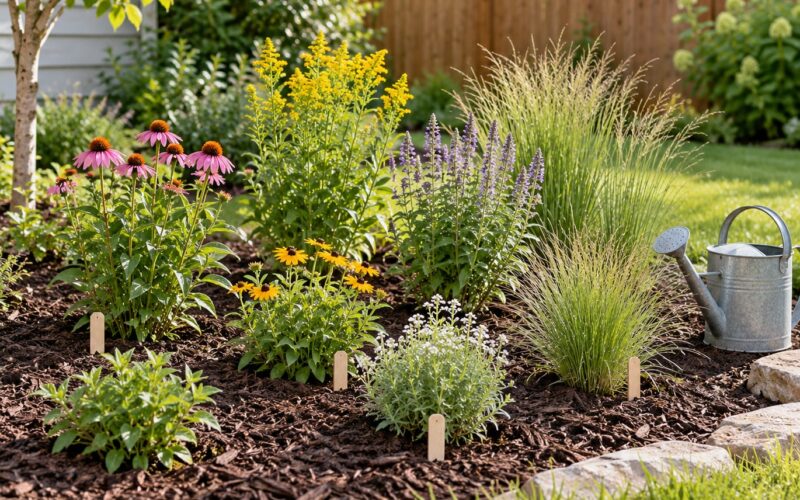
- Best drought-resistant plants. Group by role: agave, yucca, and ornamental grasses for structure; lavender, coneflower, yarrow, salvia, and coreopsis for color; creeping thyme, sedum, and yarrow for ground cover.
- Essential water-wise practices. Amend soil with compost before planting. Hydrozone by water need. Use drip, not spray. Mulch four inches deep. Pull the spray heads off the irrigation zone the lawn used to occupy.
I have watched people convert the same kind of yard twice as many ways as there are yards. The ones that look good in year three followed the seven steps below.
Table of Contents
- What You Need
- Step-by-Step: How to Design a Drought Tolerant Front Yard
- 1. Assess Your Site’s Sun, Water and Soil
- 2. Set a Low-Water Design Goal
- 3. Plan the Front Yard’s Layout
- 4. Choose Native, Drought-Tolerant Plants
- 5. Improve the Soil Without Overwatering
- 6. Install Efficient Irrigation and Rain Capture
- 7. Mulch, Establish and Maintain the Yard
- Common Mistakes
- Frequently Asked Questions
- Can a front yard be drought tolerant and still look attractive?
- How much water should I use to establish new drought-tolerant plants?
- What is the best ground cover for a dry front yard?
- Should I remove my existing lawn before redesigning the yard?
- How do I choose plants for a hot, sunny front yard?
- Conclusion
What You Need
Before you buy a single plant, gather the information that decides everything else.
- Your rainfall and restrictions. Check your local water utility website for current outdoor watering schedules. Fixing a hard date, like a May 1 start, matters more than average annual totals.
- A sun map. Note where the house, trees, and fences cast shade, and when. A south-facing wall in a hot region can add 15 to 20 degrees of reflected heat to the bed beside it.
- Soil texture and drainage. Dig down a foot in a couple of spots, feel the soil, and pour on water to see how fast it drains. Slow drainage means wet roots in July, which kills drought-tolerant plants faster than drought does.
- Your hardiness zone and heat tolerance. Zone sets winter minimums. It says nothing about summer, so check heat tolerance separately.
- Existing irrigation layout and downspout discharge points.
- Tools: a mattock or spade, a garden fork, a hose-end wand or soaker hose, a soil test through your county extension service, and a roll of drip line and fittings if you are doing the watering yourself.
- Materials: compost, mulch, and either decomposed granite, pea gravel, or crushed stone for paths and open bed areas.
The single most useful hour you can spend is at the county extension office. Soil testing is usually cheap, and a horticulture extension agent will look at your site plan and tell you which species handle your specific conditions.
Step-by-Step: How to Design a Drought Tolerant Front Yard
1. Assess Your Site’s Sun, Water and Soil
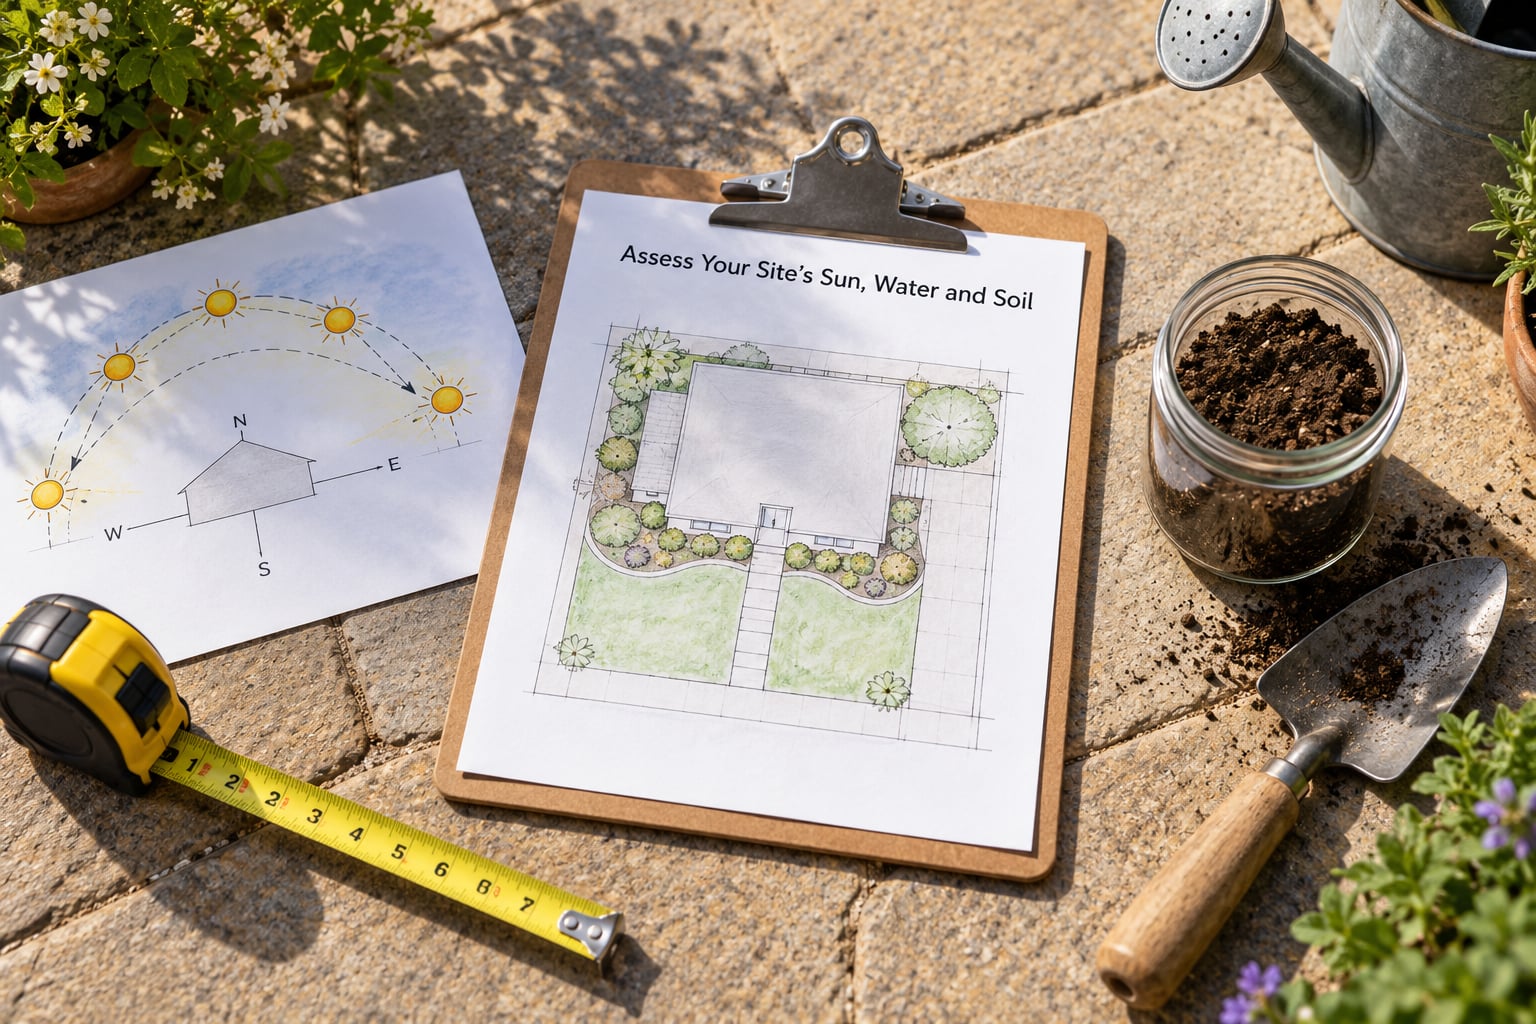
Walk the yard four times a day for three days and mark the shadows. Find where water actually goes: downspouts, a neighbour’s slope draining onto your property, the low corner that stays wet after rain. Check your irrigation controller for zones that hit the same area twice, which usually means overspray onto the sidewalk.
Your success check is simple: you can name each part of the yard as sun, shade, wet, dry, or reflected heat. If any part of the yard is unclassified, you are not ready to choose plants.
2. Set a Low-Water Design Goal
Write down a water budget. Residential outdoor use is often 30 to 50 percent of total household water use, and outdoor water demand can fall by 30 to 80 percent after a full conversion, depending on how much turf goes and whether you irrigate at all. Denver Water coined the xeriscape framework in 1981 around seven principles, and Colorado WaterWise and university extension services still run programs built on them.
Then decide the turf question honestly. The most-engaged question on lawn conversion forums is whether to keep some grass, and the practical answer is yes where turf does a job: a small sitting area, a path from the driveway, a patch under a big shade tree. Convert the part that is in full sun, never gets used, and goes brown every August.
Your success check is a number: turf square footage before and after. If the remaining lawn is only where people walk, the goal is holding.
3. Plan the Front Yard’s Layout
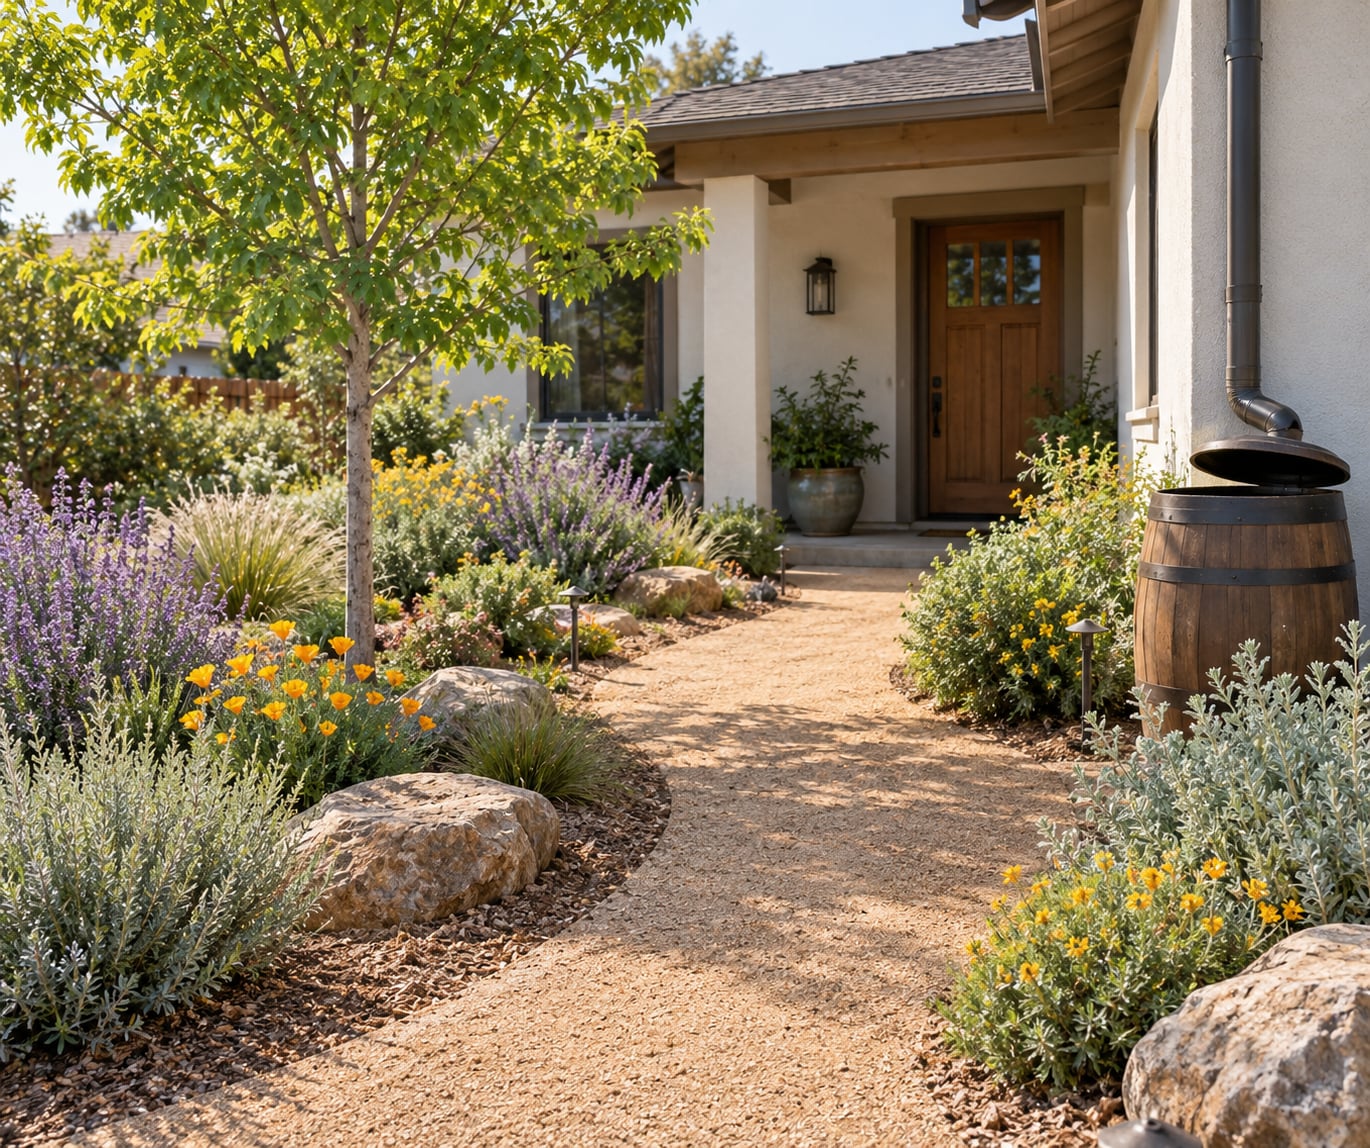
Lay out the hardscape first. Paths, entry steps, and the driveway edge define where people move, and plants fill in around them. A common approach is a decomposed granite path from the sidewalk to the front door, widening at a bench or a planting island so the yard has one focal point instead of five competing ones.
Build massing next: three plants repeated in three places reads as designed, while one of each reads as a discount nursery rack. Keep mature size in mind, not nursery size. A plant that ends at 4 feet and 6 feet across will swallow a path in four summers.
Point every downspout at a planted bed or a rain barrel rather than the lawn. Roof runoff is free water, and in a dry month it can carry a planting through.
Your success check is a scale drawing at 1 foot equals 1 inch with the mature footprint of each plant drawn as a circle. If the circles overlap the walkway, move something.
4. Choose Native, Drought-Tolerant Plants
Start from your region rather than a generic list. Native or climate-adapted species handle your rainfall pattern, soils, and winter without intervention, and they are the plants local pollinators and wildlife actually use.
Match by form and season, not by color alone. A front yard needs vertical structure, a mounding middle, and a low layer. Bloom in sequence so something is happening from early spring into winter, and include one plant with winter berries or coloured foliage, because that is what carries the yard through February.
- Structural accents: agave, yucca, opuntia or prickly pear, artemisia, fountain grass, acacia, coral tree.
- Flowering perennials: lavender, coneflower or echinacea, yarrow, salvia, California poppy, daylily, euphorbia, teucrium, lantana, verbena, coreopsis, mallow, cistus, rudbeckia, penstemon, dudleya, gaura, black-eyed susan.
- Grasses: deer grass, purple three-awn, red fescue, purple needle grass, little bluestem, blue grama, bunchgrass.
- Ground covers: creeping thyme, sedum, ice plant, creeping phlox, yarrow Moonshine.
- Shade trees and large shrubs: desert willow, palo verde, mesquite, olive, crepe myrtle, live oak.
Check mature size and hardiness zone against every name on your list, and confirm the tree’s ten-year canopy before you plant it in a small front yard.
Your success check: every plant on the list has a zone match, a mature size written next to it, and a role in the design. If you cannot say why a plant is there, cut it.
5. Improve the Soil Without Overwatering
Most drought-yard losses come from bad soil, not bad plants. Lawn soil is compacted, and compacted soil repels water so roots never get wet. Break it up with a garden fork to a foot deep, then work in two to three inches of finished compost across the whole bed area.
Avoid rich amendments and heavy fertilizer. Overfertilised beds push out lush growth that needs more water and more pruning than the plant wanted, and phosphorus in runoff is a real environmental problem. A thin compost layer is nearly always enough.
Moisten the soil before you plant rather than after. Digging into dry soil creates air pockets that dry out roots, and it is far harder to fix than a slow pre-irrigation pass a day ahead.
Your success check: a handful of soil crumbles rather than forming a dense clay ball, and water soaks in rather than running across the surface.
6. Install Efficient Irrigation and Rain Capture
Hydrozoning is the whole trick. Group plants with the same water need onto the same line, then run that line on its own schedule. Lavender on the same valve as a young shade tree means you overwater the lavender to keep the tree alive, or underwater both.
Drip and soaker lines deliver water to the root zone and cut evaporation. Lay them under mulch, run them in short cycles rather than one long cycle so water soaks in instead of running off a slope, and check with a tuna can or a catch cup: if it takes an hour to collect an inch, split the runtime. Micro-sprays work for seedbeds and grasses with upright form.
Retire the lawn’s spray heads rather than leaving a circuit energised with nothing attached. Cap the risers, mark the zone on your controller diagram, and note it in your household file so the next person does not wonder why the timer runs.
Add rain barrels where downspouts already discharge, and check local rules on mosquito control and on whether harvested water is permitted for irrigation.
Your success check: no zone irrigates two different plant types, no spray head points at a sidewalk, and every emitter has mulch over it.
7. Mulch, Establish and Maintain the Yard
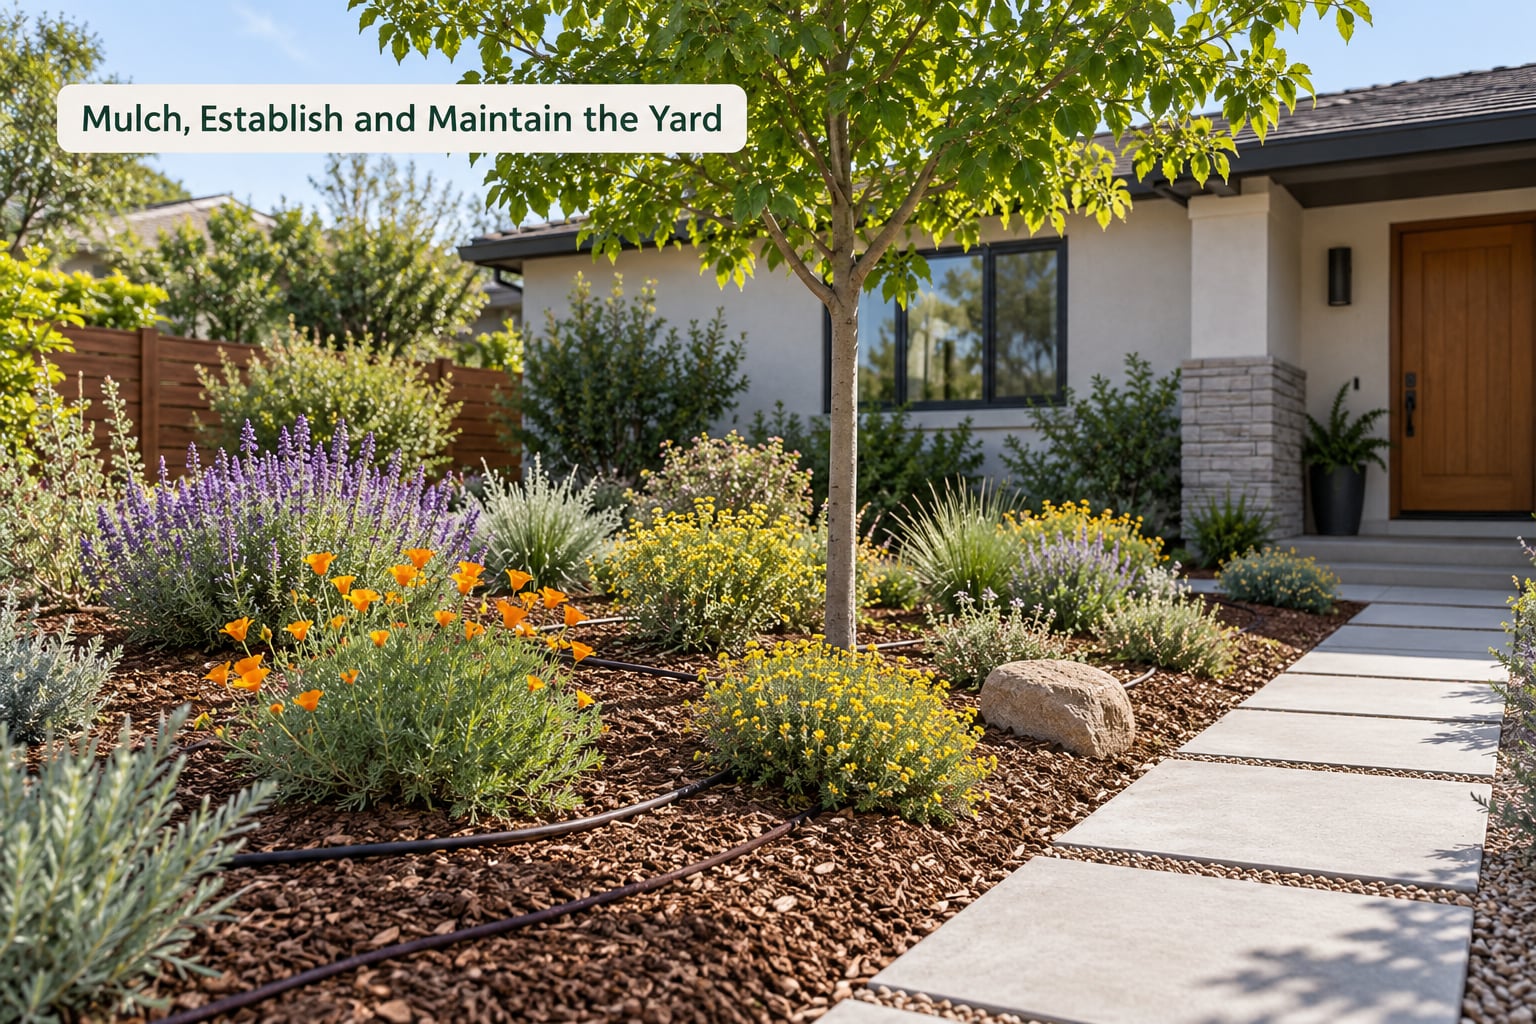
Apply two to four inches of mulch, keeping it off plant crowns and away from house foundations. Mulch is the cheapest evaporation cut in the yard. On a decomposed granite bed, a layer of compost under the gravel keeps the soil from becoming a sealed dust pan.
Then water in properly. The established protocol from long-running garden forums is deep watering twice a week for four to six weeks, more often in heat, then tapering off as roots reach depth. Water at the soil, not over the leaves. Shrubs and trees need roughly a foot of moisture in the top twelve inches of soil; check with a trowel rather than guessing.
Year one runs on this rhythm:
- Weeks 1 to 2: keep every root zone evenly moist. Check daily.
- Weeks 3 to 6: deep water two or three times a week, then let the surface dry between cycles.
- Months 2 to 6: water as needed, typically once or twice a week in dry weather. Weed by hand while the plants are small enough to see.
- Months 6 to 12: begin skipping scheduled watering after rain. Top up mulch to two inches.
After year one, maintenance is weekly weeding in spring, a mulch refresh each autumn, dividing perennials every three years or so, and cutting grasses back in late winter. Expect the yard to look sparse for the first season. Everyone’s does, and it fills in.
Your success check: you can lift a plant and find white new root growth, and the bed needs no daily attention.
Common Mistakes
Most failed conversions repeat the same handful of errors. Here is what goes wrong and how to correct it.
- Choosing plants for the photo, not the site. Pick by zone, sun, and mature size first, colour second. A plant that dies in August cannot be fixed with a better layout.
- Planting too many water-loving species. Every thirsty plant drags the whole zone’s schedule up. Group by water need or use separate valves.
- Adding too much mulch. Piling it against trunks and crowns invites rot and rodents. Two to four inches, off the crowns.
- Watering too often. Light daily sprinkles wet only the surface and teach roots to stay shallow. Water deeply and less often.
- Ignoring mature plant size. Spacing by nursery pot size gives a crowded yard in three summers. Space by ten-year spread.
- Overfertilizing. Lush growth needs more water than the plant requires. Skip fertilizer in native beds.
- Skipping the soil work. Compacted lawn soil repels water. Fork it and add compost before anything goes in.
- Leaving a working sprinkler zone in place. An energised circuit with nothing attached wastes water and confuses the next person.
- Relying on one season of bloom. Pick species that flower in sequence and hold winter interest with berries or coloured foliage.
- Converting the whole yard at once. Phasing one bed per year spreads the cost and lets you learn from the first bed before spending the rest.
Three tips that save money: do the demolition yourself and hire only the irrigation, plant in the autumn so roots establish before summer heat, and check your water utility for turf-replacement rebates, which some districts now offer alongside agency-designed low-water garden programs.
On cost, be straight with yourself about the trade. For most homeowners the conversion does not pay for itself in savings, because irrigation water is a small part of what turf really costs in time. Price a contractor quote by line item, and subtract what you are willing to do yourself.
Frequently Asked Questions
Can a front yard be drought tolerant and still look attractive?
Yes. The gravel-wasteland look comes from spacing plants too far apart and skipping structural elements, not from removing grass. Layer heights, repeat one species in groups of three or more, and anchor the design with one focal point such as a boulder, a tree, or a wide planting island at the entry.
How much water should I use to establish new drought-tolerant plants?
Deep watering twice a week for four to six weeks is the usual starting protocol, more often during heat. Aim to wet the top twelve inches of soil rather than the surface, and check with a trowel instead of a fixed schedule. Gradually reduce frequency as roots reach depth.
What is the best ground cover for a dry front yard?
It depends on your region and whether the spot is in sun or shade. In hot, dry, full-sun sites, creeping thyme, low sedum, ice plant, and creeping phlox hold ground with little irrigation once established. On slopes, use a native bunchgrass or low perennial and pair it with erosion-control matting until roots knit.
Should I remove my existing lawn before redesigning the yard?
Not everywhere. Keep turf where people walk, sit, or gather, and under large shade trees where it stays green. Convert the full-sun areas that go brown every summer. Removing only the turf that has no function cuts the work, the water bill, and the mowing without the yard feeling bare.
How do I choose plants for a hot, sunny front yard?
Start with native or climate-adapted species rated for your hardiness zone and heat, then sort them by water need and mature size. Group the same water need on one irrigation valve, leave room for ten-year spread, and choose a bloom sequence so the yard has colour from spring into winter rather than one peak month.
Conclusion
If you only do one thing, spend an hour mapping sun, drainage, and soil before you buy anything. That single hour prevents most of the expensive mistakes in this list, because every plant choice after it becomes a match instead of a guess. Then convert the sunniest, least-used third of your lawn first and see how it looks before you spend the rest.