Bokashi composting is a way to recycle kitchen food scraps inside your home, in a sealed bin, using a bran inoculated with effective microorganisms. Instead of rotting, the waste ferments into an acidic pre-compost that you bury in soil for a couple of weeks. Here is the whole method explained, from what goes in the bucket to how you finish it off.
It suits people with a flat, a balcony or a small yard who cannot keep an outdoor heap. No heap means no flies, no maggots and no rats digging through your food waste, which is the reason most people move away from a traditional pile.
Below, I walk through the process stage by stage, list what can and cannot go into the bucket, and cover the problems that trip people up in the first month. I also explain why the drained liquid is not compost and why fermented bokashi should not sit straight on a plant root.
Table of Contents
- What Is Bokashi Composting?
- How Does Bokashi Composting Work?
- What Can You Put in a Bokashi Bucket?
- Eggshells, bones and the awkward items
- Bokashi Composting Explained Step by Step for Beginners
- How Much Bokashi Bran Should You Use?
- How Do You Know When Bokashi Compost Is Ready?
- What Do You Do With Bokashi Tea?
- How to Use Finished Bokashi in the Garden
- Common Bokashi Problems and What Causes Them
- How Is Bokashi Different from Regular Composting?
- Is Bokashi Composting Worth It?
- Frequently Asked Questions
- Does bokashi composting smell bad?
- Can I add meat, dairy or oily foods to bokashi?
- How often should I drain liquid from a bokashi bin?
- Can bokashi compost be used directly in pots?
- How long does a bokashi batch take after the lid is closed?
- Where to Start With Bokashi Composting
What Is Bokashi Composting?
Bokashi composting explained in one line: it is anaerobic fermentation of food waste in an airtight container, using a fermented bran carrying lactic acid bacteria, yeasts and photosynthetic bacteria.
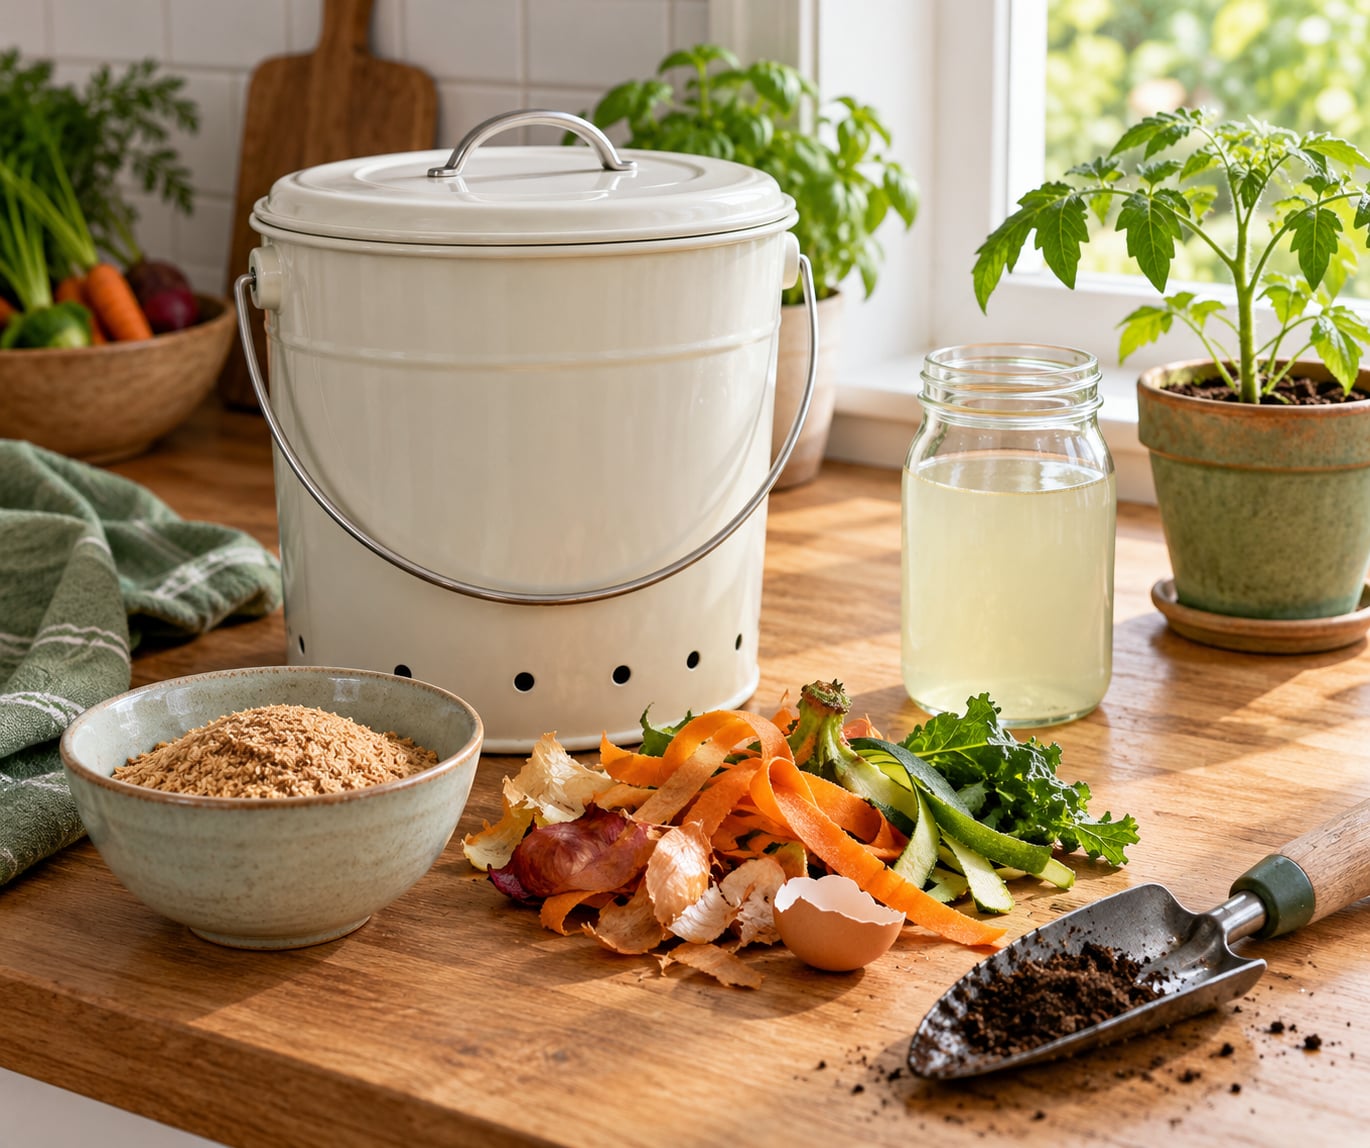
The word “bokashi” means “fermentation” in Japanese. The method was developed in the 1970s by the farmer and scientist Teruo Higa, who worked with a microbial consortium he called Effective Microorganisms, or EM. In practice most home bokashi is a bucket, a lid that seals, a grate at the bottom and a tap to drain liquid.
What comes out after a couple of weeks is not finished compost. It is a pickled, still-acidic pre-compost that needs soil contact and a little more time before it behaves like compost.
For an apartment or a small garden, that trade is worth understanding: bokashi handles food that a worm bin struggles with, it works in winter if you keep the bin indoors, and it needs no turning.
How Does Bokashi Composting Work?
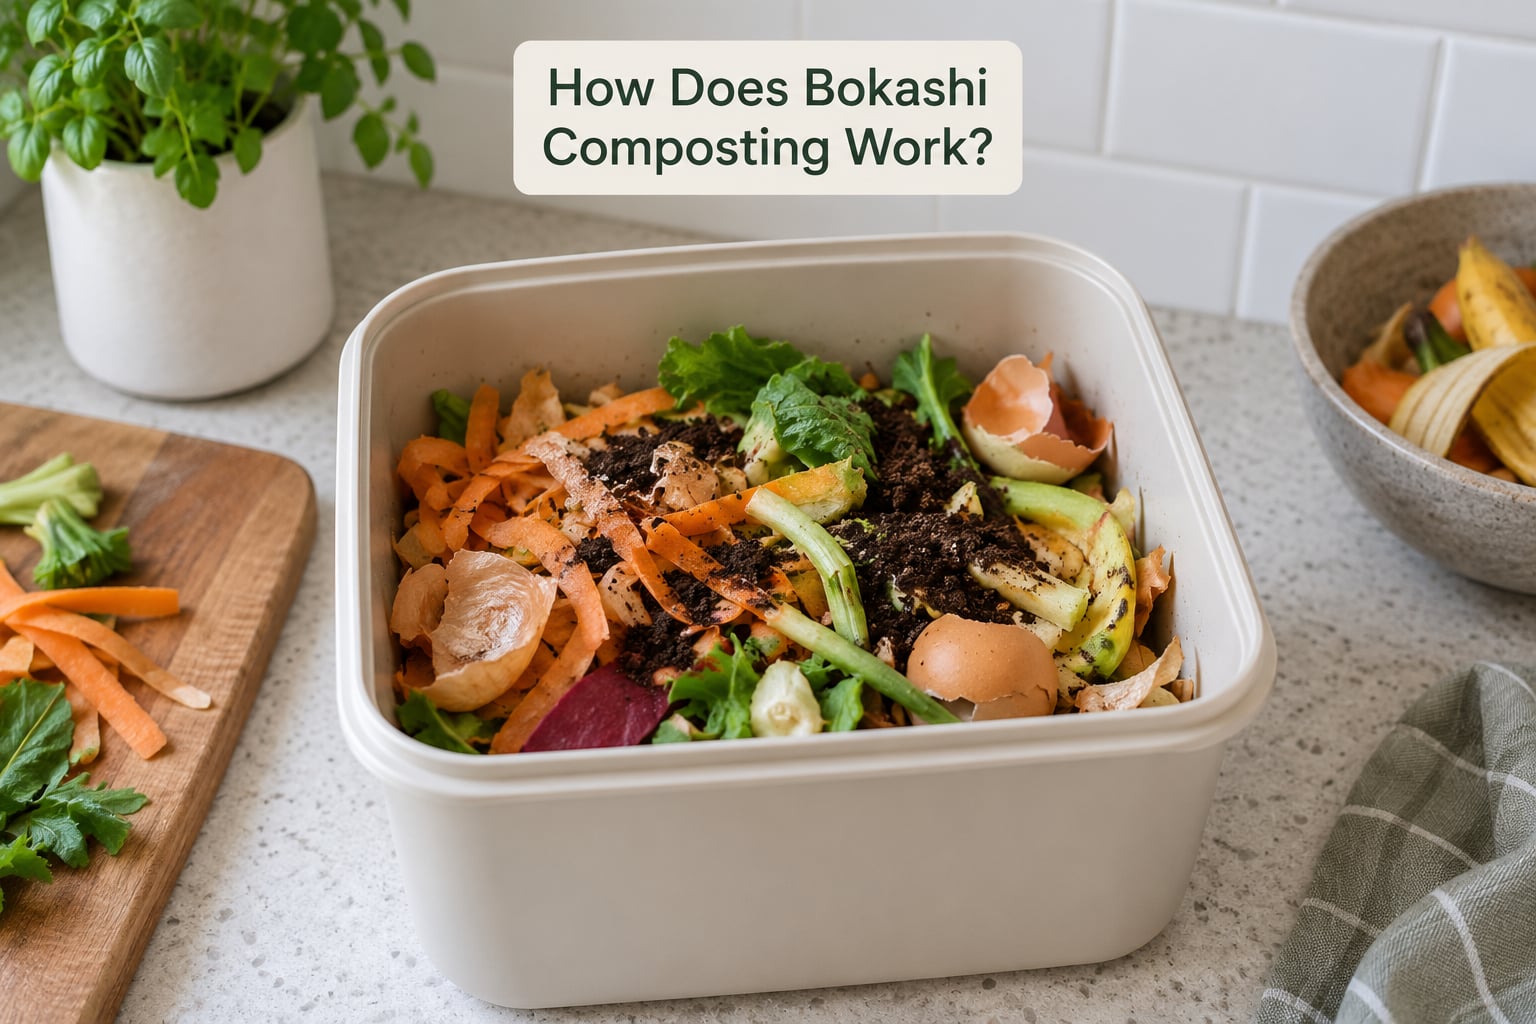
Three things have to line up: an airtight bin, a steady supply of fresh scraps, and enough bran to keep the microbial balance on the acidic side. When air gets in, the balance flips and the batch can go foul.
Here is what each stage looks like in practice.
| Stage | Typical timing | What happens | What it looks like |
|---|---|---|---|
| Fermentation (pickling) | Days 1 to 7 after the bin is closed | Lactic acid bacteria acidify the waste and suppress decay bacteria | Wet, bright, faintly pickled smell, liquids collecting in the base |
| Decomposition and sealing | Weeks 2 to 3, sometimes 4 in cool conditions | The bin is full, sealed and set aside to finish fermenting | Darker, flatter, more uniform, a clean sour or pickle odour |
| Maturation in soil | About 2 to 4 weeks after burying | Soil microbes finish the breakdown and the acidity settles | Dark crumbly material that mixes easily into potting compost |
The classic two-bin setup makes this easy. One bin ferments on the counter, the other fills up. When the fermenting bin is full and sealed, it becomes the filling bin and the emptied one takes over. Many long-term users in the r/bokashi community say that rotation is what stops the constant smell problems.
Because the bin works without oxygen, no heat is generated and almost nothing dries out. That is also why rats, flies and maggots stay out: the contents are too acidic and too contained for them.
What Can You Put in a Bokashi Bucket?
Most kitchen waste is fair game, including cooked food, and that is where bokashi pulls ahead of a basic backyard bin. The rule that matters most is balance: mix the wet, green scraps with dry, brown material so the bucket does not turn to soup.
| Add to the bucket | Treat with care | Keep out of the bucket |
|---|---|---|
| Vegetable peelings, ends and cores, salad leaves, herbs, avocado stones, citrus peel in small amounts | Meat, fish, cooked rice and pasta, eggs, cheese, oily leftovers, small crushed bones, dairy in moderation | Plastic, glass, metal, waxed paper, treated wood, large amounts of oil or dairy, and anything you would not want in garden soil |
| Coffee grounds and paper filters, loose leaf tea, crushed eggshells, bran, sawdust, shredded plain paper, untreated cardboard pieces | Onion and garlic skins in small quantities, very oily fish, whole uncrushed bones | Glossy and coated paper, printed card with heavy ink, treated timber, cigarette filters, and large amounts of any single fatty food |
| Small amounts of natural food waste from pets such as EnsoPet systems handle, kept separate from household scraps | Pet waste is best kept in a dedicated pet system rather than a kitchen bucket | Anything from a sick animal, and any pet system mixed with human food scraps |
Eggshells, bones and the awkward items
Eggshells go in, and crushing them first gives the microbes more surface to work on. Reviewers who leave them whole regularly find them sitting unbroken in the finished batch months later.
Bones are a separate question. You can add small crushed pieces, and they will soften over months, but whole bones and carcasses do not break down inside a bokashi bin. Use those in a hot outdoor pile instead. Long-time keepers on Bokashi Living forums make the same split, describing bones as a “can” but not always a “should”.
Bokashi Composting Explained Step by Step for Beginners
Set up the bucket next to your kitchen, chop your scraps into pieces of about 2 to 3 cm, and keep the lid closed whenever the bin is not being loaded. The whole routine takes a minute or two.
- Chop and drain. Wring or drain wet scraps so you are not pouring water into the bucket. Scraps that arrive waterlogged are the most common cause of a leaky, foul batch.
- Add a layer of scraps. Fill the bottom section of the bucket to roughly one third, then spread bokashi bran over the top so it looks lightly dusted.
- Sprinkle and seal. Add a thin, even layer of bran, press the contents down with a potato masher so no big air pockets remain, and close the lid.
- Drain the liquid. Once or twice a week, open the tap over the sink or a jar. The liquid is the strongest signal that fermentation is under way.
- Repeat until full. Keep layering scraps and bran until the fermenting bin is full to the brim, then move it to a cool, dark spot and let it sit sealed.
- Wait, then bury. Give the sealed bin two to four weeks, then empty it into soil as described below.
Recipes and product quantities differ between brands, and enhanced or fermented bran is dosed differently from lightweight bran. Use the instructions supplied with the bran you bought, and use enough to cover every layer rather than dusting it.
How Much Bokashi Bran Should You Use?
With lightweight bran, a good starting point is roughly 2 to 4 tablespoons per layer of about 2 cups of chopped scraps, adjusted until the layer is visibly covered.
With a heavier fermented or enhanced bran, the same volume goes much further, and the label quantity applies instead. People who overdose on bran report white fungal growth across the top, which is a sign of too much carbohydrate rather than a failed batch.
If you are not sure, err on the side of more bran. It costs little and it protects the acid balance that keeps the smell out of your kitchen.
How Do You Know When Bokashi Compost Is Ready?
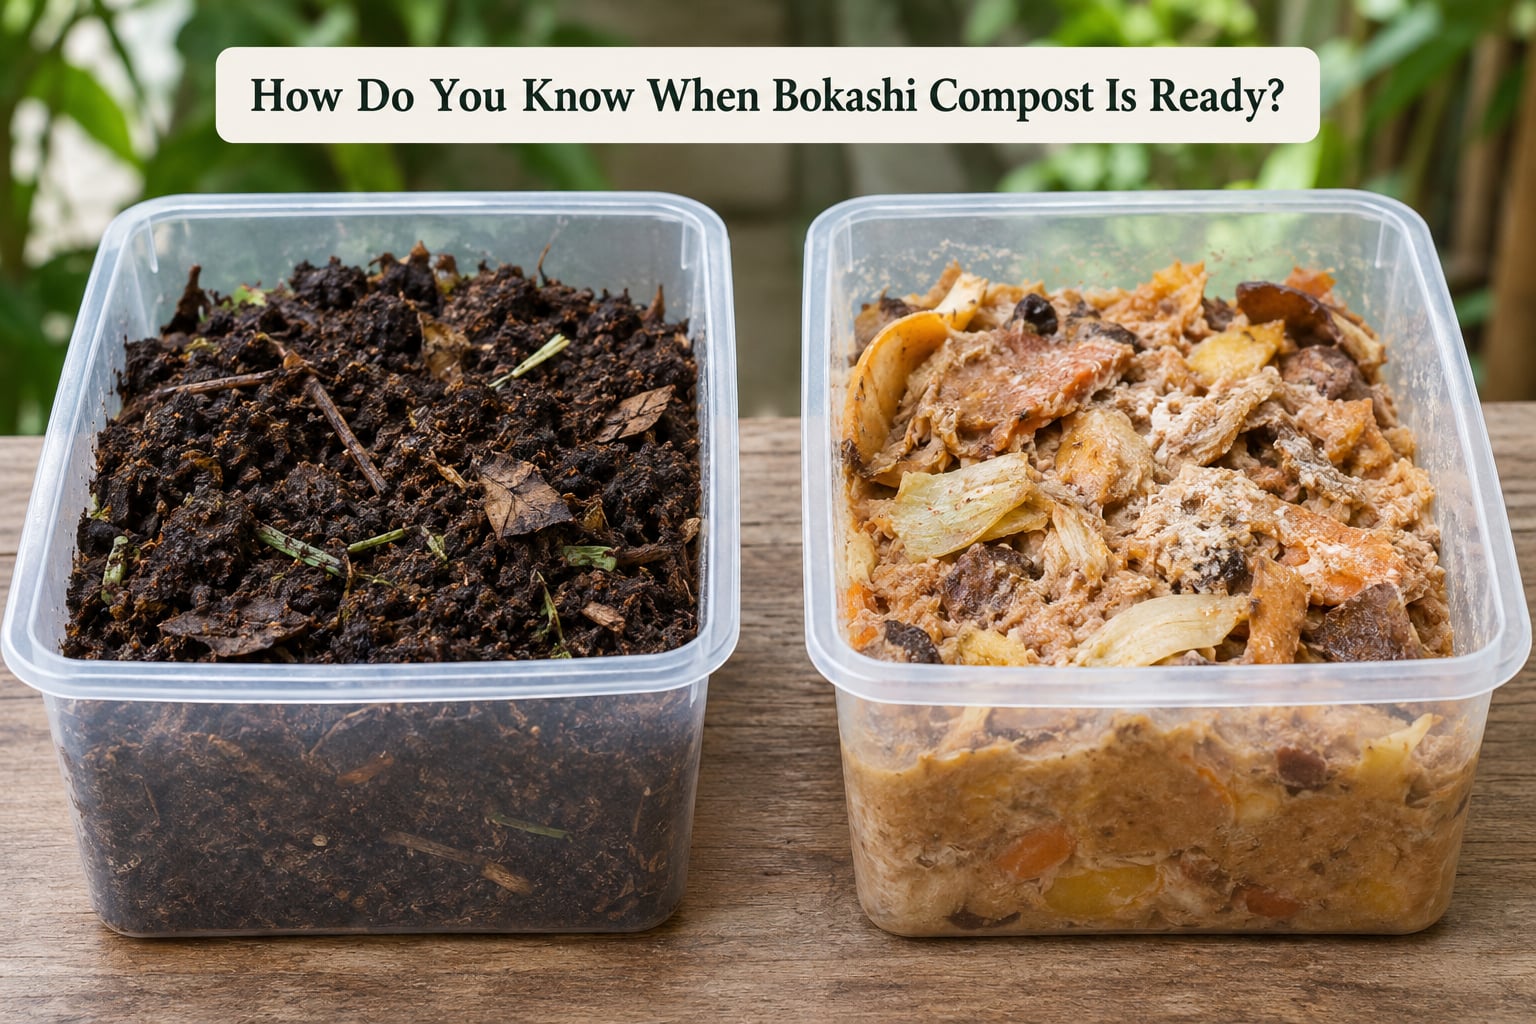
A good batch smells clean and sour, like a pickle jar or sauerkraut, and it gets darker and flatter over the weeks. If it smells like a bin that has been left in summer heat, something has gone wrong and the troubleshooting table below applies.
White, cottony growth on top is normal. It is the yeasts and fungi feeding on the surface sugars, and it tells you the inoculation is alive. Black, grey or slimy patches are a different story and mean air got into the batch.
The drained liquid is not a plant feed at full strength, and it is not compost. It is the acidic byproduct of pickling, and it needs diluting well before it touches a plant.
One more distinction matters. Finished bokashi is still acidic, so plant roots left in direct contact with it can be scorched. Buried in soil, the surrounding soil buffers that acidity within a couple of weeks.
What Do You Do With Bokashi Tea?
Pour the liquid into a jar or bottle and use it as a dilute liquid feed, or down a drain as a cleaner. Dilution ratios vary by product, so treat the figure on your bran as the guide rather than a universal rule. A common starting point in the hobby community is around 1:500 for a foliar or soil feed and roughly 1:100 when it is used purely as a drain rinse.
Two cautions. Do not store the tea untreated for long periods, because it is acidic and microbiology shifts as it sits, and do not apply it at full strength to leaves or roots.
If you generate more tea than your plants can use, freezing it in small portions or giving it away to a gardening group solves the storage problem and keeps it out of the sink.
How to Use Finished Bokashi in the Garden
Bury the finished batch 20 to 25 cm deep in soil, spread it out rather than dumping it in a lump, water the area lightly and leave it for two to four weeks before planting. That waiting period is what lets the acidity settle.
On a patio with no soil at all, the soil factory method works: layer brown material such as leaves, cardboard or untreated sawdust with finished bokashi in a container, keep it damp and turn it every week or two until it looks like compost.
Bokashi is an accelerant and a soil conditioner, not a balanced, mature compost. Mixed into potting compost at roughly one part bokashi to four or five parts compost, it works well. Used alone in a pot at full strength, it will burn roots, so keep application rates moderate.
Do not bury it shallowly next to edible crops, and expect dogs and rodents to find it. Many keepers report digging up buried bokashi and switching to a deeper, enclosed container.
Common Bokashi Problems and What Causes Them
Almost every failure traces back to air, too little bran or liquid left in the base too long. Work down this table before you empty the batch.
| Problem | Likely cause | What to do |
|---|---|---|
| Putrid smell | Liquid sat too long, the bin opened repeatedly, or not enough bran | Drain it, add a layer of bran, reseal and rest a week. If it stays foul, add more bran and shredded paper to rebalance |
| White cottony film | Normal yeasts and fungi on surface sugars, often too much bran | Leave it, press it down when you add the next layer |
| Black or grey patches | Oxygen exposure and low acidity, sometimes a failed lid seal | Remove the affected material, check the seal, add bran, and use up the batch sooner rather than later |
| Fruit flies | Open lid, exposed wet waste, or a bucket stored without a lid | Keep the lid closed whenever not loading, drain more often, wipe the rim clean |
| No liquid draining | Scraps too dry, or the tap blocked | Add wetter scraps, check the tap and the grate, and confirm the second spigot hole is closed |
| Excessive liquid | Overly wet scraps or fruit added in large quantity | Drain every two days, drain it into the garden soil rather than the sink, and reduce the amount of very wet food |
| Nothing is happening after a month | Cold room, an old or inactive batch of bran, or a bin that is mostly paper | Move the bin somewhere warmer, use fresh bran, and keep a balance of soft scraps to dry material |
How Is Bokashi Different from Regular Composting?
Bokashi ferments food sealed inside your kitchen. Outdoor hot composting builds a warm pile outdoors that cooks what goes into it. Worm composting uses worms and bedding in a ventilated bin. All three divert food waste, and each suits a different home.
| Criterion | Bokashi | Outdoor hot compost | Worm bin |
|---|---|---|---|
| Space needed | Countertop space | A yard, ideally 1 m or more | Bench or balcony space, sheltered |
| Oxygen needed | None, bin is sealed | Regular turning | Constant airflow |
| Time to usable material | 2 weeks fermenting, 2 to 4 weeks in soil | 2 to 6 months | 3 to 6 months |
| Odour and pests | Low, if drained and sealed | Can attract flies, maggots and rodents | Low, kept moist |
| Meat and dairy | Accepted in small amounts | Accepted in a hot pile | Avoided |
| Output | Pre-compost plus liquid feed | Mature compost | Worm castings and bedding |
| Extra step | Bury or cure before planting | None, it is finished | None once castings are ready |
Keep both going if you have a yard. Bokashi pre-compost can be layered into a worm bin or mixed into a hot pile to give the worms and the thermophilic bacteria a head start.
Is Bokashi Composting Worth It?
Worth it if you have no yard, if flies and rodents pushed you away from composting earlier, or if you want to handle cooked food and small amounts of meat. The counter works in a flat, the process is fast, and the drained liquid gives you a bonus feed.
Less worth it if you already run a healthy outdoor pile, if you cannot bury or cure the fermented material afterwards, or if your local waste service will not accept the pre-compost. You also keep buying bran, and two bins are close to essential once you are past the first fortnight.
Check whether your municipality collects food waste separately. Many cities now do, and that service may suit you better than storing a bucket in a warm kitchen.
Frequently Asked Questions
Does bokashi composting smell bad?
A healthy bokashi bin smells clean and sour, close to sauerkraut or a pickle jar. That scent is a sign the fermentation is working. A rotten, hot smell means liquid was left too long, the lid opened repeatedly or too little bran was used. Drain the liquid, sprinkle on fresh bran, press down and reseal. Most batches recover within a week.
Can I add meat, dairy or oily foods to bokashi?
Yes, in small amounts, and this is where bokashi beats most home systems. Chop meat and fish into small pieces, add a little extra bran on top, and keep oily foods to a modest share of each layer. Large quantities of fat or dairy can overwhelm the acid balance, so mix them with dry material such as bran, sawdust or shredded paper.
How often should I drain liquid from a bokashi bin?
Once or twice a week is enough during normal use, and every two days in hot weather or when you add very wet scraps such as melon rind or salad leaves. The liquid is the clearest sign that fermentation is active. If it stops appearing, the feed is probably too dry. Pour it into a jar for use as a dilute feed or rinse it down the drain.
Can bokashi compost be used directly in pots?
Not straight from the bin, because fresh bokashi is still acidic and can scorch roots. Bury it 20 to 25 cm deep in garden soil and wait two to four weeks, or mix one part bokashi with four or five parts of a mature potting compost before adding it to containers. If you only have pots, cure the bokashi in a damp soil factory container until the smell turns earthy.
How long does a bokashi batch take after the lid is closed?
Most batches ferment well in two to three weeks, and four weeks in a cool room or a garage. Fill the bucket in about a week, then leave it sealed and untouched. You will know it is ready when the material is dark and pressed flat and smells pleasantly sour. After that it still needs two to four weeks buried in soil before it is safe around plant roots.
Where to Start With Bokashi Composting
Start with one bucket, keep it by the kitchen, and chop your scraps small. Layer food, bran, press down, drain once a week and leave it sealed when you have finished.
Buy a second bucket before you need it, because a fermenting bin you cannot empty is the usual reason people give up. If you have no soil, plan the soil factory or the container curing step now so the finished batch has somewhere to go. Everything else in this guide can wait a month; the setup is what decides whether you keep going.