Vermicomposting for beginners with worms takes about 20 minutes to set up and costs almost nothing if you use two buckets you already own. You put damp bedding in a dark container, add red wigglers, and feed them kitchen scraps in small amounts. The worms eat the scraps and leave behind fine, dark castings that you can use straight on houseplants or garden beds.
That is the whole idea. Worms do the turning, the shredding and most of the smell control, which is why vermicomposting works indoors and in flats where a normal compost pile is impossible. Below is the setup I would follow, the mistakes that kill the most bins, and how to fix a bin that already smells wrong.
Table of Contents
- How to start vermicomposting for beginners in 5 steps
- What You Need
- The bin
- Bedding
- Worms
- Choosing a worm species for vermicomposting for beginners
- Step-by-Step
- Prepare the bedding
- Add the worms
- Feed the worms gradually
- Maintain moisture, airflow, and temperature
- Harvest the finished compost
- Common Mistakes
- Troubleshooting: what you see, what is happening, what to do
- Tips for a Healthy Worm Bin
- Freeze your food scraps
- Match the bin size to your real waste
- Do not over-manage it
- Know that leachate is not worm tea
- Use the castings straight away, and thinly
- Let the worms go outdoors if you want to
- Frequently Asked Questions
- Can I keep a worm bin indoors?
- Why does my worm bin smell bad?
- How often should I feed my worms?
- Which kitchen scraps are safe for worms?
- How long does vermicompost take to finish?
- What should I do if my worms are dying or disappearing?
- Conclusion
How to start vermicomposting for beginners in 5 steps
- Make the bin. Nest one container inside another, drill a dozen small drainage holes in the sides and the base of the inner one, and put a short layer of shredded paper or cardboard in the bottom as a false floor.
- Build the bedding. Fill the inner container with 10 to 15 cm of shredded newspaper, corrugated cardboard, or coco coir. Dampen it until it feels like a wrung-out sponge.
- Add the worms. Tip about 500 to 1,000 red wigglers (roughly a cupful) onto the surface and leave the lid off for a few minutes so they settle instead of bolting.
- Feed lightly at first. Start with a small handful of soft scraps buried in one corner. A new bin eats far less than most beginners think, and a population grows to match what you feed it.
- Feed, cover and check weekly. Add scraps every three to seven days, bury them under a thin layer of bedding, and keep the whole thing as damp as a sponge you have squeezed.
Do not skip ahead. The single biggest reason a first bin fails is feeding it as though the worms were already at full size.
What You Need
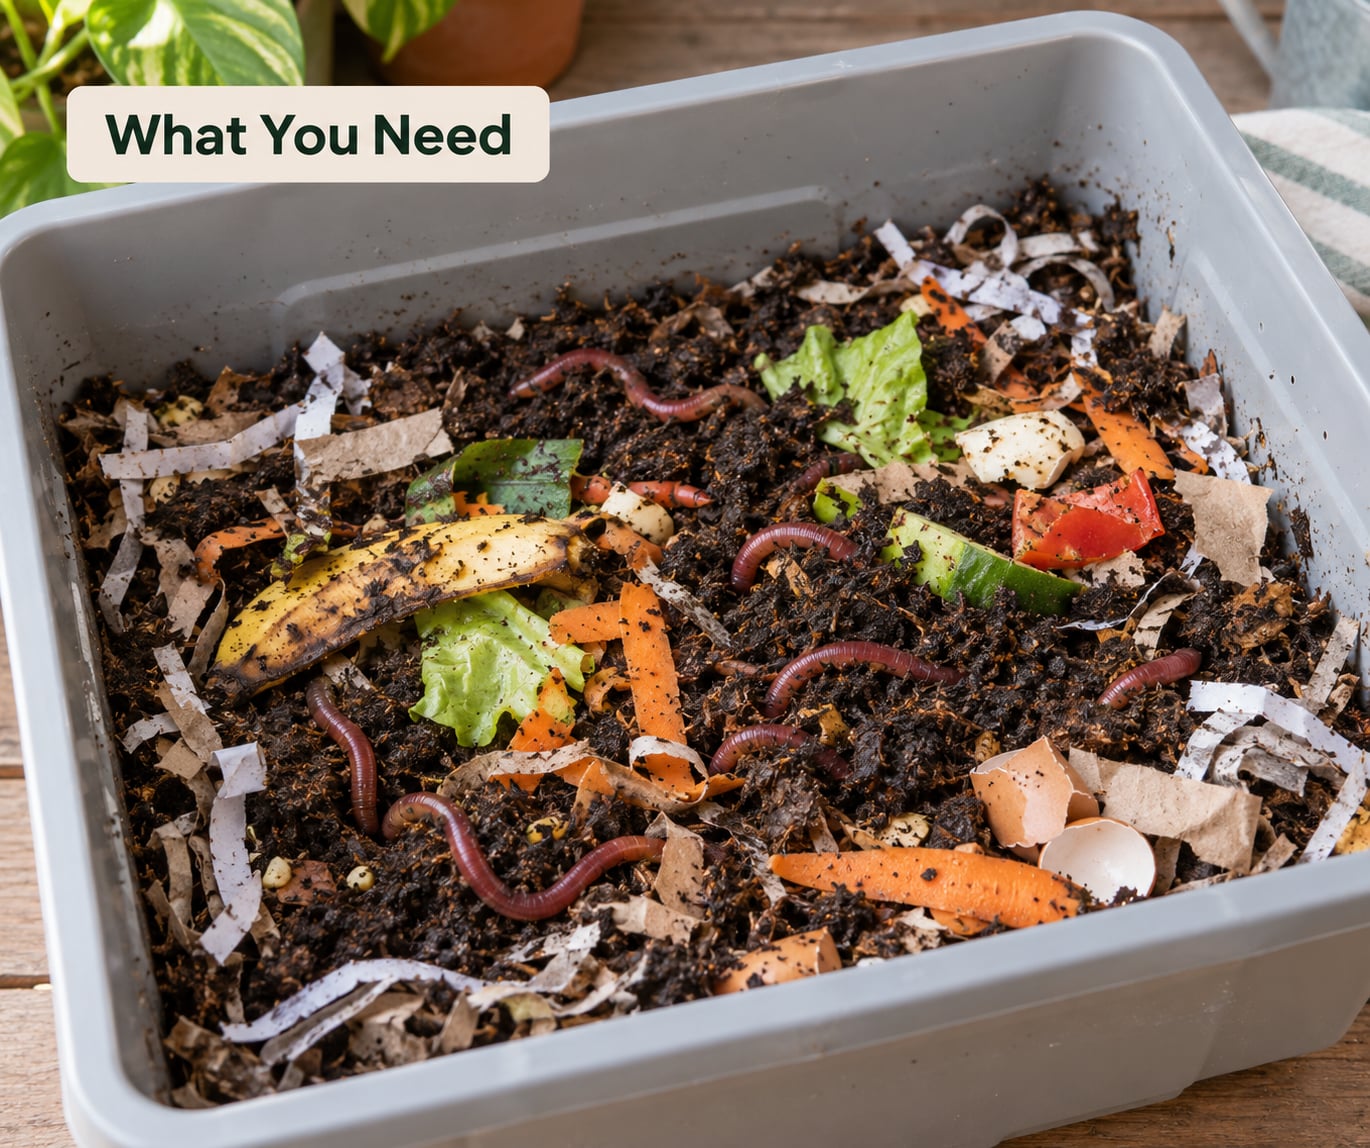
Most of this list you already have. The essentials are the container, the bedding and the worms; everything else is either free or a small one-off purchase.
The bin
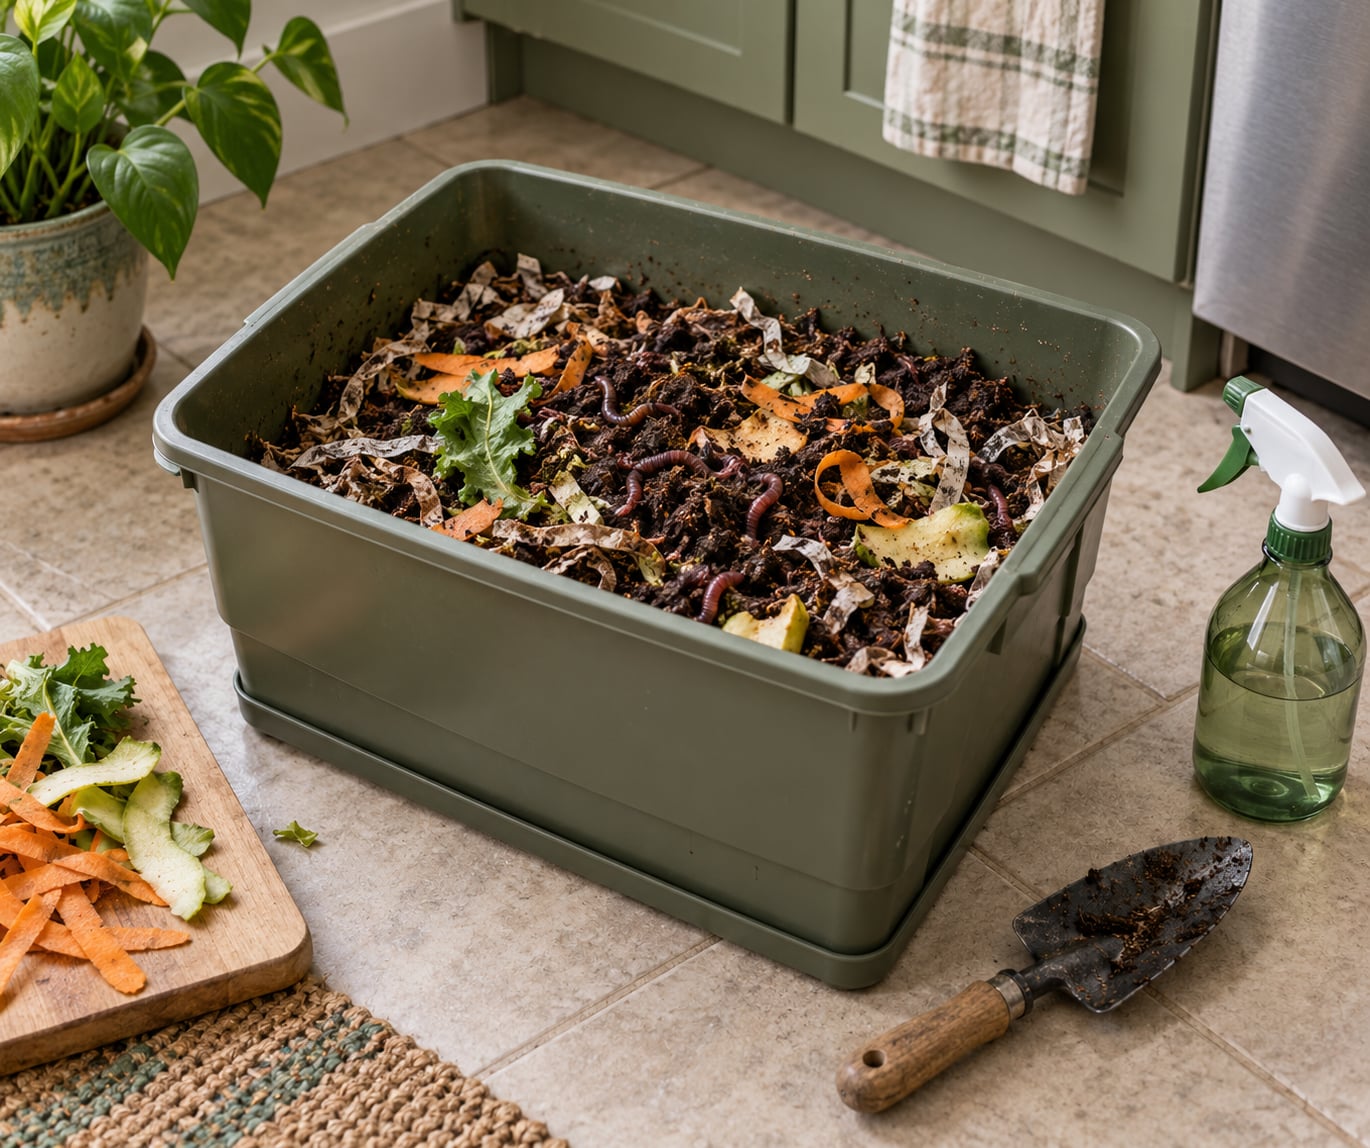
Two 5-gallon buckets or storage totes work well. The outer one catches leachate, the inner one holds the worms, and holes in the inner one give airflow and drainage. Some people skip the inner bucket and drill a dozen holes in a single tote with a tray underneath, which does the same job with less fuss.
Colour matters more than most guides admit. A bin needs to be dark, because light keeps worms at the bottom and makes them unhappy. Black or solid dark grey plastic is better than clear, and a deep tote keeps the interior dark even when the room is bright.
Bedding
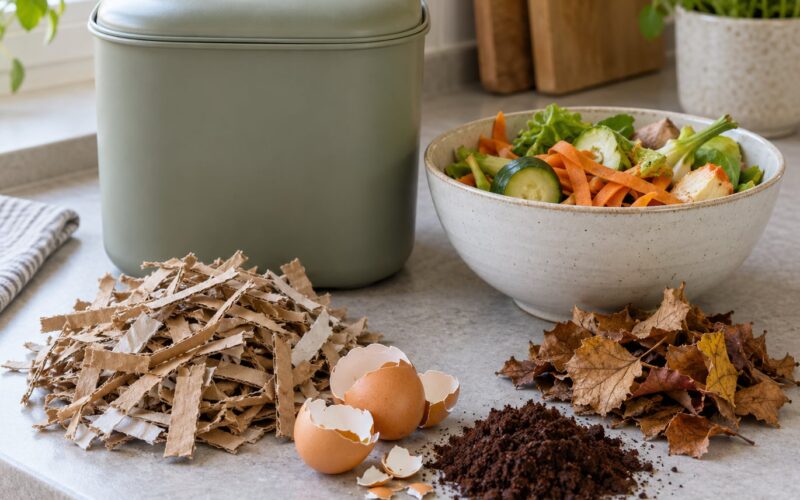
Bedding is not soil. It is a carbon-rich, absorbent, airy base that holds moisture without sealing itself shut. Shredded newspaper, torn corrugated cardboard and coco coir are the three that work every time.
Crumpled whole paper, unglued office paper and glossy magazine paper do not break down properly and clump. If you buy nothing else, buy a bale of shredded corrugated cardboard.
Worms
Red wigglers, sold by the pound or the cup, are the standard choice for a home bin. So are shredded office paper, a trowel or fork for digging, and a spray bottle or a jug of water for adding moisture. Paper or newspaper for burying scraps, and a piece of burlap or a second lid section for darkness, round out the kit.
A cheap thermometer matters more in a hot climate than anywhere else. It lets you check the bin in a heatwave instead of guessing. Skip the worm tea brewers, the odour filters and the fancy heating mats; they add cost without adding results.
Choosing a worm species for vermicomposting for beginners
Red wigglers (Eisenia fetida) are the usual answer because they tolerate the temperature swings of a household bin, breed fast, and stay put in the bedding instead of wandering off. They are the worms sold by the cup at garden centres and in the small tubs that arrive by post.
When you buy, ask two things: what species is it, and when was it shipped. Some sellers ship worms that have been held in storage for weeks, and stressed worms take a long time to establish. A seller who will tell you the species and the dispatch date is a good sign. A seller who will not is not.
Do not dig worms out of a garden, a park or a compost heap. Those are often a different, slower species, and you may be bringing in predators or weed seeds with them. Worms bought from a proper supplier arrive with a healthy worm population already established.
Step-by-Step
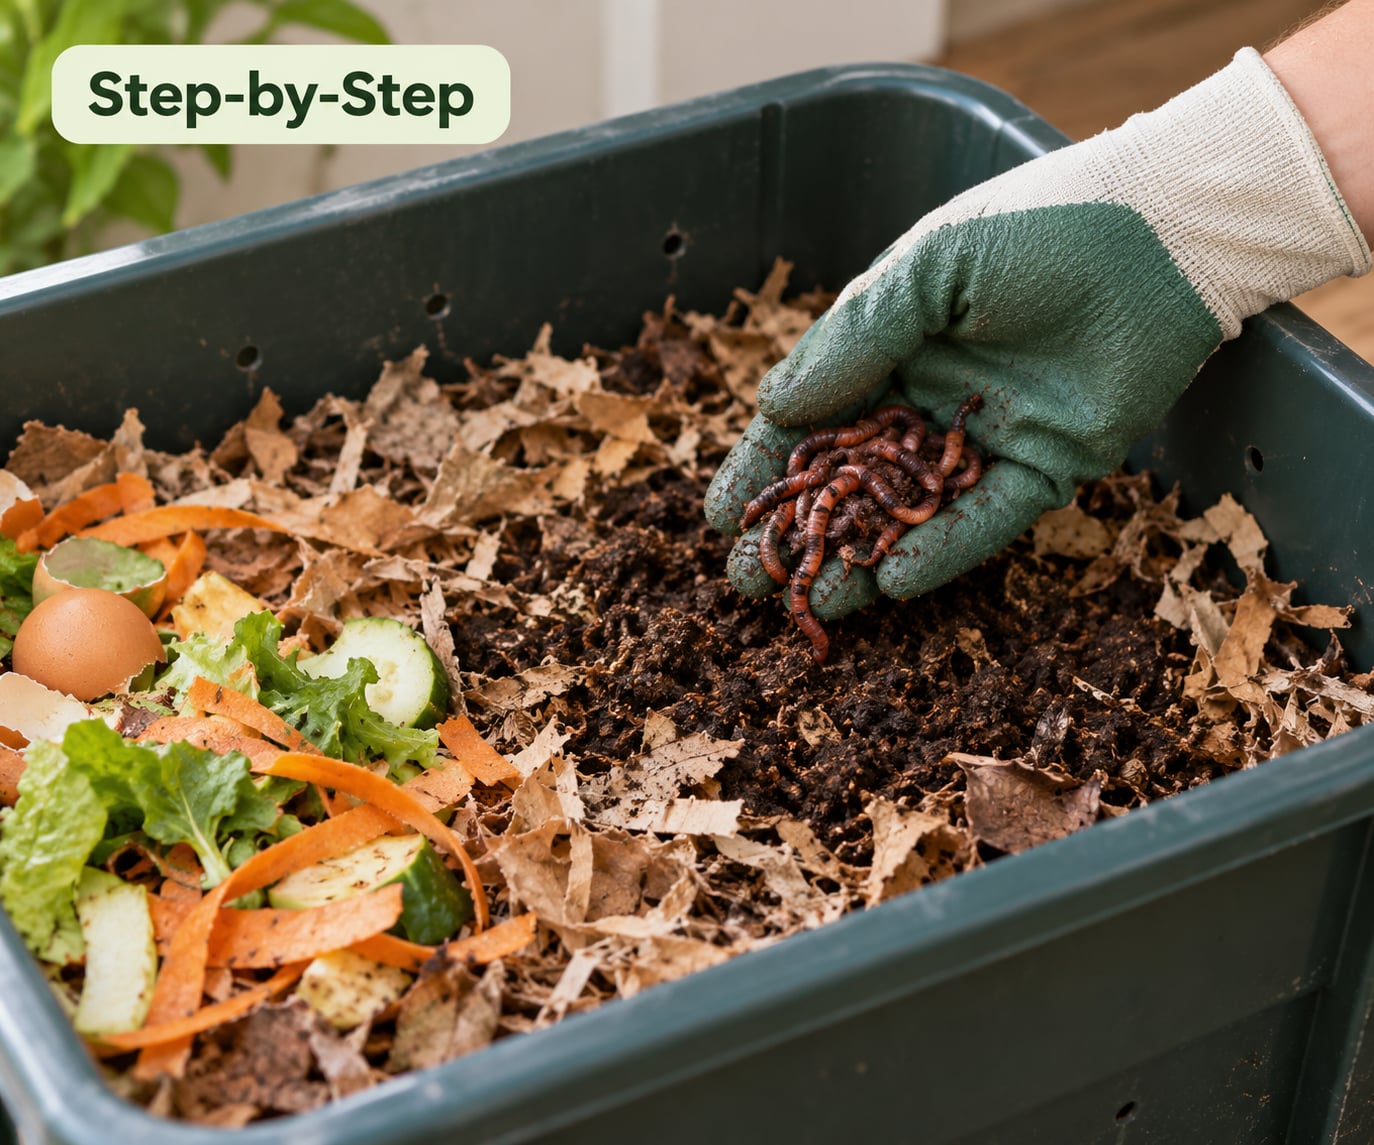
Take this in order. Each step assumes the one before it worked, and each has a sign that tells you it did.
Prepare the bedding
Fill the inner container with 10 to 15 cm of shredded material. Wet it thoroughly with plain water, squeeze a handful, and it should clump and then break apart when you rub it. If it drips you have too much water; if it falls apart dry you need more.
Distribute the bedding evenly and press down any air pockets, because a trapped pocket of dry air is where worms refuse to go. Leave a few centimetres of headroom under the lid. If you mix shredded paper with a handful of crushed eggshells and a spoon of garden lime, the worms get the calcium and pH buffer they need as the bedding breaks down.
You know it worked when the whole bin feels uniformly cool and damp and smells like damp earth rather than wet cardboard.
Add the worms
Tip the worms onto the surface in one spot rather than scattering them. Burying them shocks them and you will lose a good share to the walls and the lid. Instead, leave the lid off or slightly ajar for a few minutes in dim light and let them wriggle down on their own.
About 500 to 1,000 worms is right for a 10-gallon bucket, roughly one pound by weight. That sounds small for the volume, and it is: the population multiplies once you start feeding. Many people lose the first ten days to overfeeding before the colony has grown into the space.
They have settled when you find them spread through the bedding instead of still sitting in a clump where you poured them.
Feed the worms gradually
Start with a handful of soft scraps. Bury them in one corner under a thin bedding layer so the smell stays contained, and hold back on the food for the first three or four days while the colony adjusts.
Red wigglers eat roughly their own weight in food per week, not half their weight each day as some sites claim. A 500-worm starter population is around a quarter of the way to a pound of worms, so start with a few hundred grams of soft scraps a week and judge from what is left over. If the previous meal is still visible on the surface, wait.
Keep a simple feeding record for the first two months: what you added, roughly how much, and on what day. It sounds fussy, and it is the fastest way to find the amount your bin actually wants. Most bins settle somewhere around one small handful every three to five days.
Worms love / worms hate, settled once so you can stop guessing:
| Good | Avoid |
|---|---|
| Vegetable peelings and ends | Meat, fish and bone |
| Coffee grounds and paper filters | Dairy and cheese |
| Crushed eggshells | Onion and garlic in quantity |
| Tea leaves and spent grounds | Citrus peel in large amounts |
| Wilted greens and garden trimmings | Oily or fried food |
| Fruit cores and small amounts of bread or pasta | Anything sprayed, treated or chemically contaminated |
On coffee grounds, the argument about acidity is mostly settled: the pH of the bin barely moves, because the bedding buffers it. Grounds are a useful nitrogen source and most keepers feed them freely. The real limits are quantity and what came in with the filters.
Citrus and onion are the two that get flagged as both good and bad across sources. Small amounts are fine and add variety. A whole orange peel dumped in one go is what causes problems. Same rule for everything new: a little, buried, and see how the bin smells the next day.
Worms tell you when they are hungry by moving toward the top of the bedding, near the lid and the light source. Feeding on those days is enough of a signal.
Maintain moisture, airflow, and temperature
Pick up a handful of bedding from the middle of the bin and squeeze it. It should feel like a sponge you have wrung out: cool, damp, and it should hold together without dripping. Squeeze a little harder and see if a drop or two comes out; that is wet enough.
Airflow matters as much as water. Airtight plastic without holes is anaerobic, and anaerobic bedding smells like a rubbish heap because bacteria that need oxygen are replaced by bacteria that do not. Drill holes in the sides and the base, keep the lid on but not sealed, and fluff the bedding with a trowel once a week if you notice it settling into a flat layer.
Red wigglers do their best work between about 10 °C and 30 °C. In a hot dry summer, shade the bin from direct sun, cover it with a piece of burlap, and feed early in the morning when the air is cool. Frozen water bottles laid on the bedding at night pull heat out and release it through the day. In cold weather, move the bin away from a cold window and, in a very cold flat, keep it near but not against a warm wall.
You can see problems before you smell them. Worms climbing the walls in a mass are almost always too hot, too wet, too acidic or too sudden a change in pH, not content.
Harvest the finished compost
A working bin produces finished compost in roughly three to six months, and most beginners should not harvest before the second half of that. Stop feeding for one to two weeks and place a fresh pile of scraps in one corner. The worms migrate toward the food, leaving you clear castings to lift out from the other side. This is the shifting method, and it is gentler than sieving.
Then pick through the clear material, return every healthy worm to a fresh batch of bedding, and sift the rest through a coarse screen if you want a finer texture. Do not throw out the strays and do not wash them, because that kills them.
You know the compost is finished when it is dark, crumbly, smells earthy and contains no recognisable scraps.
A second harvest follows the same way: stop feeding again, shift the food, pick the worms out, and set them aside in a jar of damp bedding with a lid until you have enough to restart.
Common Mistakes
Almost every failed bin comes down to one of these five things, and all five are fixable.
- Overfeeding. More food than the colony can eat produces protein poisoning, a sharp ammonia smell and heat that kills the worms. Feed the previous amount only, wait, and increase slowly as the population grows.
- Using potting soil instead of bedding. Soil is dense and not absorbent, so it packs down and goes anaerobic. Some people succeed on soil for a few weeks, and the bin sours right after the food gets heavier.
- Wrong moisture. Bone dry bedding dries the worms out and they escape; waterlogged bedding starves them of oxygen. Test a handful from the middle every week rather than guessing from the top.
- An airtight bin. Drilled holes are not a detail, they are the whole ventilation system. If you have one container with a sealed lid, the bin will stink within days.
- The wrong food, or too much of it at once. Meat, dairy, oily food, cooked rice, citrus in quantity and anything chemically treated will sour a bin fast. Add new foods one at a time in small amounts.
Troubleshooting: what you see, what is happening, what to do
| Problem | What is actually happening | Fix |
|---|---|---|
| Strong sour or ammonia smell | Overfeeding or an anaerobic bin | Stop feeding for two weeks, add shredded cardboard, stir the top layer |
| Fruit flies around the bin | Exposed fruit and veg scraps | Freeze scraps before adding them, bury food 5 cm deep, keep the lid on |
| Worms climbing the walls and escaping | Heat, over-wet bedding or sour conditions | Move the bin out of sun, add dry shredded paper, reduce food and water |
| Worms are pale, swollen or unusually thin | Protein poisoning from too much soft food | Feed only bedding for two weeks, add crushed eggshells |
| Thin white thread-like worms | Pot worms or springtails, harmless fungus gnats’ relatives | Nothing to do; they return to balance on their own |
| Nothing is happening in the bin | Too cold, too dry or too new | Warm to room temperature, dampen, check that food is buried not floating |
If fruit flies are already inside the bin, freeze everything in it for two days, then restart with fresh bedding and worms. That is the only reliable reset, and it works better than any spray.
Tips for a Healthy Worm Bin
Freeze your food scraps
A household generates scraps faster than a small bin can eat them, and that gap is where fruit flies come from. Keep a lidded container or a bag of scraps in the freezer and add two or three frozen handfuls at a time. Freezing also kills any pests riding in on the food.
Match the bin size to your real waste
Red wigglers eat roughly their own weight in food per week, which means one well-fed 10-gallon bin handles far less than most kitchens produce. A household generating about 8 lbs (4 kg) of scraps a week needs at least three bins at full population. Count your scraps for a week before deciding how many bins you need.
Do not over-manage it
Leave the bedding alone. Peeking, stirring and moving the worms around every few days stresses them and disturbs the fungal balance that makes the bin work. A weekly check on the outside of the container is enough.
Know that leachate is not worm tea
Leachate is the brown liquid that collects in the bottom tray. Worm tea is a different thing entirely: it is castings soaked in water, usually for 24 hours or more. Leachate is mostly water that has run through digested waste, so it is thin on nutrients, and it can burn plants if you pour it on at full strength. Use it diluted, or pour it out and refill the tray with plain water.
Use the castings straight away, and thinly
Sieve the finished compost and mix it at roughly one part castings to three or four parts potting mix or garden soil. Undiluted castings are strong enough to scorch roots, so a handful stirred through a container is plenty. You can also top-dress pots with a thin layer, or blend a teaspoon into a watering can for houseplants.
Let the worms go outdoors if you want to
It is often said that red wigglers cannot live in garden soil. In practice they can survive in decent garden soil, though they will spread and become harder to count. If you release them, do it in spring or autumn, in moist soil with plenty of organic matter, and not where you expect to keep harvesting.
Frequently Asked Questions
Can I keep a worm bin indoors?
Yes. A worm bin indoors is the normal way to vermicompost, and most home worm bins never leave a kitchen. Keep the container dark, away from direct sun and heaters, and close to a tap so you can top up water. Cover the bin with a card or burlap if light leaks in, and never wash the container out with detergent.
Why does my worm bin smell bad?
A healthy bin smells like damp earth and nothing more. A sour or sharp smell almost always means too much food for the current worm population, or bedding that has gone anaerobic because the bin cannot breathe. Stop feeding for two weeks, add a handful of shredded cardboard, stir the top layer, and check that your container has drainage and air holes.
How often should I feed my worms?
Every three to seven days once the colony is established, and less often in the first month. Red wigglers eat roughly their own weight in food per week, so a small starting population handles only a few hundred grams. Watch what remains rather than following a schedule: if the last meal is still visible on the surface, wait. Buried food also keeps fruit flies out.
Which kitchen scraps are safe for worms?
Safe scraps include vegetable peelings, coffee grounds and paper filters, crushed eggshells, tea leaves, wilted greens, fruit cores and small amounts of bread or plain pasta. Skip meat, fish, dairy, oily food, cooked rice, and anything with a lot of citrus or onion. Add new foods one at a time in small amounts, and bury everything 5 cm under the bedding.
How long does vermicompost take to finish?
Expect three to six months for a first batch, longer if the bin is small or the food supply is thin. Compost is finished when it is dark, crumbly, smells earthy and holds no recognisable scraps. Speed it up by stopping feeding for one to two weeks, piling fresh food in one corner and lifting out the clear material where the worms have moved away.
What should I do if my worms are dying or disappearing?
Check heat first, then moisture. Worms massing on the walls usually mean the bin is too hot or too wet, so move it out of sun and add dry shredded paper. Pale, swollen worms point to too much soft food, which causes protein poisoning; feed bedding only for two weeks. If the bin is beyond saving, freeze it for two days and restart with fresh bedding and new worms.
Conclusion
Start with bedding and worms, not with food. Two containers, 10 to 15 cm of damp shredded cardboard, and 500 to 1,000 red wigglers is a complete bin, and it costs almost nothing if you improvise. Give the colony a few small feedings over two weeks before you judge it, keep the bedding as damp as a wrung-out sponge, and never seal the lid.
Vermicomposting for beginners with worms is less about technique than patience. Let the bin match your food waste rather than the other way around, freeze the surplus scraps, and the castings will look after themselves.