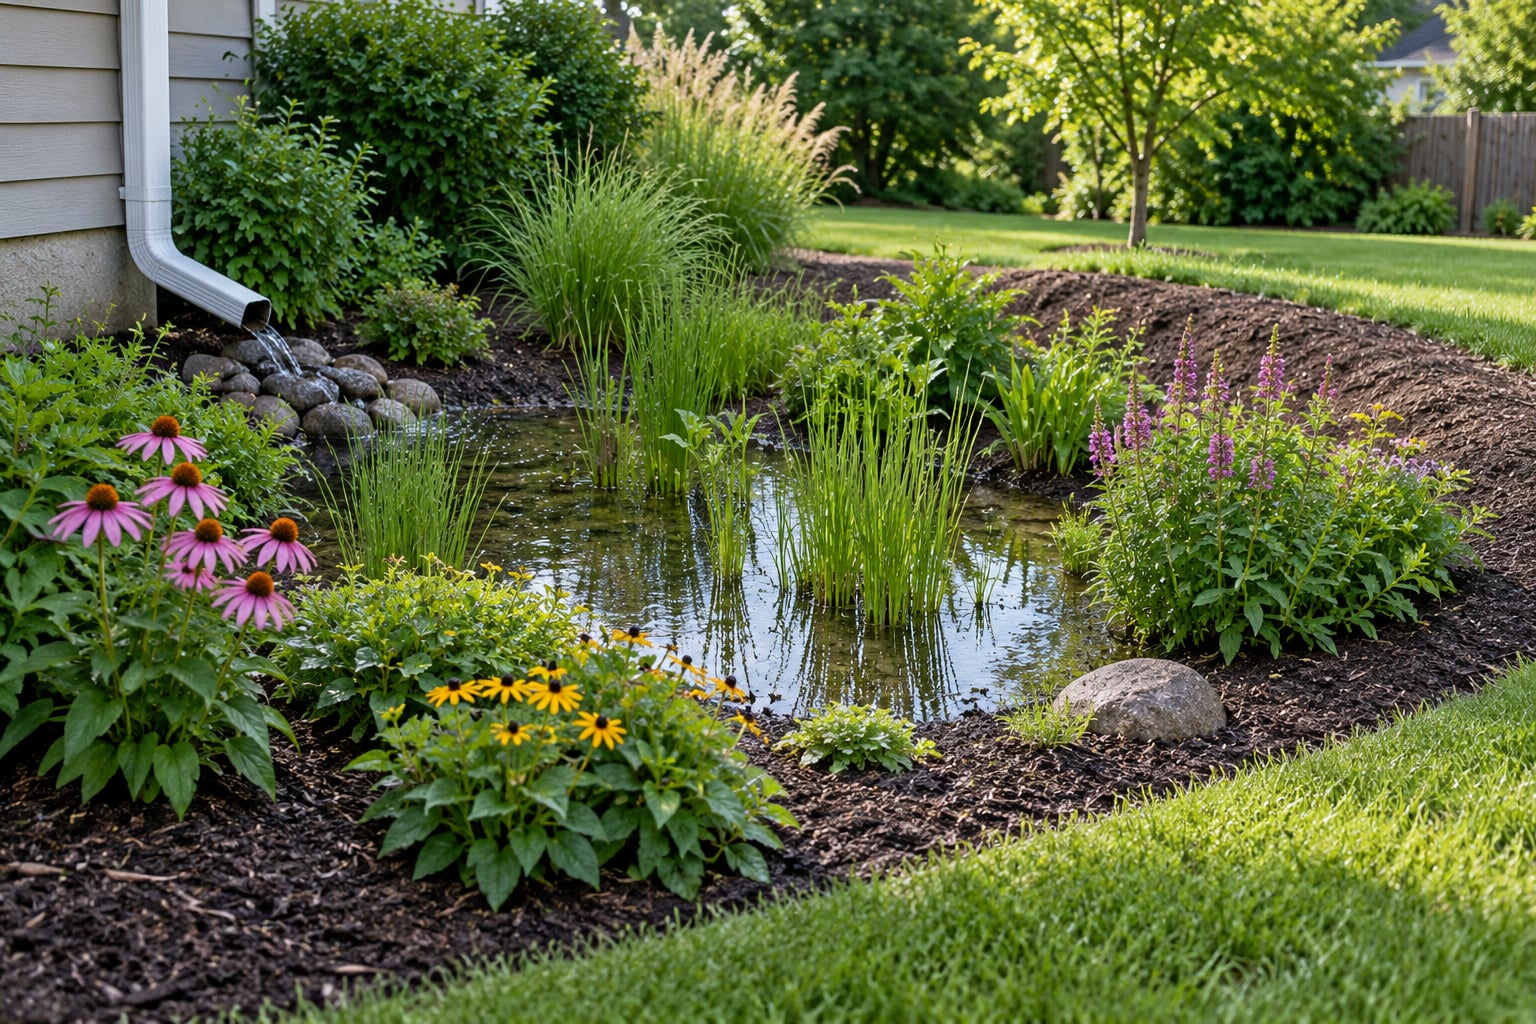
A rain garden is a shallow, sloped depression dug at least 10 feet downhill from your home to capture, filter, and absorb stormwater runoff before it reaches your foundation. Knowing how to build a rain garden to stop yard flooding comes down to five numbers: 10 feet of setback, 2% ground slope away from the house, a basin sized to at least 20% of the impervious area feeding it, 6 to 8 inches of ponding depth, and soil that absorbs an inch of water per hour.
It is a weekend of work for someone comfortable with a shovel, and it works by slowing runoff down until it soaks into the ground. It will not fix a yard that drains a neighbor’s water or a failed municipal line, and I cover those limits below.
Table of Contents
- What You Need
- Step-by-Step
- 1. Map where water collects and where it should go
- 2. Choose a size and shape that fit the drainage problem
- 3. Mark the basin and plan an overflow path
- 4. Dig the basin and improve drainage
- 5. Add soil, mulch and a temporary inlet
- 6. Plant shrubs, grasses and moisture-tolerant perennials
- 7. Test the rain garden and adjust after the first storms
- Common Mistakes
- Maintenance and long-term upkeep
- When to call a drainage professional
- Frequently Asked Questions
- Where should I put a rain garden in my yard?
- Can a rain garden really fix a yard that always floods?
- What soil is best for a rain garden?
- How deep should a rain garden be?
- Will a rain garden breed mosquitoes?
- Can I build a rain garden on a clay-heavy property?
- Conclusion
What You Need
Before you dig anything, gather the information that decides the whole design. A rain garden that intercepts only a third of your roof runoff will overflow in the first real storm, and that is the single most common reason these fail.
Site information first. Watch where water goes during a heavy rain, photograph the puddles with your phone, and note the time they take to drain. A puddle that is gone in an hour and a puddle that sits for three days are two different problems with two different fixes. Find out where your downspouts discharge, measure the roof footprint or the paved area that drains toward the problem spot, and find out where the property line and any septic system sit.
- Measurements: roof or hardscape square footage, distance from the house to the low spot, existing slope, and the spot where water leaves the property today.
- Utility information: call 811 before you dig anything, at least a few days ahead. Private lines to outdoor lights, irrigation, and the irrigation controller are not marked and are the ones people hit.
Tools: a shovel and spade, a tape measure, a level, a hose and a timer for the infiltration test, a wheelbarrow, and a mattock or pick for compacted ground. Stakes and string make laying out the basin far easier than eyeballing it.
Materials: 2 to 3 inches of compost worked into the basin floor, 3 inches of coarse shredded-bark or similar mulch, plants suited to wet periods, and the soil you dig out. That excavated soil becomes the berm on three sides, which is why most gardeners never haul anything away.
For a larger or more complex project — several downspouts, a steep slope, or water arriving from uphill — add a small gravel forebay at the inlet, a perforated pipe underdrain, or a second basin. Those three push the project past what a single weekend handles.
Step-by-Step
1. Map where water collects and where it should go
Stand outside during the next real rain and trace the water. The question is not where the yard is low, it is where the water comes from and where it goes if you give it somewhere else to go. Most flooded yards fall into one of four patterns, and each points to a different inlet for the garden.
- One downspout feeds the puddle. Disconnect it and route it to the garden. Homeowners who moved their downspouts away from the foundation reported the most dramatic change.
- The driveway or patio is the source. The basin belongs downhill of that pavement, with the inlet at its upper edge.
- Water arrives from an uphill neighbor. A rain garden on your property will not fix this on its own. A French drain or swale along the uphill boundary intercepts it first, and that is the most common pairing people ask about in homeowner forums.
- The puddle sits far from any obvious source and takes days to disappear. That points to slow-draining soil, a high water table, or a blocked municipal line, not to a lack of garden.
Also decide the exit. Water you do not infiltrate has to leave slowly, through a defined overflow route on the downhill edge, and never toward a neighbor’s foundation or onto a walkway.
2. Choose a size and shape that fit the drainage problem
Size the basin at a minimum of 20% of the impervious drainage area that feeds it. A 1,200 square foot roof section draining to one corner needs about 240 square feet of basin. Most yards have room for that; the ones that do not need a smaller roof catchment or two separate gardens rather than one oversized one.
Shape matters more than most people expect. A wide, shallow basin drains and infiltrates far better than a deep narrow pit of the same area, and it soaks up more water from the same storm. Keep the side slopes gentle, roughly 4 horizontal to 1 vertical.
Run the soil test before you commit. Dig a hole about 12 inches deep and 6 to 8 inches across, fill it with water, let it drain, then refill it and time how fast the level drops. One inch per hour is the target. A second common protocol uses a 6-inch hole and a 12-hour observation window. If water is still sitting after that, stop and read the clay section below before you design anything.
3. Mark the basin and plan an overflow path
Lay the basin out with stakes and string before moving soil. Two rows of stakes with a taut string run level is the fastest way to get a basin the right depth, and it keeps the berm at a consistent height instead of a guess.
Mark the lowest point of the ponding area, the top of the berm on the three closed sides, and the notch where overflow will leave. Keep the open inflow side on the uphill side. Leave access to the basin so you can pull weeds and check sediment without climbing in on your hands and knees.
4. Dig the basin and improve drainage
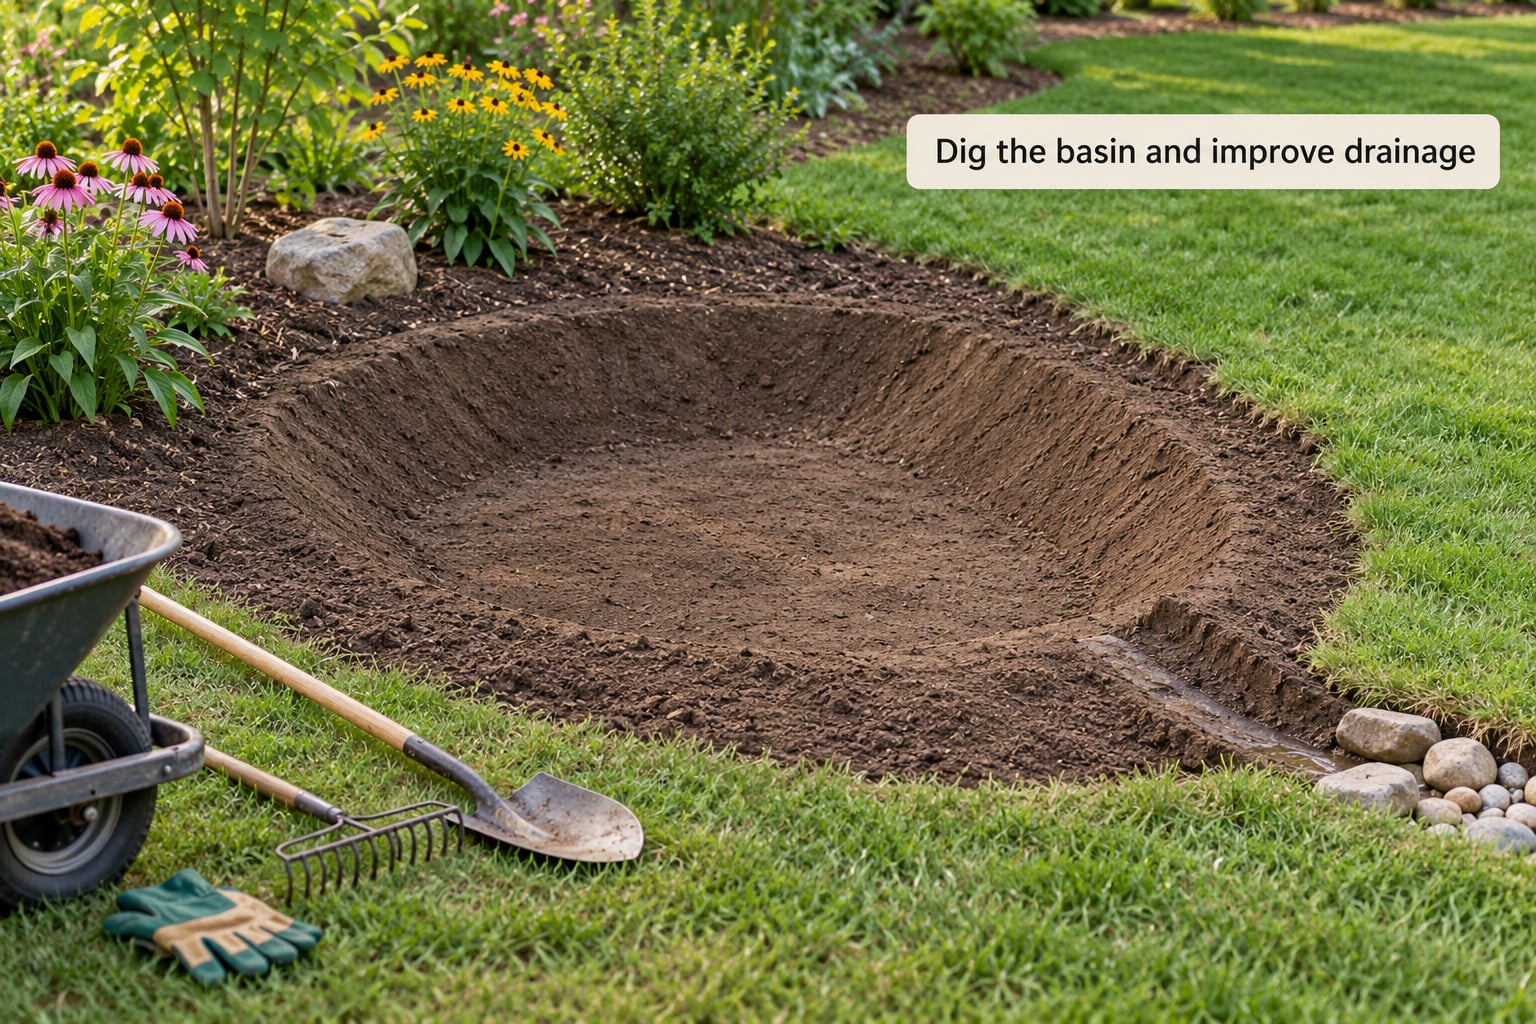
Dig the floor to hold 6 to 8 inches of water and nothing more. Any deeper and the water sits longer than a day, which is both an insect problem and a root-rot problem.
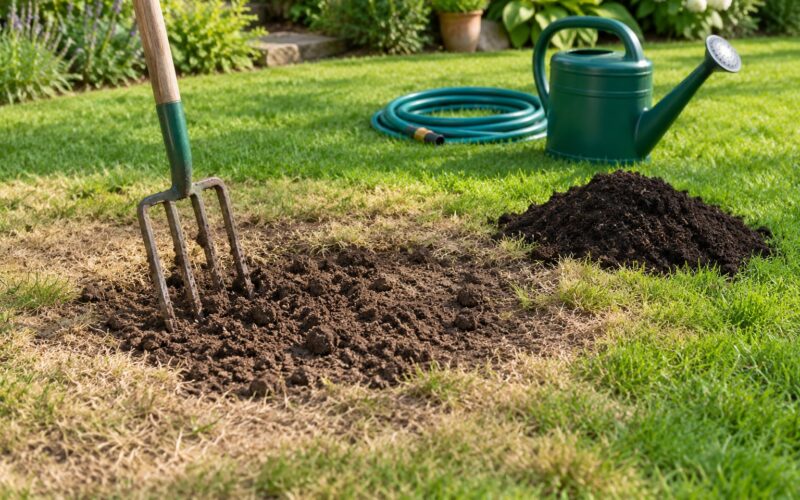
Pull all sod off first, since turf will not survive under mulch in a wet basin. Work the floor with a garden fork or rototiller and break up compacted ground, because soil that has never been disturbed sheds water almost as well as clay. Spread 2 to 3 inches of compost over the basin floor and till it in evenly.
Place the excavated soil along the downhill and side edges to form a berm 4 to 6 inches high. Keep the berm height to no more than one-third of its width, or it slumps the first winter. Leave the uphill side open for the inflow.
5. Add soil, mulch and a temporary inlet
Bring the basin floor up with the compost-amended soil if the original grade left a hollow, then lay 3 inches of mulch over the finished surface. Coarse, washed mulch holds together; fine mulch and rubber pellets wash out and end up in the street, which is a complaint that shows up over and over in homeowner discussions.
For the inlet, a short buried pipe or a rolled section of landscape edging from the downspout to the upper edge is enough. Cut the downspout 4 to 6 inches above grade, aim it into the basin, and add a splash block so it does not scour the mulch. Never aim discharge at the house, and never connect a downspout to a garden that sits within 10 feet of the foundation.
Test the routing with a hose before you plant. Run it hard for ten minutes and confirm the water reaches the basin, spreads across the floor, and drains through the overflow notch rather than sheeting down the berm.
6. Plant shrubs, grasses and moisture-tolerant perennials
Pick plants that handle two very different conditions, since the same spot can hold standing water after a storm and be dry for two weeks in August. Deep-rooted natives are the reliable choice because their roots keep opening channels in the soil year after year. Avoid anything listed as invasive in your region, and skip plants that spread by rhizome into the lawn.
A workable mix is sedges and grasses at the wet centre, rushes and irises where water lingers, moisture-tolerant perennials such as swamp milkweed and butterfly weed on the mid-slope, and a few small shrubs on the drier upper edge. Check the mature height and spread so the centre does not shade itself out, and confirm every species is native to your region before you buy.
7. Test the rain garden and adjust after the first storms
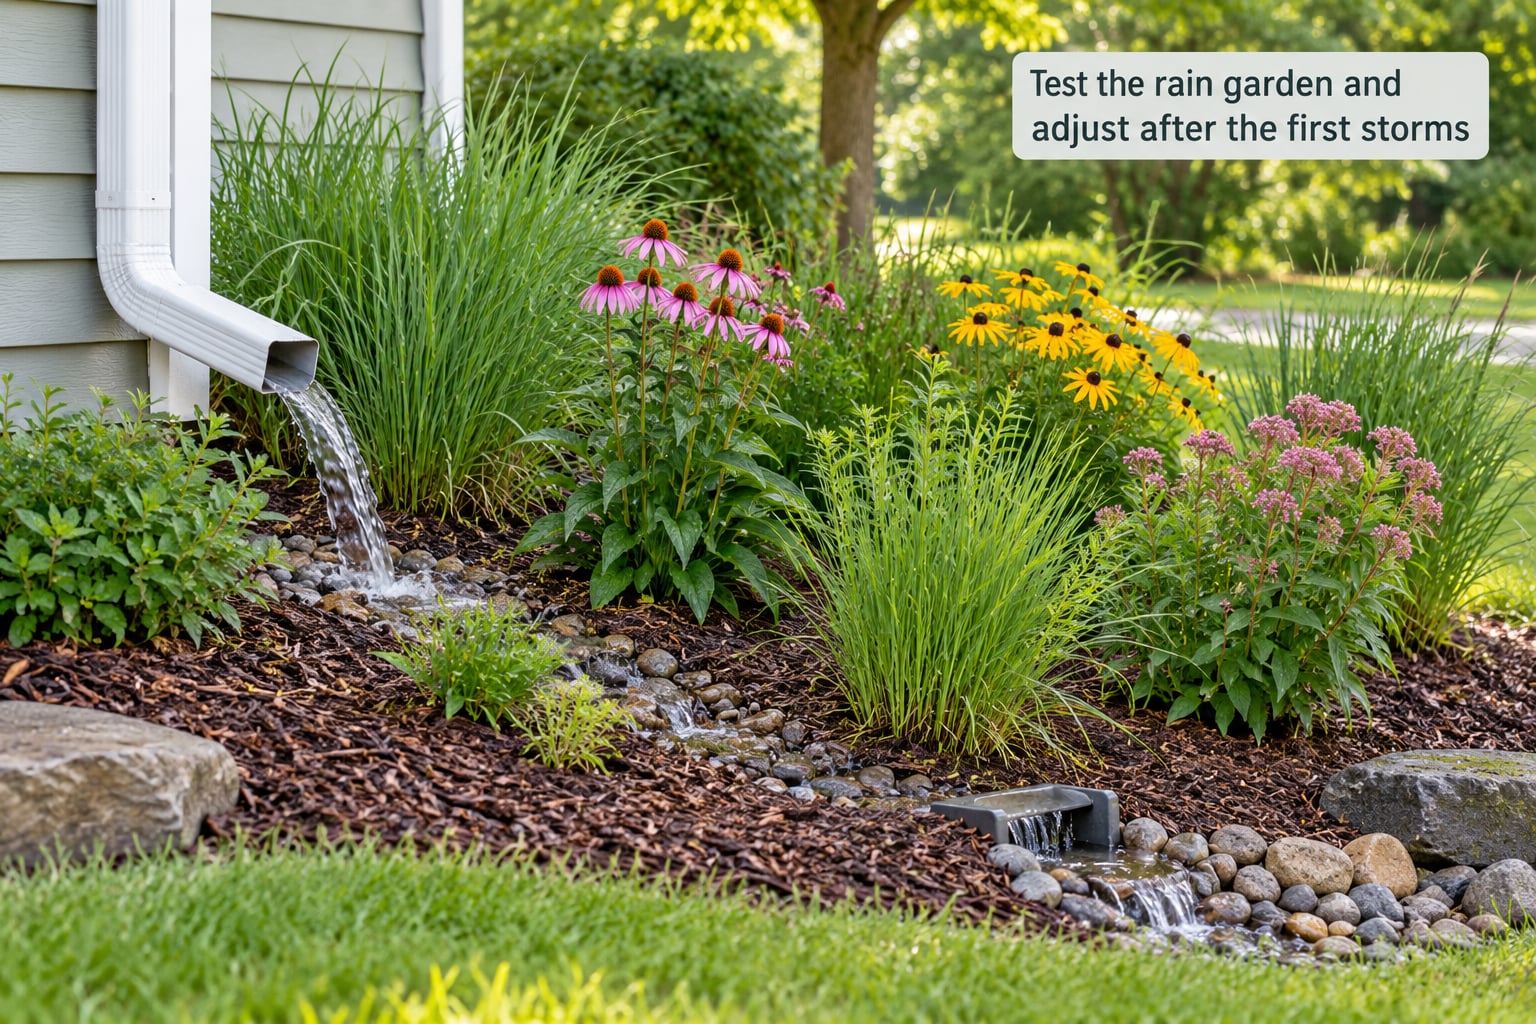
Most rain gardens drain slowly right after construction and speed up as roots and earthworms open the soil. Watch the first two or three real storms and write down what you see.
If water spreads across the whole basin and drains within a day, the design is working. If it spills over the berm instead of through the overflow notch on the first storm, the basin is too small or too shallow, and the fix is to deepen the floor by two or three inches, widen it, or split the inflow between two basins.
If the water never leaves the basin, the soil will not take the water. That is a different failure and a different fix.
Common Mistakes
Almost every failed rain garden I have seen traces back to one of these.
- Placing it too close to the house. Keep it 10 feet out minimum, with ground sloping away from the foundation at 2%.
- Skipping the soil test. If you do not test, you will not know until the garden is full and standing.
- Sizing it too small for the roof. Under 20% of the drainage area and it will overflow every time.
- Building a bathtub with no overflow. Without a defined notch on the downhill edge, excess water erodes the berm.
- Using clay-heavy soil unamended. See below.
- Forgetting to redirect the downspout. A garden that receives no water is a garden that floods nothing.
- Choosing invasive or non-native plants. Aggressive spreaders take the lawn, and shallow-rooted ornamentals die in the first dry summer.
- Using fine mulch. It washes straight out of the basin.
- Skipping the first-summer watering. New plants need a hose for the first one to two summers.
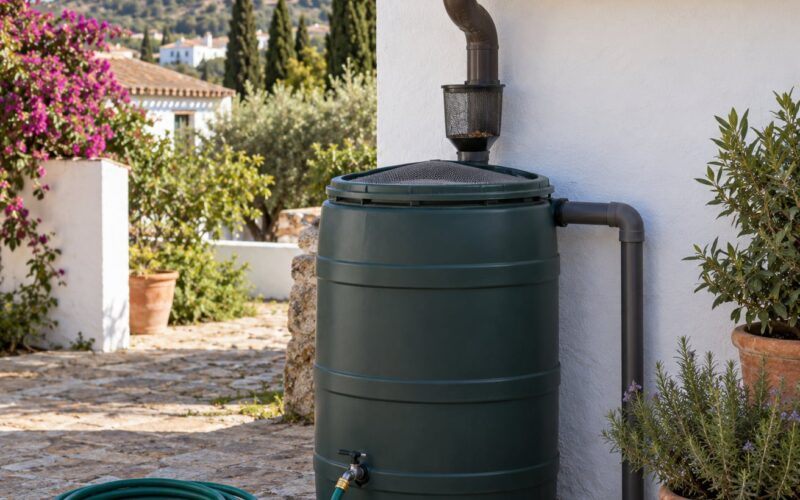
If the soil test fails and water barely moves through your ground, you have three options: amend heavily with 2 to 3 inches of compost across the whole basin and tilled, add an underdrain of perforated pipe in gravel that slowly releases water, or switch approach entirely and use a rain barrel or cistern for a small low corner. Adding aggregate is a fourth option worth a professional’s opinion, since the right size and gradation matter.
Maintenance and long-term upkeep
A rain garden needs about an hour of attention a few times a year once it is established. The first twelve months are the busy part.
- First one to two summers: water the plantings during dry spells so roots establish. New plants in a wet-dry zone fail from drought long before they fail from waterlogging.
- Spring and fall: pull weeds by hand before they seed, and top the mulch back up to 3 to 4 inches. Do not let mulch bury the crowns of the perennials.
- After any storm over an inch: walk the inlet and the overflow notch. Sediment collects at the inlet and, left alone, will eventually fill the basin.
- Once a year: confirm the ponding depth is still 6 to 8 inches and that the berm has not slumped.
Two things trigger real repair work: an inflow that has been completely blocked by sediment for a season, and a basin whose ponding depth has shrunk by half from soil settling. Both are fixable in an afternoon by digging out the sediment and re-establishing the floor.
When to call a drainage professional
Some problems are not a rain garden project, and digging one anyway wastes a weekend and the plants. Get a qualified drainage professional involved if any of these apply.
- Water is coming from a neighbor’s property or a municipal line, not from your own roof and hardscape.
- Water backs up through a basement floor drain or a plumbing fixture during storms.
- There is visible cracking, settling, or a leaning foundation.
- The site has a steep slope, a high water table, or a septic system nearby.
- You suspect contaminated soil, a buried fuel tank, or a former industrial use.
- The yard still floods after a properly sized and amended garden was built and monitored through several storms.
Most municipalities do not require a permit for a small residential rain garden, but stormwater rules vary, and rebates are common through city and utility programs. Check your local stormwater utility before you start, and never build over a septic drain field.
Frequently Asked Questions
Where should I put a rain garden in my yard?
Put it in the low spot where water already collects, at least 10 feet downhill from your foundation, with the inlet on the uphill side and overflow on the downhill side. Ground within 10 feet of the house should slope away at 2%. Stay clear of septic fields, easements, and utilities, and call 811 before digging.
Can a rain garden really fix a yard that always floods?
Yes, when the flooding comes from your own roof or paved surfaces and your soil absorbs about an inch of water per hour. A basin sized to 20% of the impervious area that feeds it will hold and infiltrate that runoff. It will not fix water arriving from a neighbor’s property, a blocked municipal drain, or a basement that backs up through plumbing.
What soil is best for a rain garden?
Loamy soil with some sand drains fast enough and still holds nutrients, and it is what you will usually have under a lawn. Dig a 12-inch hole, fill it, let it drain, refill and time the drop; roughly 1 inch per hour is the target. Amend heavy clay with 2 to 3 inches of compost tilled into the basin floor.
How deep should a rain garden be?
The ponding basin should hold 6 to 8 inches of water at its deepest point, which is the storage depth that lets runoff settle and soak in without standing for more than about a day. The soil you dig out forms a berm 4 to 6 inches high on three sides, and its height should not exceed one-third of its width.
Will a rain garden breed mosquitoes?
A correctly built one will not, because it drains within about 24 hours and mosquito larvae need water that stays. The real risk comes from containers, clogged gutters, and low spots that never drain, not from a basin designed to infiltrate. If water is still sitting two days after a storm, the design or the soil is the problem to fix.
Can I build a rain garden on a clay-heavy property?
Usually yes, with work. Amend the whole basin with 2 to 3 inches of compost and till it well, consider a gravel layer, or install an underdrain of perforated pipe in gravel to release water slowly. If the area is tiny and slow to drain, a rain barrel or cistern that empties to a planted bed is a better fit than a basin.
Conclusion
Start before you buy anything. Watch the next heavy rain, note where the water enters your yard and where it pools, and photograph the puddle. Those two observations decide the inlet, the size, and the overflow route.
Then run the 12-inch hole test in the spot you have in mind. If it takes about an hour for the water to drop an inch, you can build this over a weekend and it will handle your roof runoff. Updated for 2026, the numbers in this guide match what extension services and municipal stormwater programs currently recommend, so your basin will fit the standard.