Yes, you can find the worst air leaks in your house without a blower door test. Hold a lit incense stick or a smoke pencil near suspect gaps on a windy day, turn on your kitchen and bath exhaust fans first to make the house pull harder, and watch the smoke bend. You will not get a CFM50 number, but you will find most of the holes worth fixing.
The honest limit is worth saying up front. A blower door test measures the whole envelope at a known pressure difference of 50 pascals and tells you whether your house is at 3 or 12 air changes per hour. Smoke and tissue tell you where air is moving on one day, in one wind condition, at one point in the stack. That is enough to hunt leaks and plan repairs, not enough to certify a result.
Here is the method I would use, in the order I would use it.
Table of Contents
- What You Need
- Step-by-Step: How to Find Air Leaks Without a Blower Door
- Step 1: Inspect the Obvious Weak Points
- Step 2: Use Smoke, Incense, or a Pencil
- Step 3: Check With Tissue, Paper, and Handheld Tools
- Step 4: Compare Inside and Outside Conditions
- Step 5: Record and Prioritise the Findings
- Common Mistakes
- Frequently Asked Questions
- How can I identify air leaks in my house?
- What are the three types of leak detection?
- How do they do a blower door test?
- How can I test the air tightness of my house without a blower door?
- How much air leakage should a house have?
- Can I do a home energy audit myself?
- Start With a Systematic Room-by-Room Check
What You Need
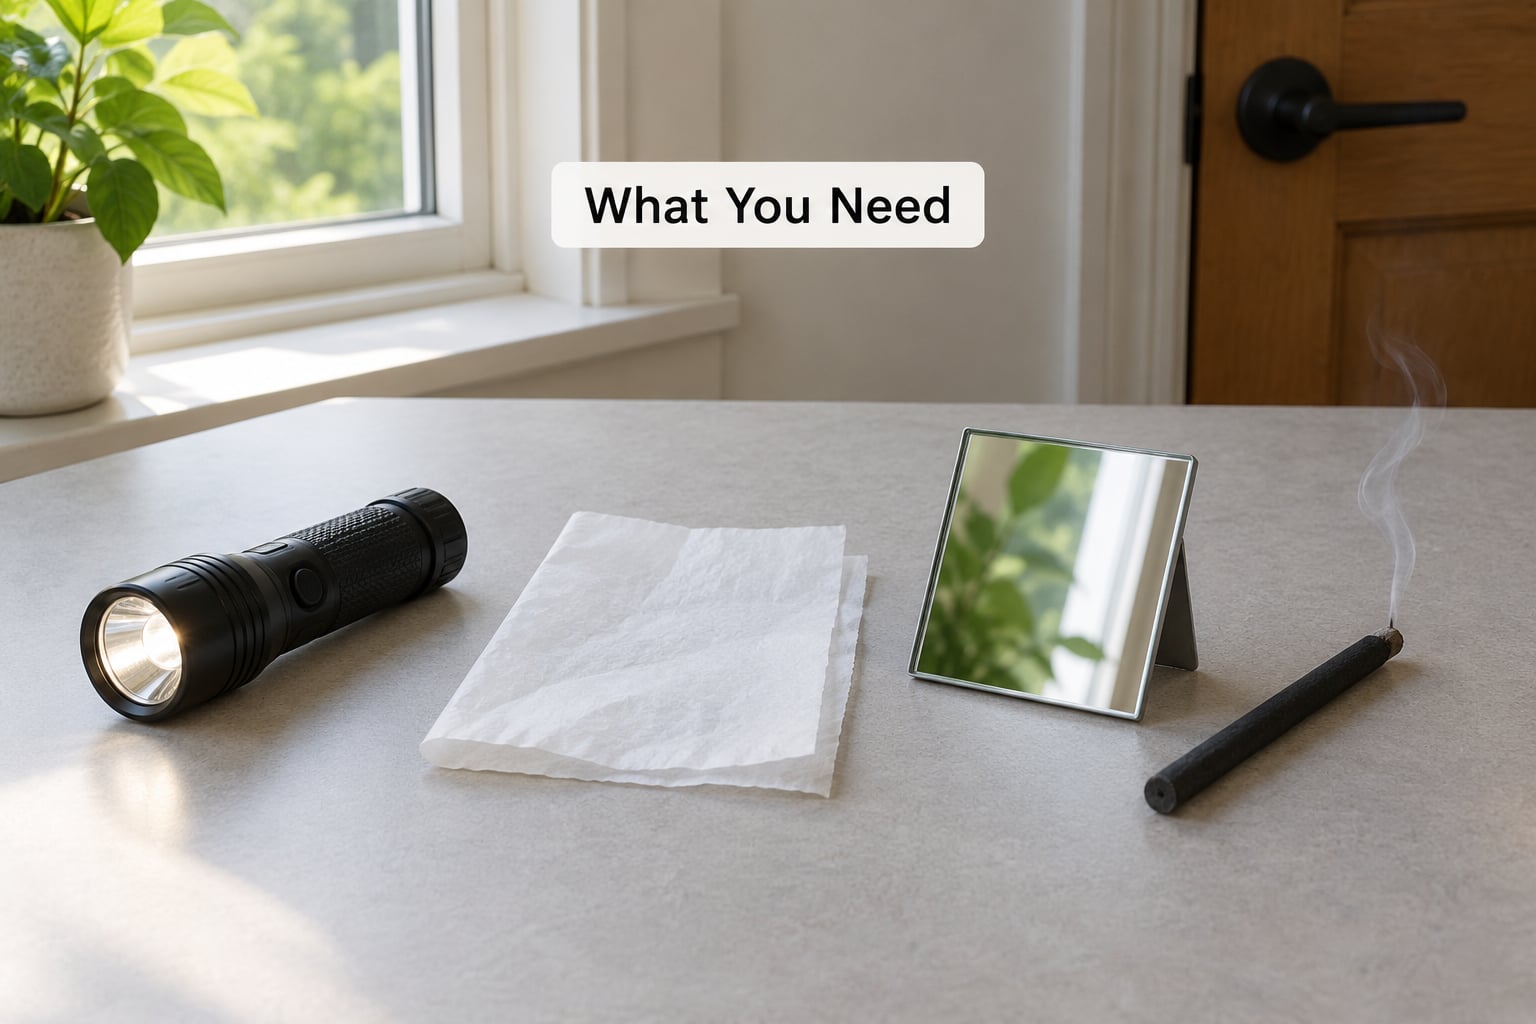
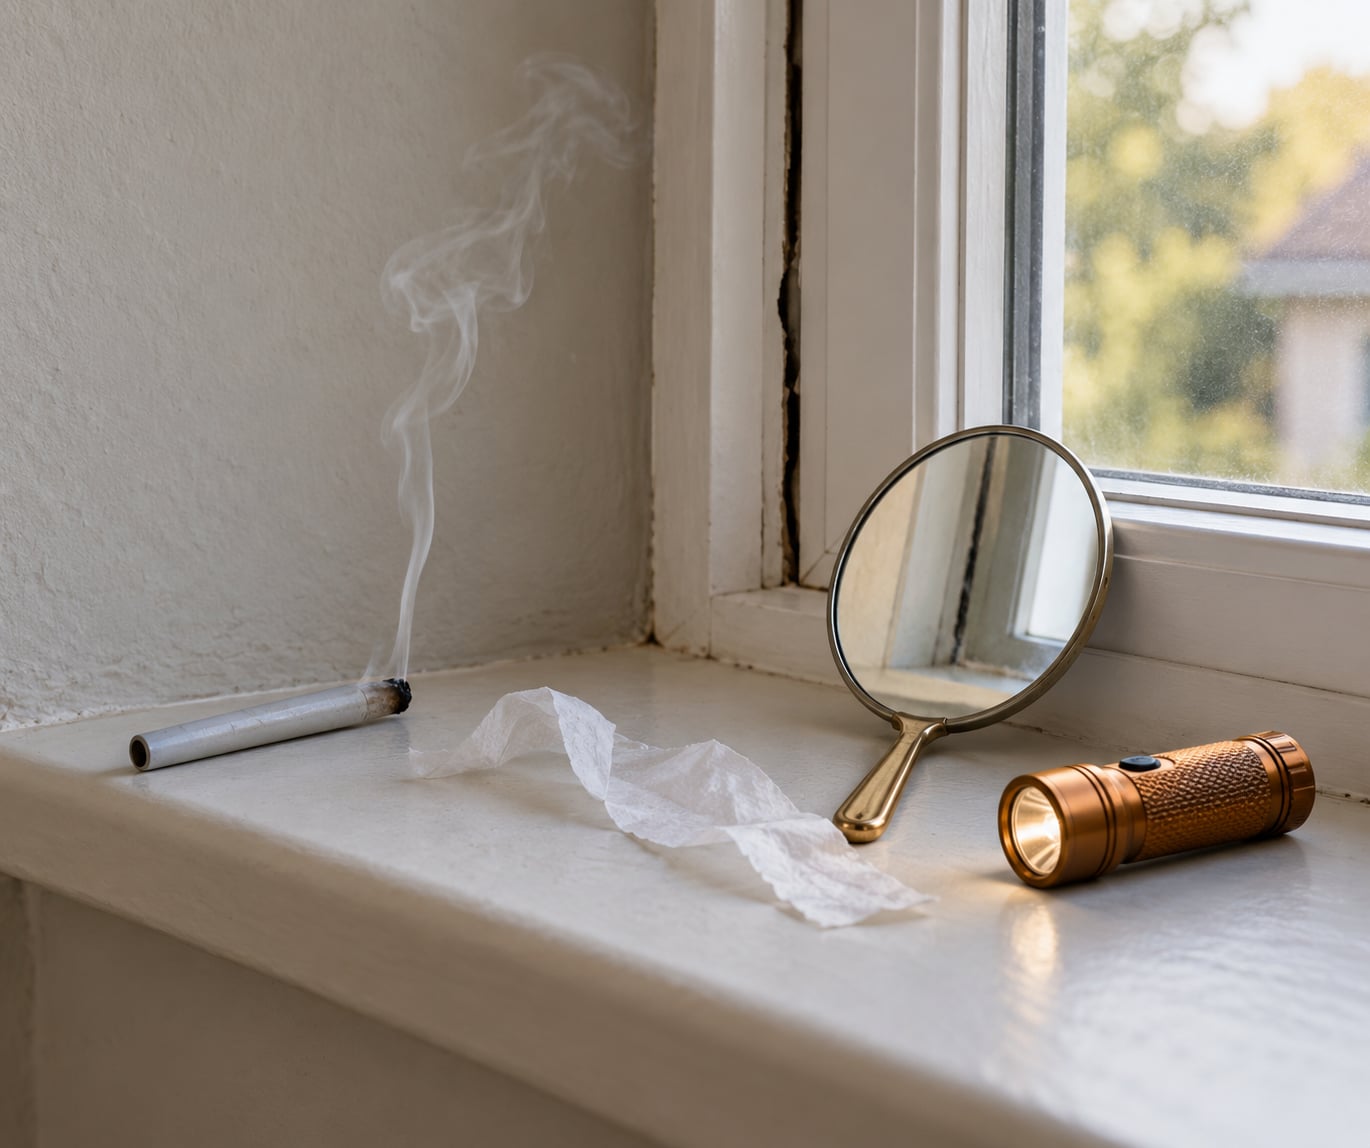
The whole toolkit fits in a shoebox. A lighter or a smoke pencil is the core tool. Thin tissue or a strip of printer paper catches drafts that smoke misses, and damp paper sticks to a moving-air surface better than dry paper does.
A flashlight matters more than people expect, because backlighting a gap makes an opening obvious from across a room. A small hand mirror gets you the back side of a reveal, a soffit or the underside of a window sill. A notebook, or your phone, keeps the leak log. A thermal camera is optional and useful, but read the section on it before you trust it.
Preparation is mostly common sense. Pick a day with a real temperature difference and some wind. Close interior doors so you test one space at a time. Do a first pass with your eyes before lighting anything, because the visual survey is faster and safer than the smoke test.
Step-by-Step: How to Find Air Leaks Without a Blower Door
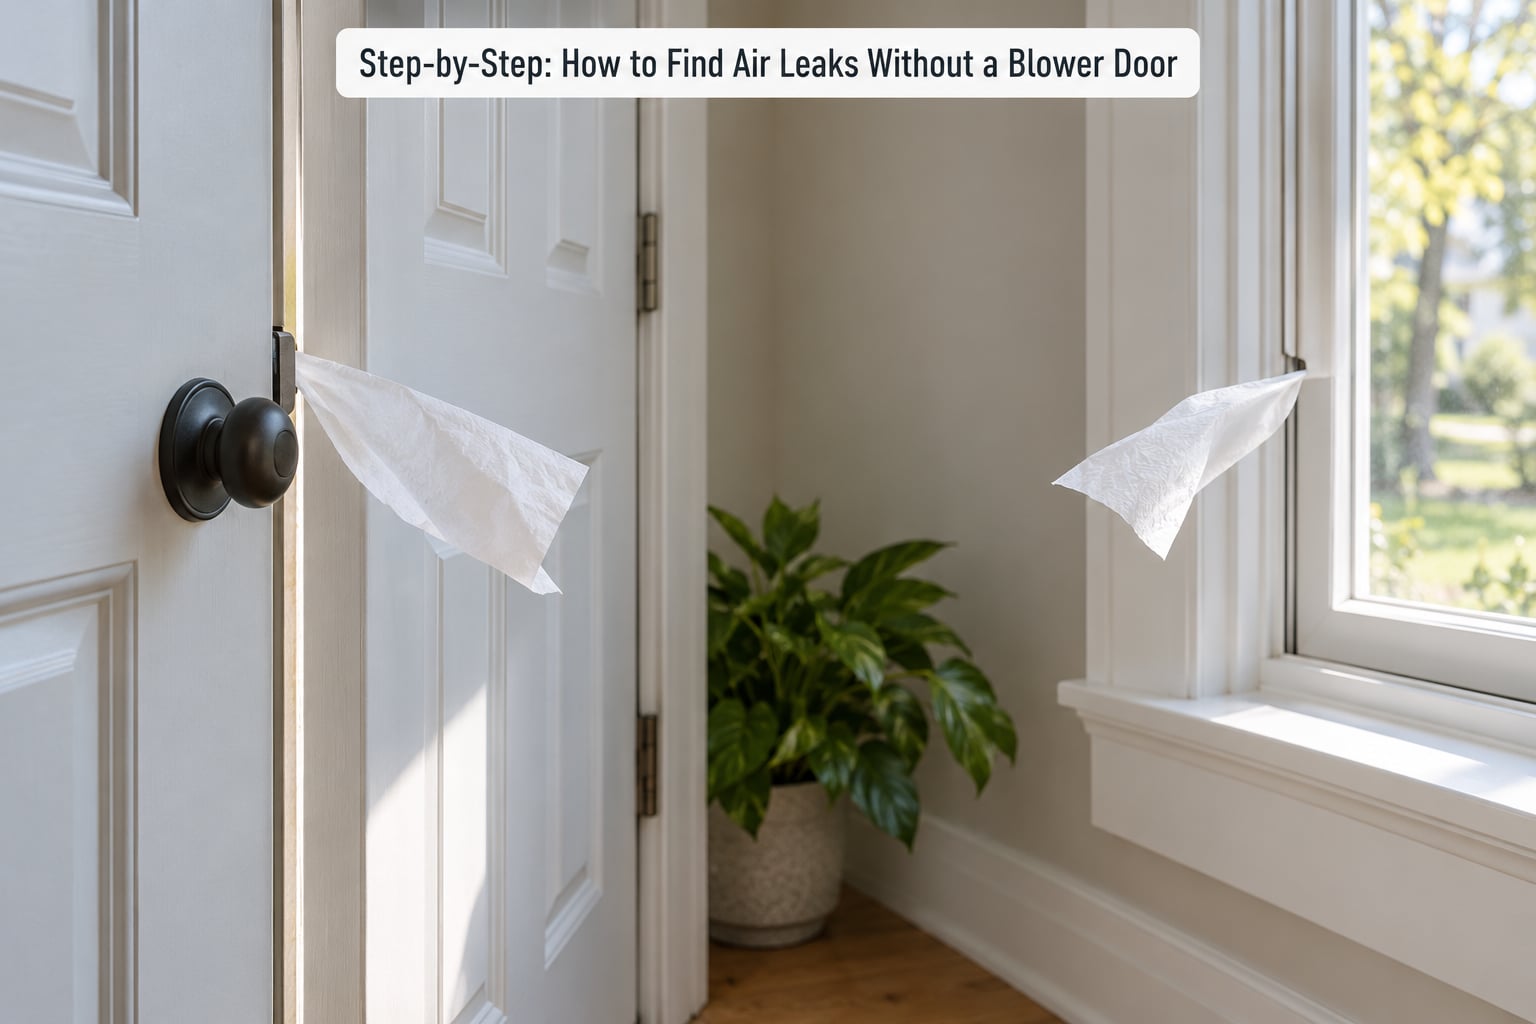
These are the DIY methods, roughly ordered by how much they cost you in effort versus how much they reveal. None of them gives a number, and each one misses things the others catch, which is why they work well together.
| Method | Effort | What it reveals | Best conditions |
|---|---|---|---|
| Smoke pencil or incense stick | Low | Direction of airflow at any joint or seam | Any wind; stronger with exhaust fans running |
| Tissue or damp paper | Low | Drafts too small or too diffuse for visible smoke | Cool outside air, strong stack effect |
| Flashlight, dusk or dark | Low | Unsealed joints, missing seals, gaps around penetrations | Dusk, with a helper watching from outside |
| Hand mirror and visual survey | Low | Missing weatherstripping, cracked caulk, open dampers | Any time; best as a first pass |
| Thermal camera | Medium | Temperature differences, thermal bridges, insulation voids | Large inside-to-outside temperature swing |
| Exhaust-fan depressurisation | Medium | Turns every small leak into visible infiltration | Any day; exaggerates the signal |
Step 1: Inspect the Obvious Weak Points
Start where leaks are statistically most common and most damaging, which is the top of the house. Look at the window and door frames first, especially the top corners and the head of the opening where a sash meets the jamb. Run your fingers along weatherstripping: if it is hard, split, or missing a section, air is moving past it.
Check the doors next. Look at the strike side, the top corner, the hinge side and under the door. An exterior door with a gap you can slide a sheet of paper through at the bottom is a leak you can feel with your hand on a cold night. Missing or dead-rotted weatherstripping on an interior door is common but less costly to fix.
Then the penetrations. Every electrical outlet, switch, light fixture, plumbing pipe, hose bib, dryer vent, exhaust hood and recessed light is a hole unless somebody sealed it. From inside, look for gaps around plaster rings, around pipe escutcheons, and at the junction where a wall meets a ceiling or a partition.
Do not skip the attic access points or the ceiling interfaces. A badly fitted attic hatch, missing ceiling drywall around a joist, a knee wall that was never sealed, and a top plate that was never blocked are all common. The same goes for the basement and crawlspace side: sill plates, rim joists, plumbing penetrations, and the bulkhead door.
Step 2: Use Smoke, Incense, or a Pencil
Light an incense stick or a smoke pencil and hold it about an inch from a suspect seam, moving slowly along it. Airflow makes the smoke ribbon bend, waver, split into two streams, or get drawn flat against a surface and disappear. A still room tells you nothing, so a hint of draft is the minimum useful condition.
Run the exhaust fans to make that draft much stronger. Turn on the kitchen hood and every bath fan, close the windows and exterior doors, and let the house pull negative. The same little crack that barely moved the smoke before will now inhale it visibly. Builders call this a poor man’s blower door, and it is the single biggest upgrade you can make to a DIY smoke test.
Read the direction carefully, because it tells you where to seal. Smoke bent inward at a top corner means warm air is escaping up and pulling replacement air in elsewhere. Smoke moving steadily outward at a low point usually means you are seeing combustion or exhaust air leaving the building. That distinction matters for safety, and I will come back to it.
Safety first: never leave a flame or a smouldering stick unattended, and keep smoke well away from loose insulation, sawdust, timber and upholstery. Test with the smoke source in your hand, move deliberately, and put it out before you leave a room.
Step 3: Check With Tissue, Paper, and Handheld Tools
Smoke is good at joints. It is poor at slow, diffuse infiltration, and that is exactly what tissue is for. Hold a thin tissue near a suspect gap; the faintest movement of the fabric tells you air is passing. For a lower-effort version, press a strip of paper along the edge of a window sash or door frame and let go. If it lifts anywhere, you have a leak path.
Damp paper is the upgrade on that trick. A wet strip will cling to and darken a surface that moving air is reaching, so a slow leak shows up as a damp, dirty mark you can read after you put the paper down. Some people tape paper strips around suspected areas and check them a day later, which gives you a record and shows direction from the pattern.
The flashlight method works best at dusk with a helper outside. Darken the interior, then have someone shine a light from outside at each suspect seam. Anything that glows through is unsealed. It is crude and it is very effective on gable ends, rim joists and window frames.
A thermal camera needs a caveat. It shows temperature differences, not air movement, so it will happily flag a thermal bridge in a wall that is perfectly tight. Use it to prioritise where to put smoke, and confirm every hit with smoke before you start buying sealant.
Step 4: Compare Inside and Outside Conditions
Results depend on wind, temperature and what is running in the house. A warm house with cool outside air creates stack effect: air rises and exits at the top, and draws in at the bottom. Strong wind on one facade drives air in on the windward side and out on the lee side, so a leak only shows on the side the wind is hitting.
That is why one inconclusive session proves little. A completely still day with no temperature difference is the worst possible testing weather, and it is the most common reason people decide their house is tight. It is not. Test on a day with at least a modest temperature swing and some wind, and run the exhaust fans if you want to manufacture a difference.
Humidity and a lit fireplace change the picture too, and both are worth using deliberately. A fireplace or wood stove running will pull hard down the flue, which is a legitimate way to test combustion air paths. The sign you are looking for is smoke or ash pulled back toward the appliance and backdrafting, and that is a warning, not a leak to seal.
Step 5: Record and Prioritise the Findings
Write down what you found while you still have the smoke in your hand. For each entry, note the room, the exact location, the method that found it, the direction of the airflow, and the repair material you intend to use. A five-column leak log is the difference between a productive weekend and a scattered one.
Separate the categories as you go. Blocked return vents, a stuck damper and an open window are not air leaks and no amount of sealant will help. Condensation or staining on insulation is a moisture problem that may be showing you an air leak, but the fix may be ventilation or drainage rather than caulk. A gap that lets moist outside air into a cold assembly is the one that actually causes mould, so treat it as a priority.
If you want a rough reference point, these are the numbers a blower door would give you, and they help you judge how bad a leak log looks when you are done.
| House type | Typical CFM50 | Typical ACH50 |
|---|---|---|
| Older, unretrofitted home | 2,000 to 4,000 | 10 to 15 |
| Newer code-built home | 750 to 2,500 | 4 to 10 |
| Swedish standard | Not specified | 3 or better |
| Canadian R-2000 | Not specified | 1.5 or better |
Read that as a pattern, not a verdict. If your smoke log is a page of small wavering leaks, you have something closer to a moderately tight house. If it includes smoke visibly pouring from an outlet or a gap the width of a coin, you are in the old-home range and the attic floor and rim joist are where your effort pays back.
Prioritise in this order: seal the attic floor and top plates, then the rim joist and basement sill plates, then the biggest living-space openings such as the attic hatch, exterior doors and window trim. Most of the air leaving a house leaves through the top, and most of the air entering enters at the bottom of the stack.
Common Mistakes
The first mistake is testing on a still, mild day when inside and outside conditions are identical. No pressure difference means no signal, and people routinely conclude their drafty house is fine. The second is checking a single room. Air enters the house somewhere and leaves somewhere else, often in a completely different part of the building, so a room with no visible draft tells you nothing about the rest.
The third mistake is confusing a draft with poor ventilation. A house that feels stuffy while cold air moves in is a ventilation problem, and sealing it can make indoor air quality worse. The fourth is using an open flame carelessly, in an attic full of loose fibreglass, with a smouldering stick left on a joist. That combination is how a small fire starts.
The fifth and most expensive mistake is sealing before you have traced the whole path. Once you close the biggest exit, the pressure distribution changes and the next leak simply becomes the path. Map first, then seal.
One safety point belongs in its own paragraph because it is the one that gets people hurt. If you have older atmospherically vented gas appliances with draft hoods, a wood stove, or a fireplace, sealing the house can push exhaust gases back indoors. Check that every CO alarm is working, keep flue clearances and combustion air intakes open, and never seal a chimney, a flue or a vent. Gas, electrical and structural work belongs to licensed professionals.
Once sealing is done, keep making the mechanical system do its job. Run exhaust fans during cooking and bathing, keep supply vents clear, and change HVAC filters on schedule. An air-sealed house with a dirty filter or a jammed damper is a house that is tight and badly ventilated at the same time.
Frequently Asked Questions
How can I identify air leaks in my house?
Look first with your eyes at window and door frames, weatherstripping, electrical outlets, plumbing penetrations, the attic hatch, top plates and the rim joist. Then use a smoke pencil or lit incense stick near each suspect seam on a windy day, with kitchen and bath exhaust fans running to make the house pull harder. Smoke that bends, splits or vanishes into a gap shows air moving there.
What are the three types of leak detection?
The three main types are smoke or incense testing, thermal imaging, and blower door testing. Smoke testing is the cheapest and shows you the direction of airflow at a specific joint. Thermal imaging shows temperature differences and highlights areas worth checking, but it flags thermal bridges too. A blower door test pressurises or depressurises the whole house and gives you CFM50 and ACH50 numbers, which no DIY method can.
How do they do a blower door test?
A fan is fitted in an exterior door, a manometer measures the pressure difference, and the fan is adjusted until the house holds 50 pascals. The flow needed to hold that pressure is CFM50, which is divided by floor area and house volume to give ACH50. While the pressure is held, smoke is used to find the leaks. You lose the number entirely by testing without equipment, but you keep most of the location work.
How can I test the air tightness of my house without a blower door?
You cannot measure air tightness precisely at home, but you can locate leaks. Close interior doors, run the kitchen and bath exhaust fans, and sweep a smoke pencil around suspect joints on a day with wind and a temperature difference. A thermal camera can then confirm the most promising areas. Expect a useful leak list rather than a measurement, and rent a blower door if you need proof of performance.
How much air leakage should a house have?
Older unretrofitted houses commonly measure in the range of 10 to 15 ACH50, and newer code-built homes often fall between 4 and 10 ACH50. A Swedish standard targets 3 ACH50 or better, and the Canadian R-2000 standard asks for 1.5 ACH50. Your house can sit outside these ranges because of size and construction, but a large gap between measured and target values usually points to a handful of big, findable leaks.
Can I do a home energy audit myself?
You can do the air-leak half of a home energy audit well, and it costs very little beyond a smoke pencil, some paper and your time. Walk the house room by room, log every suspected leak with its location and direction, and prioritise the attic floor, rim joist and large openings first. What you cannot do yourself is measure the result, so consider a professional blower door afterwards to confirm the improvement.
Start With a Systematic Room-by-Room Check
Start at the top of the house and work down. Check windows, doors and their frames, then every penetration and outlet, then the attic hatch, chimney interfaces and the rim joist, and finish in the basement or crawlspace.
Test on a windy or cool day rather than a still one, and run the exhaust fans while you do it. Write down what you find as you go, because the log becomes your repair list. Then seal the attic floor and top plates first, the rim joist and sill plates next, and the living-space openings last.
Go up a notch if the smoke visibly pours through gaps, if you find mould or rot around a leak, or if you have older vented gas appliances. In that last case, have a combustion-safety professional check the house before you seal anything, and confirm the result with a professional blower door test once the work is done.