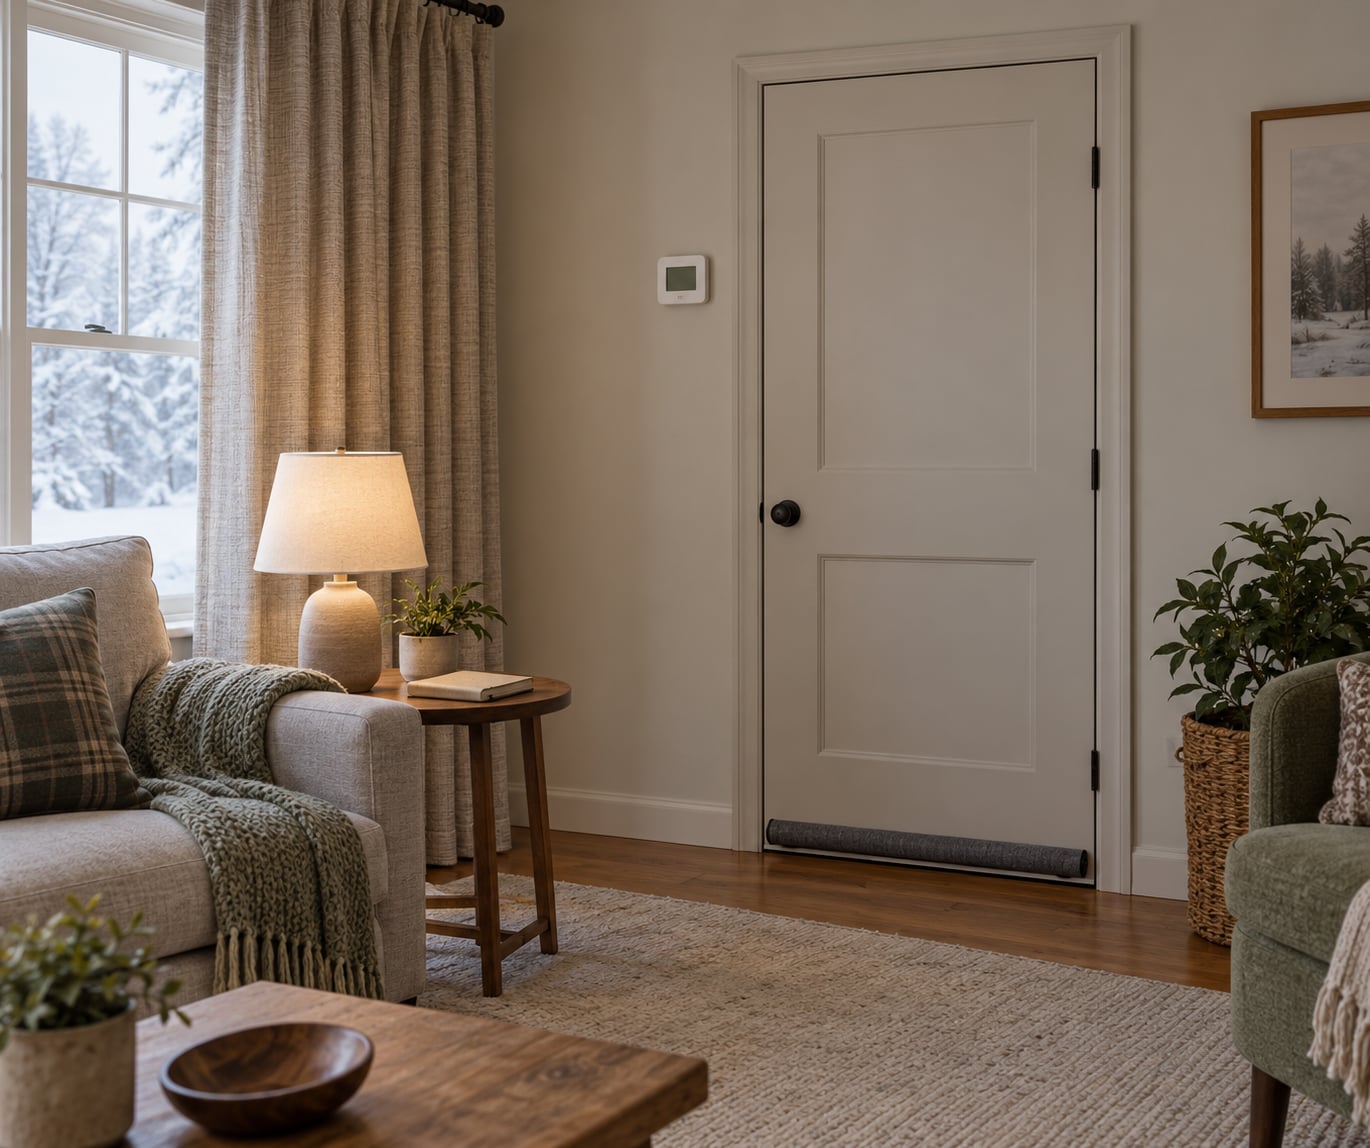
The cheapest way to make your home more energy efficient is to stop the energy escaping: seal the gaps around doors and windows, set your thermostat to a schedule instead of a constant temperature, and keep the equipment you already own maintained. Those three moves usually cost a small hardware-store outlay and a weekend, and they target the spaces where heat and cool air actually leak. Work outward from there: habits first, sealing second, equipment only when the previous steps stop paying off.
Most people have it backwards. They spend on a new boiler or a fancier thermostat while a 2 cm gap under the front door pushes warm air straight into the hall. Fix the envelope, then the equipment, then whatever is left.
Table of Contents
- How to Make Your Home More Energy Efficient on a Budget: What You Need
- Step-by-Step
- 1. Set a Baseline for How to Make Your Home More Energy Efficient
- 2. Stop Heat Escaping Through Doors and Windows
- 3. Insulate Small Air Leaks Safely
- 4. Use the Thermostat Without Wasting Energy
- 5. Improve Heating and Cooling Habits
- 6. Switch to Efficient Lighting and Devices
- 7. Maintain the Equipment You Already Own
- 8. Check Your Results and Choose the Next Upgrade
- Common Mistakes
- Frequently Asked Questions
- What is the cheapest way to make a home more energy efficient?
- Can I improve my home’s energy efficiency if I rent it?
- Should I insulate my windows before fixing drafts around doors?
- What home energy upgrades help the most during winter?
- How do I know whether an energy-efficient upgrade is worth the cost?
- Start With the Cheapest Energy Loss You Can Fix
How to Make Your Home More Energy Efficient on a Budget: What You Need
You do not need a renovation quote to get started. You need a bill, a tape measure, a notebook and about five types of cheap consumable material. Everything below is available from a hardware shop or a builders’ merchant without a trade account.
- Your last twelve months of bills. Twelve months matters, because a single winter reading tells you almost nothing.
- A notebook or phone notes app, for a baseline and for marking problems room by room.
- A tape measure, for gap widths and the space behind appliances and radiators.
- Caulking gun and a good quality acrylic or silicone sealant, plus a small paint brush for cleanup.
- Self-adhesive draught stripping and door sweeps, in the profile that matches your door or window frame.
- Low-flow faucet aerators, and a pipe insulation sleeve for any hot water pipe running through unheated space.
- A smoke alarm test, plus a carbon monoxide detector if you own any fuel-burning appliance.
Two limits are worth stating up front. Anything involving the consumer unit, fixed wiring, gas appliances or the boiler itself is licensed work in most places, not a weekend project. And a rented home changes everything: any improvement has to be reversible and has to be approved by your landlord in writing first.
Step-by-Step
The order below runs from no-cost changes to selective spending. Each step includes what to do, roughly how hard it is, where the safety line sits, and how you can tell it worked.
1. Set a Baseline for How to Make Your Home More Energy Efficient
Record your last twelve monthly readings, mark the coldest and hottest months, and note which rooms feel wrong. Then write down one target: a percentage reduction against a similar-weather month a year from now. Difficulty: trivial. Safety: none. Verification: you already have the number, so there is nothing to guess about later.
Do this first because it costs nothing and it turns everything else into a test. My rule is one notebook page, one line per month, one note per room. When a bill arrives before you expected it, the gap between expected and actual is usually pointing at a specific room, and that room is where the leaking is.
2. Stop Heat Escaping Through Doors and Windows
Close the internal door to a draughty room and check the handle for movement, or hold a damp hand near a suspect seam on a cold day. Those two tests find the majority of leaks in an ordinary home. Difficulty: easy. Safety: keep vents, chimneys and flues clear, and never block a fire escape or a required ventilation opening.
Seal the small stuff yourself: sealant along the outside edge of window frames, draught stripping in the rebate, a sweep along the bottom of external doors. Heavy lined curtains, hung close to the wall and above a wide rod, deal with the next layer of the problem by trapping still air. All of it comes apart when you move, which matters if you rent.
Verification is tactile. Sit in the room on a cold evening for ten minutes and the difference is obvious before the next bill even arrives. If it is still cold, keep looking rather than assuming the whole room is at fault — the ceiling above a light fitting and the first-floor window reveal are common culprits.
3. Insulate Small Air Leaks Safely
Outlet gaskets on external walls, pipe sleeves on hot water lines, and a properly fitted hatch or foam-filled collar around the attic access are the sensible low-risk set. Difficulty: easy to moderate. Safety: do not work near the consumer unit or any wiring without an electrician, and never block a flue, a chimney or a combustion air supply.
Spray foam and gap fillers are tempting and easy to misuse. They expand as they cure, so a generous bead inside a window reveal can bow the frame and force you to replace the unit. Use a foam gun with a controllable trigger, and keep the bead under half the gap width.
If a room needs a large surface area opened up, insulation board fitted between joists, a new boiler or anything structural, stop and get a qualified contractor. Extending insulation across wiring, flues and light fittings without knowing what is behind the plasterboard is not a savings measure.
4. Use the Thermostat Without Wasting Energy
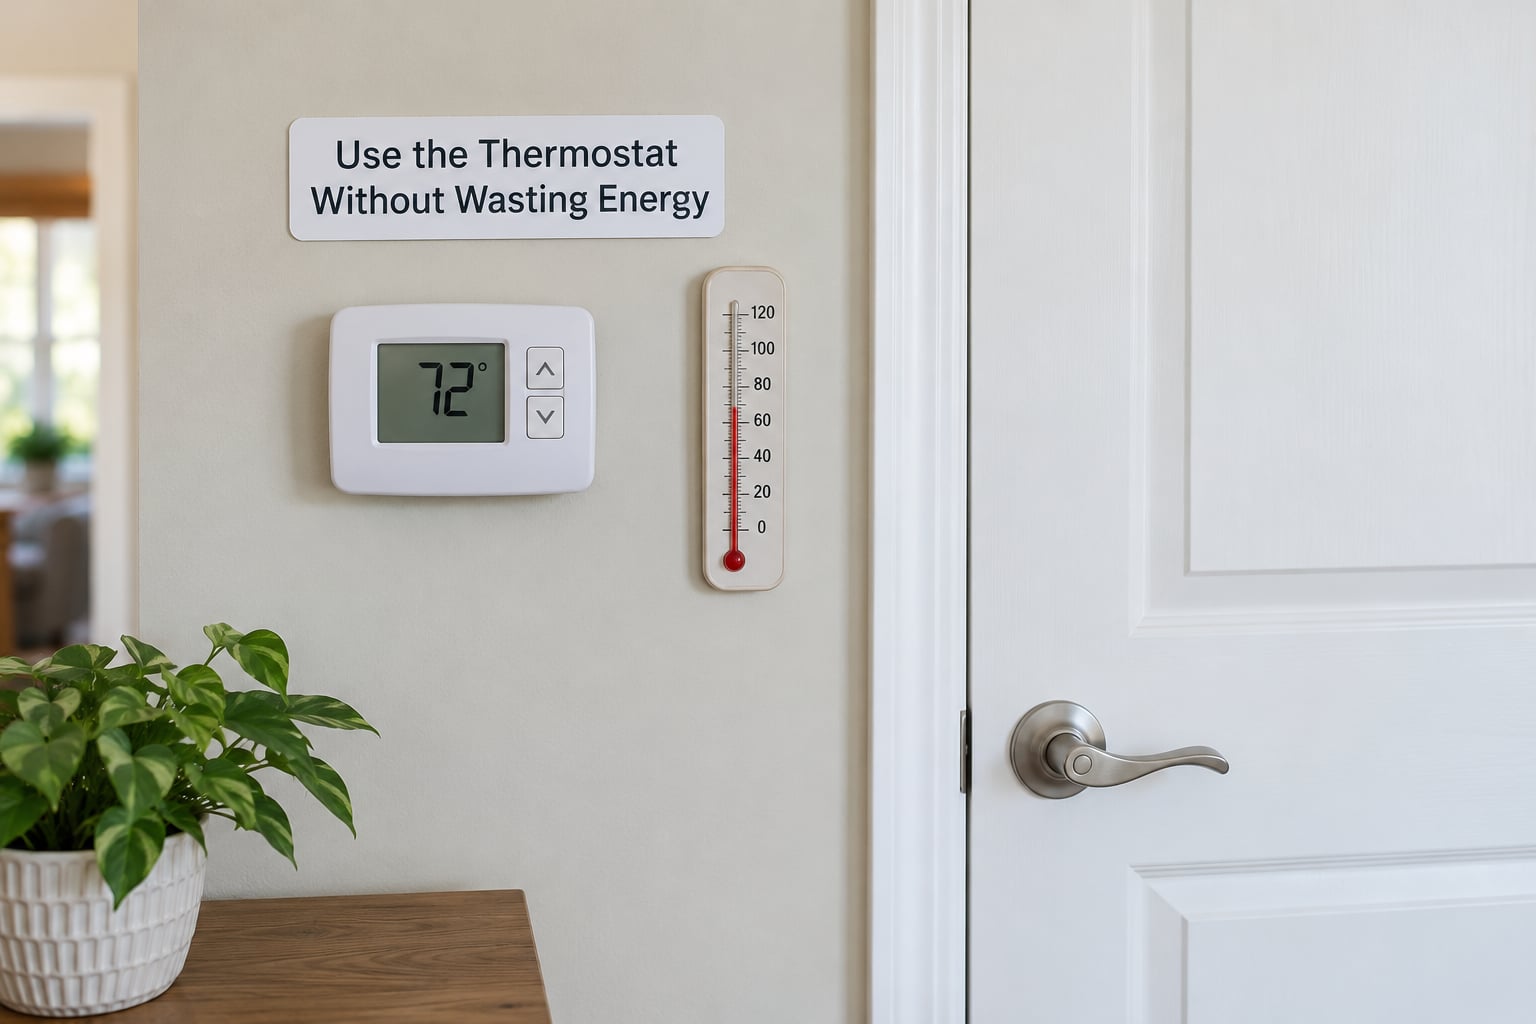
Program a schedule rather than living at a fixed temperature: lower the heating when the house is empty, restore it before you arrive, and ease the setting back a degree or two overnight. Warmth lost in an empty house is warmth you paid for twice. Difficulty: easy. Safety: a thermostat is a control, not a heater, and it never replaces a working system.
Placement matters more than people expect. A thermostat near a window, a hot radiator, a kitchen or a drafty hallway reads the wrong temperature and swings the whole system to compensate. Dust on the sensor, or a gap behind the plate, will also skew it. Wipe it and check the gap.
On claims about extreme settings, be sceptical. Sliding the dial to its maximum to “prove” a system works wastes energy and shortens the life of the equipment. Set it back, wait, and let the room settle.
5. Improve Heating and Cooling Habits
Clear a metre of space in front of every radiator, keep soft furnishings off them, and open internal doors so warm air can travel. In summer, use the ceiling fan to move air and nudge the cooling setpoint up slightly. Ceiling fans and draught excluders are among the few genuinely free improvements you can make.
Check for blocked or disconnected vents. A blocked vent pushes pressure into the system and cuts airflow, which raises the runtime for the same comfort. Difficulty: easy. Safety: never remove a radiator on a system that might still contain hot water, and never adjust boiler flow temperature without the manufacturer’s guidance or a technician.
Verification is again immediate. If a room hits temperature faster and stays there once a radiator is unobstructed, that is the whole win, and it cost nothing but a move.
6. Switch to Efficient Lighting and Devices
Find the bulbs that burn longest before replacing anything, and swap those first. Most homes still have a mixed stock of older halogen or incandescent fittings, often in kitchens, hallways and outside lights, which is exactly where the running hours are highest. Compare lumens rather than watts when you shop, so brightness does not drop.
Standby draw is the other half. Electronics, chargers, game consoles and kitchen appliances keep drawing in their off state. A switched power strip, or unplugging a cluster at the wall at night, stops that entirely. Difficulty: easy. Safety: do not daisy-chain extension leads to solve the problem permanently.
Verify with a plug-in meter. Read it with the device on, then off, and the difference is your standby draw per item. Multiply by hours, and you have a real figure instead of a scary number in a headline.
7. Maintain the Equipment You Already Own
Follow the manufacturer’s schedule for filters, and clean or change them as instructed rather than on a fixed date. Servicing a boiler, changing a water heater setting or touching gas work is licensed territory. Appliances running with a restricted airflow work harder and last less long, which is the opposite of what you want.
Set the water heater to the standard recommended temperature of around 120°F (49°C). That is hot enough for safety and washing, and it cuts the energy used to heat water. Lowering it further saves a little more, but check with the manufacturer first, since some anti-scald valves depend on a minimum temperature.
Verification: a lower setpoint shows up on your gas or electricity use for hot water, not on your heating. Track it in the same notebook, and keep the fridge and freezer full enough that the compressor does not run against empty air.
8. Check Your Results and Choose the Next Upgrade
Compare a month after the work with a similar-weather month from your baseline, not with the month before, since a mild fortnight makes any improvement look brilliant. Divide the annual saving by what the work cost, and that gives you a rough payback figure in years. Anything under about five years is a good use of a tight budget; beyond that, keep thinking.
Only then decide the next purchase. The usual order is sealing and insulation gaps, then thermostat and scheduling, then lighting, then equipment. Replacing an appliance that already works well is the step most often taken too early, and it is the one that never pays back before the appliance has expired anyway.
Common Mistakes
Most wasted effort in this list comes from a handful of repeated errors. Each one has a straightforward correction.
- Sealing a required vent. Extract and combustion vents exist for indoor air quality and, in some cases, for safe combustion. Correction: seal gaps around frames and penetrations, and leave designated ventilation untouched. If you are unsure whether something is a vent, ask a professional.
- Covering radiators with cloth or boxes. The heat still has to go somewhere, and it now heats the fabric first. Correction: clear the space in front instead.
- Buying insulation before chasing the big drafts. Insulation across a leaky envelope delivers less than expected because the moving air carries heat past it. Correction: seal first, insulate second.
- Replacing everything in one month. A shopping spree makes it impossible to tell which measure worked, and it turns a fixed budget into a crisis. Correction: complete one step, record it, then decide on the next.
- Ignoring maintenance. A neglected filter, a scaled kettle element and a neglected boiler all undo the effort. Correction: keep a calendar reminder per appliance, following its own manual.
- Making electrical or gas changes yourself. Modification of fixed wiring, the consumer unit, or any fuel appliance is not a saving, it is a risk. Correction: licensed work, and budget for it honestly.
- Judging results on a single month. Weather swings the result more than most upgrades do. Correction: compare like months across a year, and keep the same habits during the test.
One budgeting tip covers most of the list: set a firm ceiling for the first month, spend only on sealing materials and one lighting pass, and let the next tranche be released by what your own numbers show. A plan you can still afford in month three beats a better plan you abandoned in month two.
Frequently Asked Questions
What is the cheapest way to make a home more energy efficient?
Sealing the gaps your heating pushes air through is the cheapest useful improvement: draught stripping, door sweeps and sealant around window frames cost very little and target the largest losses. Do this before buying any equipment. Then add a thermostat schedule, which costs nothing once programmed. A modest sealing pass usually pays for itself faster than any appliance or heating upgrade, and every part of it can be undone if you move or rent.
Can I improve my home’s energy efficiency if I rent it?
Yes, as long as the changes are removable and you have permission. Self-adhesive draught stripping, door sweeps, outlet gaskets, faucet aerators and thicker curtains all come off without damage. Ask your landlord in writing before anything that touches fixtures, fixed wiring, radiators or the boiler. A rented flat you can seal and re-program cheaply can still cut your bills noticeably while you are there.
Should I insulate my windows before fixing drafts around doors?
No. Fix drafts around doors and window frames first, because moving air defeats insulation and no amount of glazing film will help a frame that leaks around its edges. Sealing and draught stripping are cheap, reversible and easy to inspect. Once the frames are tight, heavier lined curtains or removable window insulation can add a further layer for the coldest months, at which point the extra warmth is actually retained.
What home energy upgrades help the most during winter?
Blocking air movement and stopping heat escaping from the space you occupy do the most in winter. That means a thermostat schedule, sealed doors and windows, unobstructed radiators, and a hot water temperature near the recommended 120°F (49°C). Insulation improvements help too, but they take longer and cost more, so treat sealing and scheduling as the winter priorities and plan larger work for when you have more time.
How do I know whether an energy-efficient upgrade is worth the cost?
Work it out from your own numbers rather than an estimate. Compare a month after the change with a similar-weather month from your twelve-month baseline, annualise that difference, and divide by what the work cost. That gives you a payback period in years. Under roughly five years is a sensible use of a tight budget. Anything slower deserves more thought, especially if the equipment still works.
Start With the Cheapest Energy Loss You Can Fix
Write down your last twelve months of readings, then spend one weekend on the leaks you can feel and the drafts you can test. Programme the thermostat while you are there, and let the equipment keep to its own maintenance schedule. Come back in a comparable month, calculate the payback, and spend the next tranche on the one improvement that clears your threshold fastest.
That sequence is unglamorous, and it is also the version that works when the budget is small.