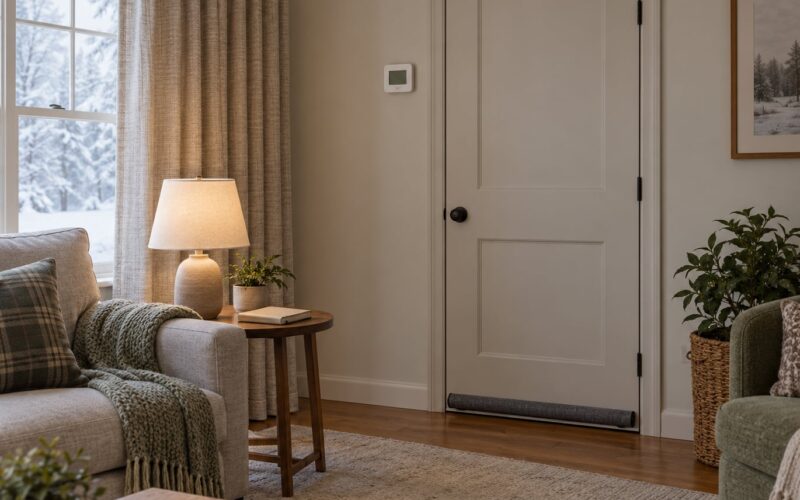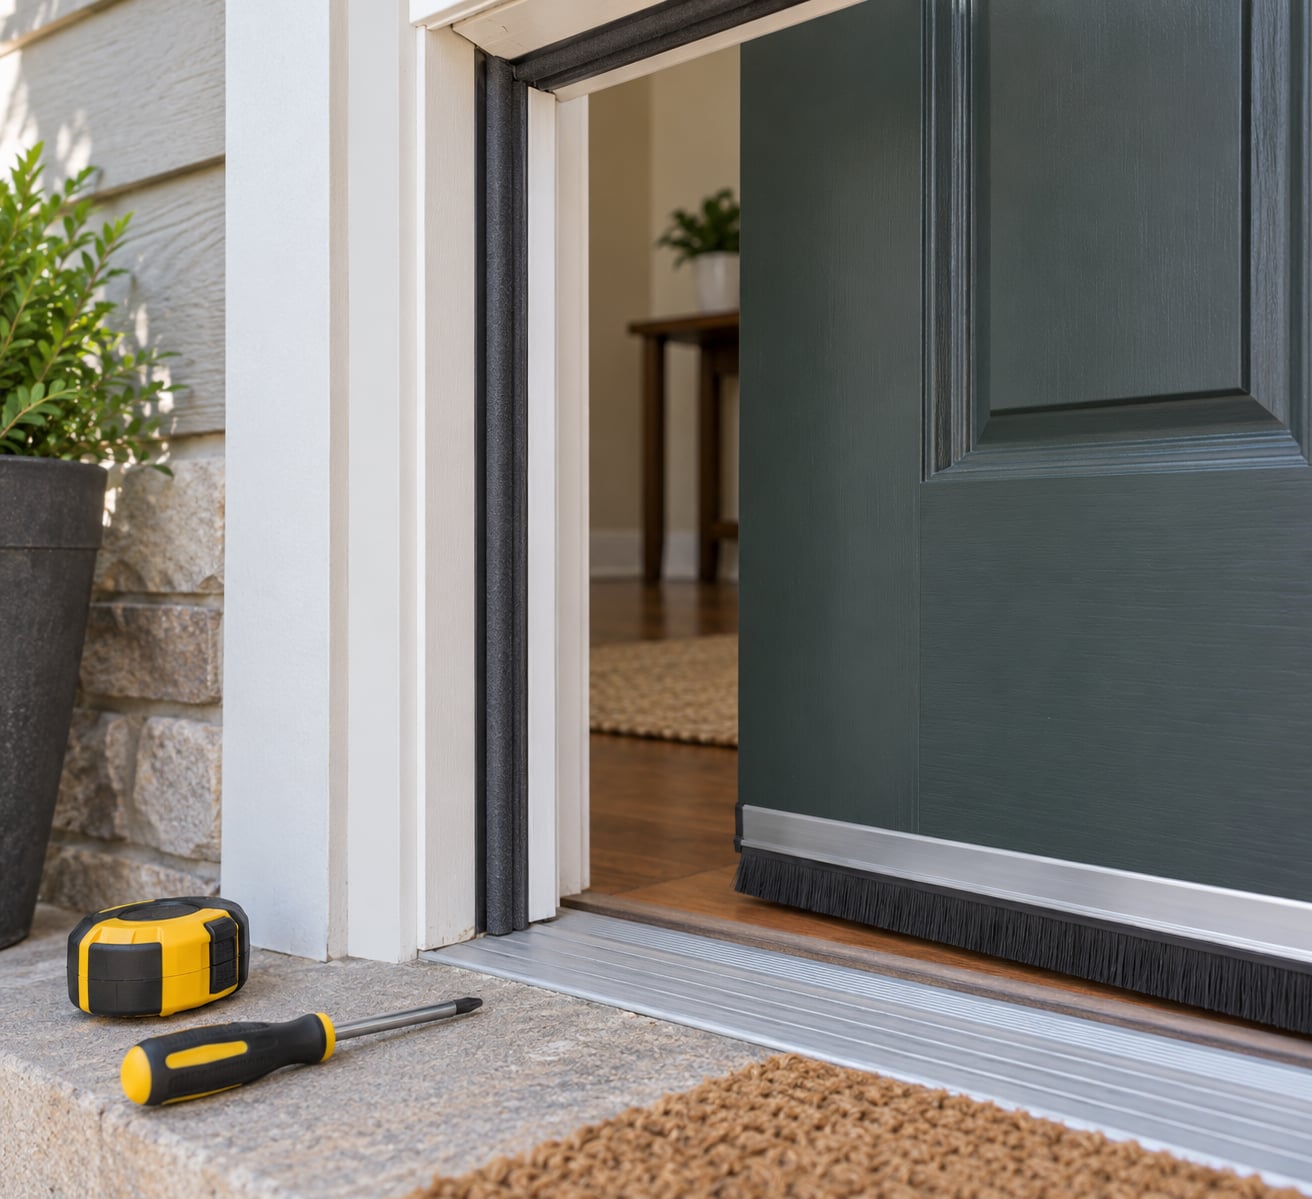
Most weatherstripping mistakes to avoid when sealing doors come down to one thing: fitting a seal that does not match the gap, the door, or the frame you actually have. The strip is squashed to block air, so if it is too loose it leaks and if it is too tight the door will not latch. Start by measuring the gap at the top, sides and bottom, then match the type to that measurement before you cut anything.
Most drafty doors in my experience are not badly damaged. They are badly matched — a compression strip on a door that has dropped out of plumb, a sweep that misses the threshold by an inch, or foam tape stretched over paint that was never cleaned. Fixing any of those takes an afternoon, and most need no specialist at all.
Table of Contents
- What You Need
- Strip types to choose from
- Measuring and removal tools
- Cleaning and preparation supplies
- Fasteners and optional sealant
- Step-by-Step: Diagnose, Fit and Test a Door Seal
- 1. Find out where the air is coming in
- 2. Remove the old strip without wrecking the jamb
- 3. Prepare the surface
- 4. Measure the gap in at least four places
- 5. Cut the strip and fit it
- 6. Fasten the strip
- 7. Test the finished seal
- Fitting a door sweep
- The Weatherstripping Mistakes to Avoid When Sealing Doors
- 1. Buying by nominal door size instead of measuring the soffit and the gap
- 2. Fitting a strip that is too thick, so the door will not latch
- 3. Sealing the sides and head and leaving the bottom untouched
- 4. Relying on adhesive or the wrong mechanical fixing
- 5. Installing while the door is propped open
- 6. Using high-expansion foam to close a large gap
- 7. Installing over dirt, old adhesive and caulk smears
- 8. Using kerf-mounted strip on a warped or irregular jamb
- 9. Never testing the seal, then forgetting to inspect it
- When a new seal will not fix the problem
- Frequently Asked Questions
- What type of weatherstripping is best for an exterior door?
- Should I use foam weatherstripping or a tension seal?
- How do I measure the gap around a door before buying weatherstripping?
- Can weatherstripping fix a door that sticks or does not close?
- Is it better to use adhesive-backed or nail-in weatherstripping?
- How much compression should door weatherstripping have?
- Conclusion
What You Need
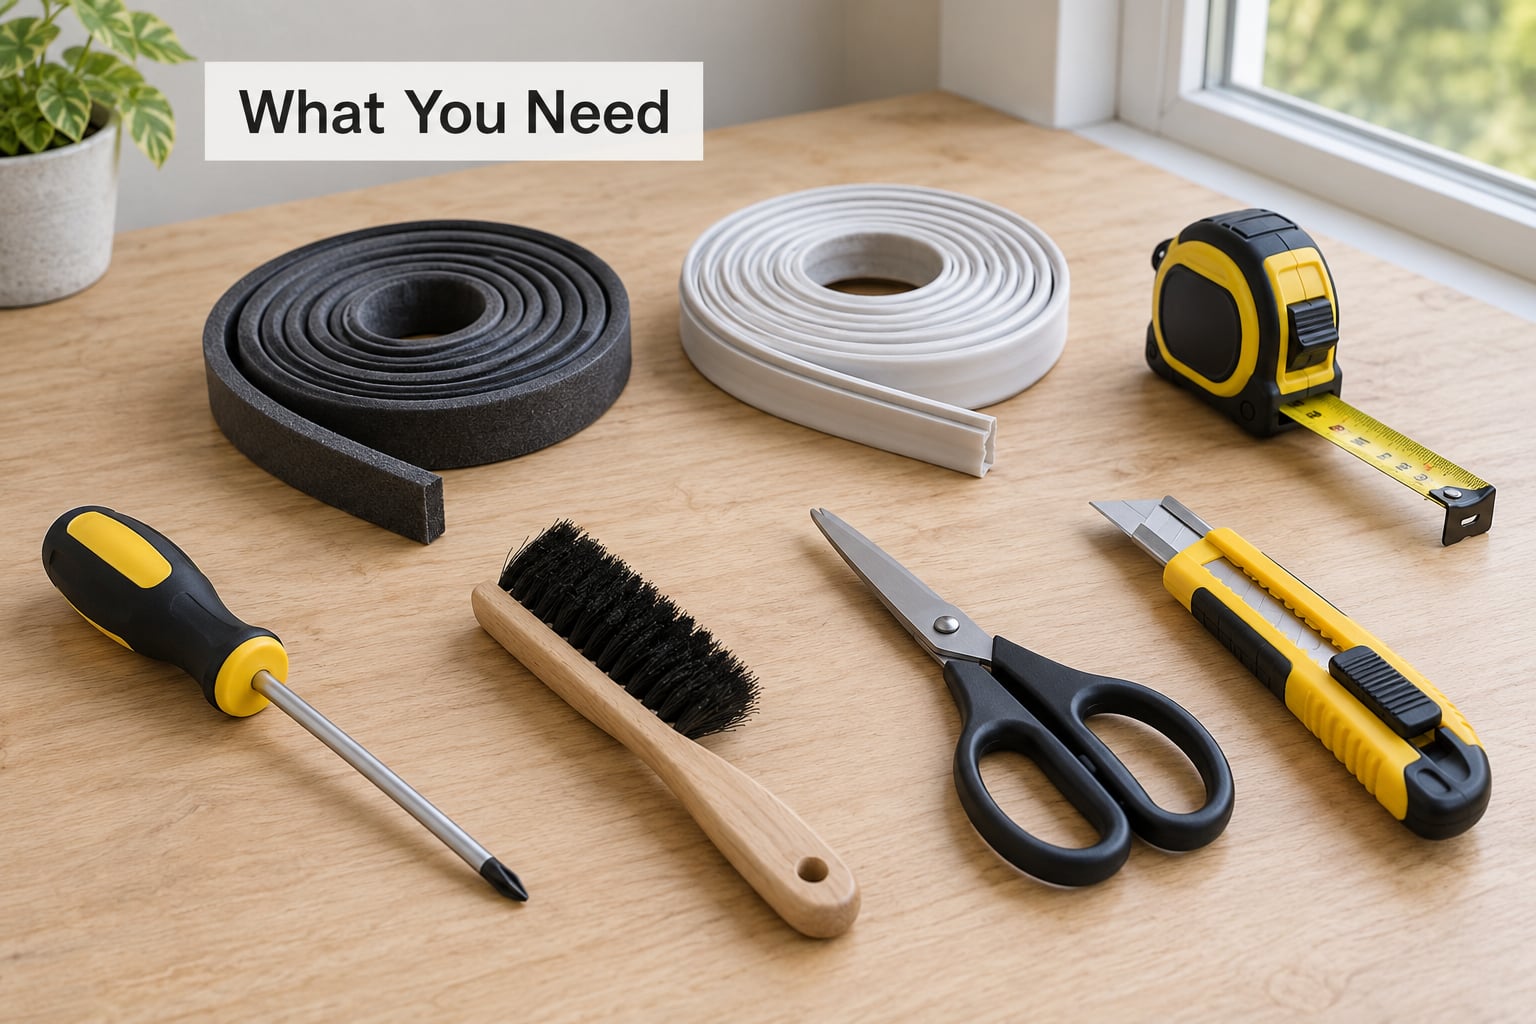
Gather your strip, your fixings and your measuring tools before you pull the door off its hinges or prise the old seal out. Everything here is available from a hardware store or a builders’ merchant, and the only item people routinely forget is the paint scraper for cleaning residue off the jamb.
Strip types to choose from
Match the type to the gap, not to the door’s nominal size. A 36 inch door can have a quarter inch gap at the hinge side and half an inch at the lock side if the frame has moved.
| Strip type | Typical gap it closes | Best for | Mounting |
|---|---|---|---|
| Tension seal with vinyl or neoprene insert | Up to 1/2 inch | Standard exterior doors and windows | Aluminium carrier, screws or brads |
| Compression bulb or bubble seal | 1/8 to 3/8 inch | Narrow, even gaps; French doors and patio doors | Adhesive strip on a channel, or a kerf |
| V-strip (tension seal) in vinyl or bronze | 1/16 to 1/4 inch | Older houses, uneven or slightly warped jambs | Peel-and-stick or kerf |
| Bristle brush sweep | Any, if the seal line is even | Sliding doors and garage-to-workshop doors | Screwed to the door face |
| Door sweep or sill sweep | Bottom gap of 1/8 to 3/4 inch | Every door, exterior or interior | Screws, or hook-and-loop on carpets |
| Closed-cell foam tape | 1/8 to 1/4 inch | Interior doors, temporary fixes, irregular gaps | Self-adhesive |
Measuring and removal tools
You need a steel tape measure or a folding rule for the soffit and jamb widths, a knife or scissors for cutting, and a screwdriver or drill for fixings. An old credit card is a good gauge for narrow gaps: if it slides into the gap with no drag, the gap is wider than a quarter inch.
Cleaning and preparation supplies
A stiff nylon brush, a plastic scraper, and a degreaser or mineral spirits. Old paint, caulk smears and adhesive residue are the reason most strips peel off within a season, so this step is not optional.
Fasteners and optional sealant
For solid fixings, use corrosion-resistant screws or brads rather than staples, which work loose in old soft wood. You will also want painter’s tape, a pencil and a pair of gloves. If the gap behind the frame is open to the outside, a bead of exterior acrylic sealant or low-expansion foam closes that deeper air path, but never high-expansion foam — it can bow the frame and stop the door closing.
Step-by-Step: Diagnose, Fit and Test a Door Seal
Work in this order. Diagnose first, because a new strip on a sagging door buys you a fortnight of quiet and no more.
1. Find out where the air is coming in
Close the door and latch it. Then run a hand along the top, hinge side, lock side and bottom in turn, feeling for moving air. Repeat with the lights off and daylight on the other side of the door, and a hairline of light is the giveaway. For a slow-moving leak, hold a lit incense stick or a thin smoke stick near the frame in still air; the smoke pulls toward the leak.
The paper test tells you which surfaces meet. Slide a strip of paper between the closed door and the frame, close the door onto it, and pull. If it drags evenly all round you have contact everywhere; if it pulls free without resistance, that jamb has no compression at all. Homeowners on r/HomeImprovement frequently arrive at this step with a strip already bought, which is why the diagnosis comes before the shopping.
2. Remove the old strip without wrecking the jamb
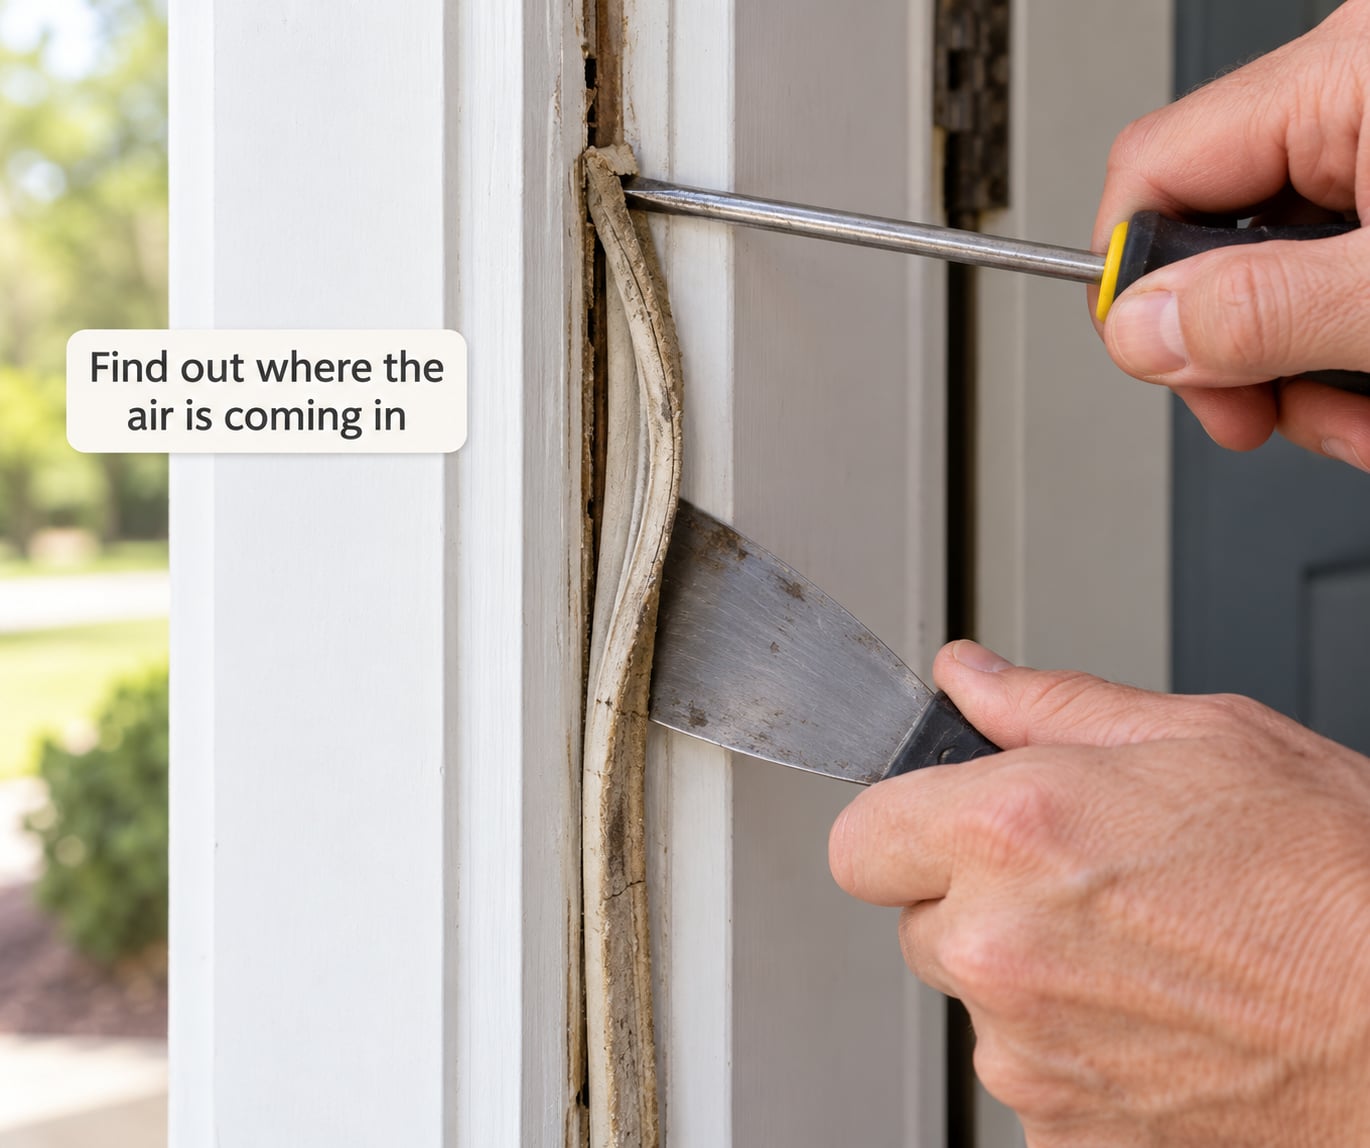
Pull nails or screws, then work a plastic scraper under the remaining adhesive with a putty knife, keeping the blade flat against the wood. Score caulk along its whole length before you lever anything, because a hardened bead of sealant will take a slice of paint or a chunk of soft jamb with it.
Success check: bare, solid wood with no gouges. Anything that dents under a fingernail needs filling and sealing before you continue.
3. Prepare the surface
Brush off dust, wipe off grease and fingerprints, and let the frame dry fully. Mask with painter’s tape on both sides of the soffit so your cutting line is straight and the paint stays clean.
Success check: masking tape picks up no paint dust from your hand when you press it down.
4. Measure the gap in at least four places
Measure the soffit width (the surface the strip attaches to) and the gap between the door and frame. Do this at the top, hinge side, lock side and again 12 inches down from the top on each side, because a gap that is a quarter inch at the head is often half an inch at the lock corner.
Write down the largest measurement, not the average. Buy for the widest gap on the door. Success check: your strip is narrower than the soffit on all four edges and thick enough to fill the widest gap without binding.
5. Cut the strip and fit it
Cut each side one piece, mitred 45 degrees at the corners so the joints meet without a gap. Squeeze the ends together and pinch the mitre closed before fixing. Keep the strip on the side of the soffit you decided on, and remember that a kerf-mounted strip sits in a routed groove while a surface-applied strip sits proud of the face.
Success check: the closed-door paper test drags with even resistance on every side.
6. Fasten the strip
Work from the middle outwards, fixing at roughly 8 to 12 inch centres plus both ends and both corners. Do not overtighten: crush the insert and it loses its recovery and stops sealing. With adhesive-backed V-strips, press firmly along the full length, then wait the manufacturer’s stated cure time before closing the door repeatedly.
Success check: a thumbnail pressed under the edge cannot lift it, but the strip still compresses under the door.
7. Test the finished seal
Close the door and check three ways: no daylight line on a dark day, a bill held at the frame cannot slide through without drag, and a smoke stick held near the frame shows no movement in still air. Then open and close the door ten times. If it gets harder to close each time, your compression is too high and the strip needs thinning or moving.
Success check: the latch catches on the first try, the seal does not stop the door closing, and no light shows round the frame.
Fitting a door sweep
Close the door fully first, then hold the sweep against the door face with its bristles just touching, not denting, the floor seal line or threshold. Mark the position, screw it on, and remove the screws, nudge it up a fraction if the door drags, then refit. On carpet, hook-and-loop and a brush sweep work better than screws. Homeowners replacing perimeter strips often report the sides and head improved but a light line remained at the bottom until a sweep or saddle threshold went in — the bottom is usually the biggest leak on a door.
The Weatherstripping Mistakes to Avoid When Sealing Doors
These nine errors cause most failed seals I see. Each one is cheap to avoid and expensive to undo, and most of them show up within a year of fitting.
1. Buying by nominal door size instead of measuring the soffit and the gap
The single most common error is ordering a length by door size, so the strip is either too short to reach the corners or too wide to sit flat on the soffit. Measure the actual gap at four points and the soffit width before you buy, and add a few extra inches for mitred corners and trimming errors.
2. Fitting a strip that is too thick, so the door will not latch
Yes, weather stripping can be too thick. If the door will not close or the latch bolt will not reach the strike plate, the gap was filled beyond the compression the insert is designed for. Lift the door off its hinges slightly, shim behind the hinge-side jamb to move the door toward the strike side, or fit the next size thinner. This is why your door may be hard to close all of a sudden after a weekend of sealing.
3. Sealing the sides and head and leaving the bottom untouched
A door perimeter seal solves the top and two sides and leaves the single largest leak in place. Fit the bottom last, but always fit it: a sweep sized to the floor gap, or a saddle threshold where there is an outside step. Measure the gap with the door closed, then measure again at the corners, which is usually where the sweep is short.
4. Relying on adhesive or the wrong mechanical fixing
Adhesive backing fails on painted, sealed or dusty jambs, and staples work loose in old soft wood. If your weather stripping keeps falling off, the surface was never properly cleaned, or the fixing was too short. Scrape back to sound material, then use corrosion-resistant screws or brads at 8 to 12 inch centres. On very old or warped jambs, tradepeople on r/handyman suggest strip mounted on an aluminium carrier that follows the irregularity rather than forcing a flat fix onto curved wood.
5. Installing while the door is propped open
Fitting a compression strip with the door held open sets the compression for an open door, not a closed one. Close the door and mark the strip’s position against the frame so you know the insert will be squeezed to its intended depth, then check that the latch still catches.
6. Using high-expansion foam to close a large gap
Expanding foam in a frame-to-rough-opening gap pushes the jamb out of square and can stop the door latching for good. Low-expansion foam belongs in the hidden void behind the frame; the visible gap that the door closes against takes a compression strip, and anything else is a patch that hides the real problem.
7. Installing over dirt, old adhesive and caulk smears
No adhesive strip or screw holds properly on a dusty, greasy or flaking jamb, and the failure looks like a bad product when it is a dirty surface. Scrape residue off with a plastic blade, degrease, and let the wood dry before you mask and fix.
8. Using kerf-mounted strip on a warped or irregular jamb
Kerf strip needs a uniform, routed groove, so on an old house with uneven jambs it either sits proud at one corner or leaves a gap at the other. Surface-applied strip on an aluminium carrier or a compression seal mounted on the face handles a varying gap far better. Check the jamb for straightness with a straightedge before you choose the profile.
9. Never testing the seal, then forgetting to inspect it
You cannot see a failed seal from across the room, so test at install and again twice a year — homeowners on forums generally treat weatherstripping as a consumable and replace it before total failure, rather than when the door is unusable. Watch for compression set (the insert staying squashed and hard), a strip that curls away at the ends, and a sweep that has ridden up the door face.
When a new seal will not fix the problem
Sometimes the door is the fault. A door that sags at the strike corner, a swollen door after a wet winter, a warped frame or a large frame-to-rough-opening gap will defeat any strip you fit, and a thicker seal only makes the door harder to close. Test the door with a level and a straightedge; if the reveal at the top is wider than at the bottom, the door is out of plumb and needs re-hanging, re-shimming or planing. For French doors and patio doors, seal the meeting stile separately and check both sashes for even clearance, since one sagging leaf makes the pair impossible to seal with perimeter strip alone.
Frequently Asked Questions
What type of weatherstripping is best for an exterior door?
A tension seal with a vinyl or neoprene insert on an aluminium carrier suits most exterior doors, because it closes gaps up to half an inch and survives weather. V-strip is a better choice on old houses with uneven jambs, and a compression bulb seal suits narrow, consistent reveals. Pair the perimeter choice with a door sweep so the bottom gap is handled too.
Should I use foam weatherstripping or a tension seal?
Use foam tape for interior doors, small gaps up to a quarter inch, and fixes where the surface is clean and flat. Use a tension seal for exterior work, wider gaps and anything exposed to sun and temperature swings. Cheap open-cell foam tape compresses once and stays compressed, so it loses the seal within a couple of summers and has to be stripped off.
How do I measure the gap around a door before buying weatherstripping?
Close and latch the door, then measure the gap with a folding rule or the width of an old credit card at the head, hinge side and lock side, plus 12 inches down each side. Note the largest reading and buy for it. Also measure the soffit width so the strip sits flat, and add a few extra inches for mitred corners at both ends.
Can weatherstripping fix a door that sticks or does not close?
Not usually. A sagging or out-of-plumb door, a swollen leaf or a warped frame will defeat any new seal, and thicker strip only increases the pressure on the hinge side. Check the reveal and the frame with a level and a straightedge first. Re-hang, re-shim or plane the door, then fit a strip sized to the corrected gap.
Is it better to use adhesive-backed or nail-in weatherstripping?
Nail-in or screw-fixed strip is the safer choice for exterior doors, an old house or any surface that is dusty or freshly painted, since it does not depend on a bond. Adhesive-backed V-strip is quicker and works well indoors on clean, smooth paint. Either way, prepare the jamb properly, because adhesive fails on residue far more often than it fails from age.
How much compression should door weatherstripping have?
The insert should squash enough that the closed door presses on it and the paper or bill test drags evenly, but the door should still close easily and the latch should catch on the first try. Over-compression crushes the seal so it cannot recover, which is why overtightened screws and a strip too thick for the gap are the same failure. If the door gets heavier with each close, back the fixing off.
Conclusion
Diagnose the door and measure the gap before you buy a single foot of strip — that one habit prevents most of the failures on this list. Then fit for the widest gap you measured, screw or brad the perimeter, seal the bottom, and test the result in daylight, with a bill at the frame and a smoke stick in still air. Check the same three ways twice a year, in spring before the warm season and again before winter.