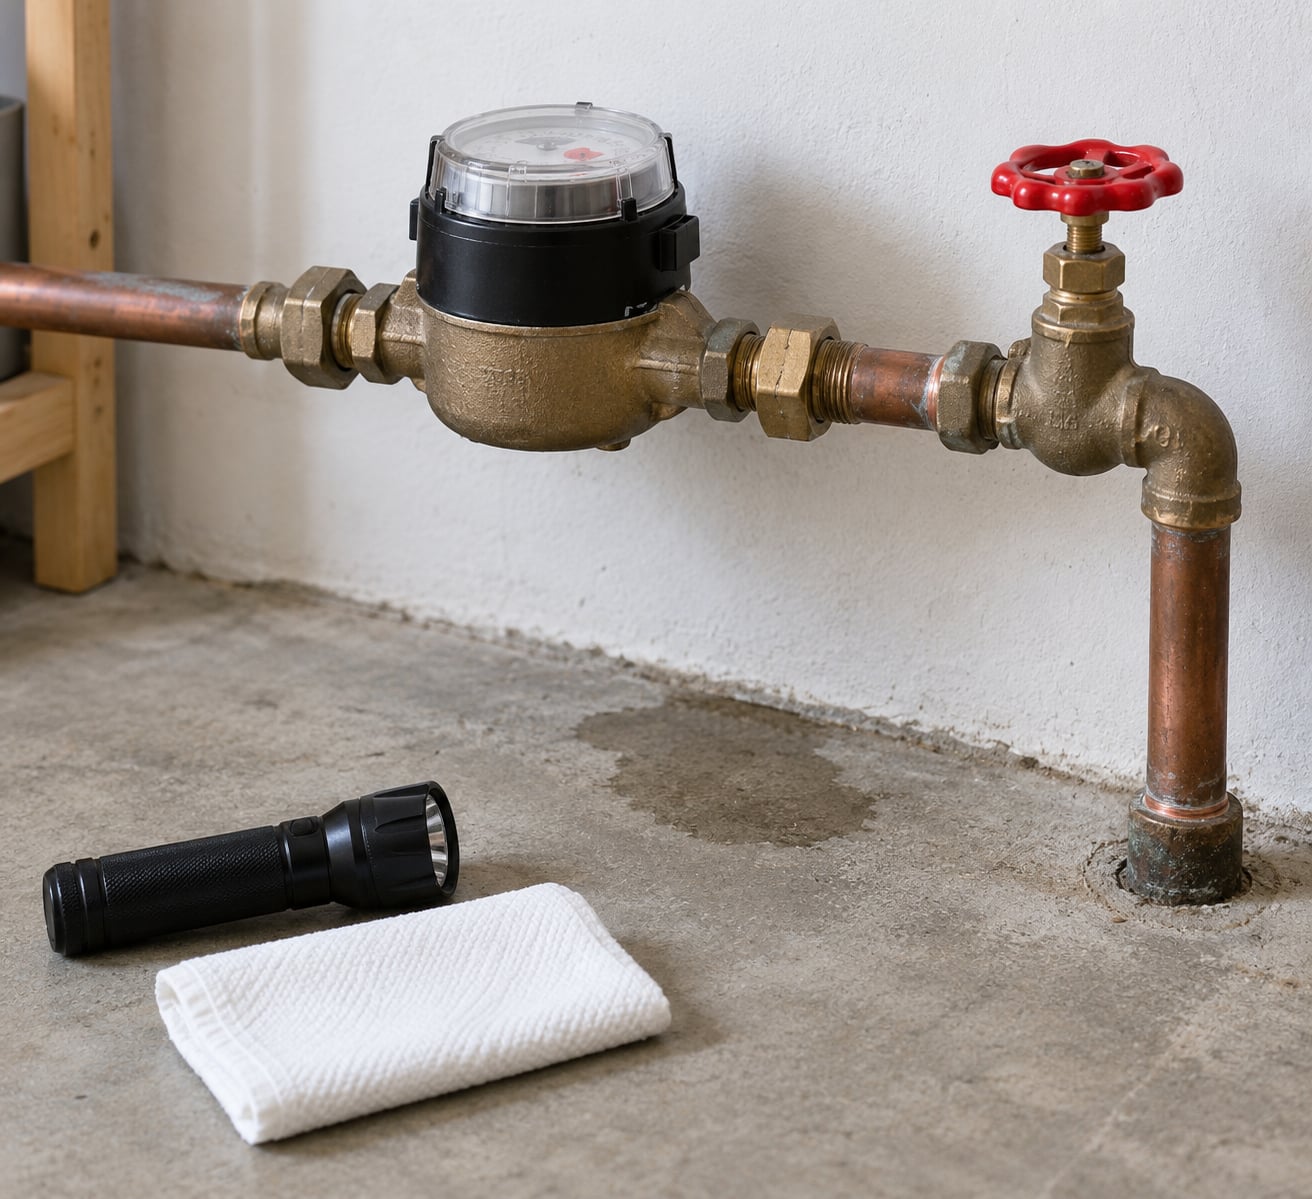
If you want to know how to find and fix hidden water leaks in your home, start at the water meter: turn off every tap, toilet and appliance, read the dial, wait 20 to 60 minutes, then read it again. If it moved, water is escaping somewhere in the system, and the same test tells you whether the leak is inside the house or out on the service line. Repairing it depends entirely on where the water is escaping.
A perished toilet flapper, a tired rubber washer or a kinked supply hose is a straightforward weekend job with a wrench and an hour. A joint buried inside a wall, under a concrete slab or in the ground is not, and no amount of clever detection changes that. What matters is finding the source before anyone opens a finish.
It is worth knowing the scale. EPA WaterSense puts the average American household at nearly 10,000 gallons of water wasted each year to leaks, and about one home in ten is losing something like 90 gallons a day. That water is soaking insulation, drywall and subfloor long before a stain shows up on a ceiling.
The order below is the order I would work in: confirm the leak, read the signs, isolate the system, pinpoint the location, repair what is reachable, then dry and inspect. Skip a step and you end up opening a wall on a guess, which is the single most expensive mistake a homeowner makes here.
Table of Contents
- What You Need
- Step-by-Step: How to Find and Fix a Hidden Water Leak
- 1. Confirm whether you have a hidden water leak
- 2. Look for the most common warning signs
- 3. Isolate the plumbing safely
- 4. Locate the leak with the meter and moisture clues
- 5. Fix an accessible leak or arrange a professional repair
- Toilet flapper
- Fill valve or float
- Braided supply hose
- Compression or threaded joint
- 6. Dry, inspect and prevent repeat damage
- Common Mistakes
- Tips for Preventing Future Hidden Leaks
- Frequently Asked Questions
- Can you find a hidden water leak without opening the walls?
- How do I know if a hidden leak is causing mold?
- Where is the main water shutoff valve in most homes?
- Why is my water bill higher even when I have not used more water?
- When should I call a plumber instead of repairing a leak myself?
- Conclusion
What You Need
Most of the diagnostic work needs almost nothing. It is the repair, not the hunt, that needs tools on the bench.
- Your water meter and, ideally, a smartphone to photograph the dial reading and the timestamps.
- A flashlight, ideally a headlamp, so your hands stay free for the paper-towel test.
- Paper towels or toilet tissue for the overnight joint test.
- A small basin or bucket to catch drips when you open a fitting.
- An adjustable wrench and a pipe wrench for supply valves and compression joints.
- Plumber’s tape (PTFE tape) for threaded joints that are being reassembled.
- A damp cloth and a dry cloth to clean threads and to grip a wet chrome nut.
- Optional but useful: food coloring dye, a moisture meter, a borescope, an infrared camera, or a smart water meter with leak alerts.
Two safety rules come before any tool. Find and label your main shutoff valve now, not during an emergency, and keep electricity away from standing water: if water is anywhere near a socket, a light fitting, a boiler or a consumer unit, cut the power at the mains before you touch the plumbing.
If you have never located the shutoff, trace the cold water supply pipe from outside the house where it enters through the wall or ground. If it goes straight into the meter and there is no valve on your side, that is worth having a plumber install one.
Step-by-Step: How to Find and Fix a Hidden Water Leak
1. Confirm whether you have a hidden water leak
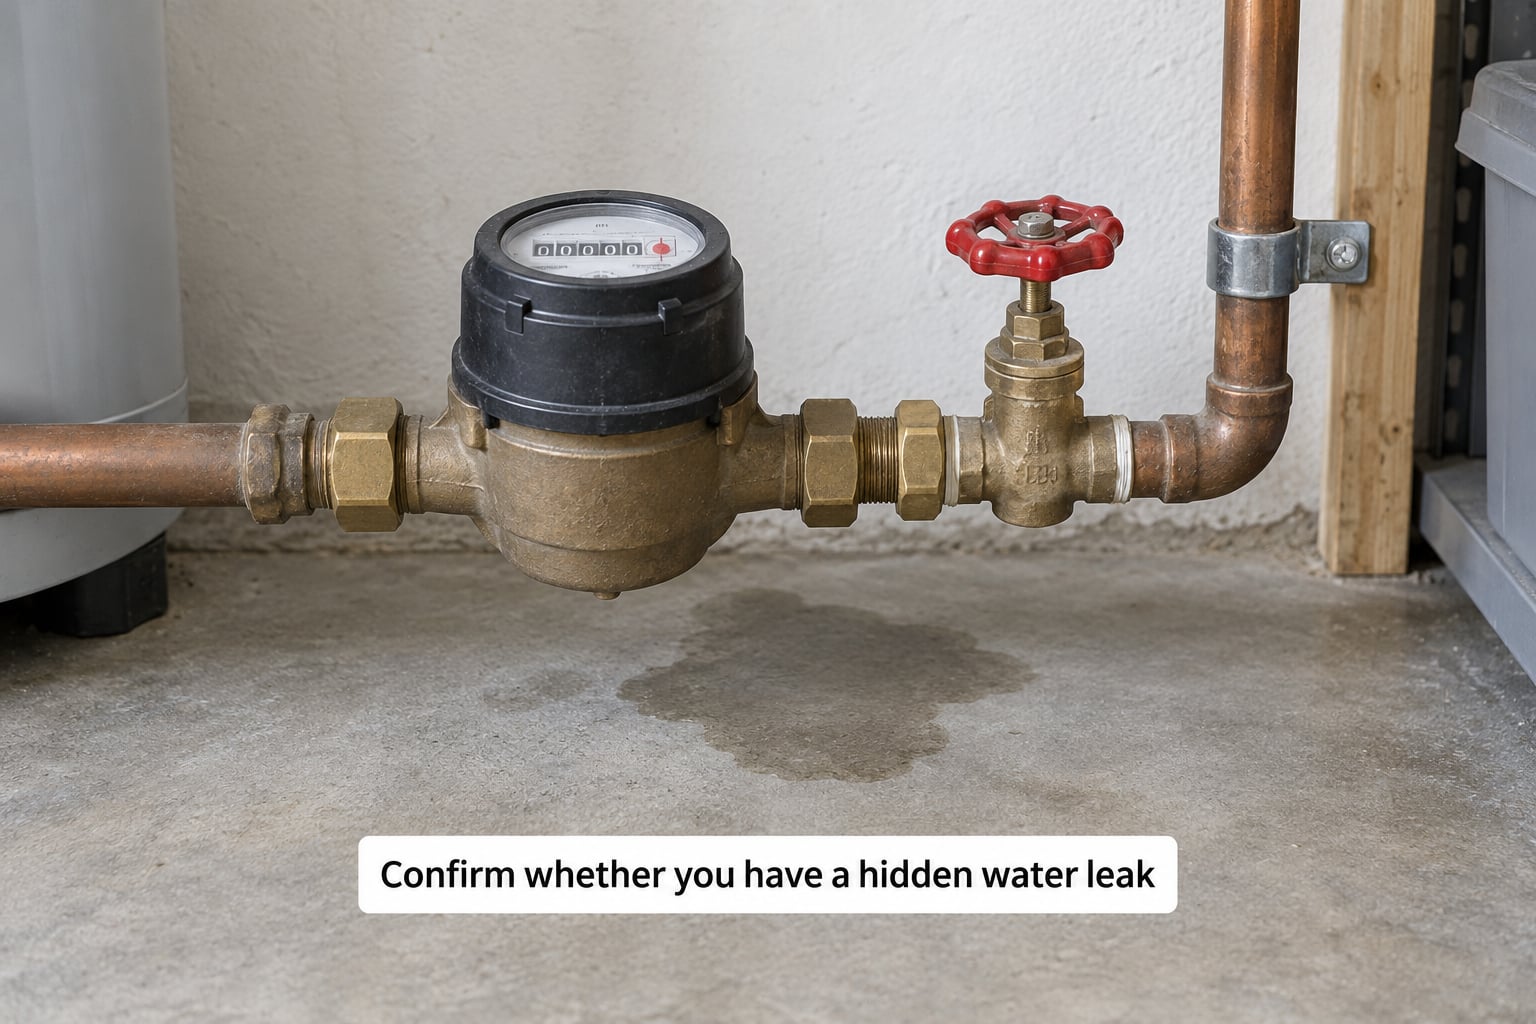
You have a leak if the meter keeps using water with every fixture in the house turned off. That single reading is more reliable than any sign you can see on a wall, which is why it is the first thing I check.
- Photograph the meter reading, including the last two digits on the register.
- Close every tap, turn off the water supply to the toilet, washing machine and dishwasher, and confirm nothing is running.
- Wait 20 minutes for a fast, obvious leak, or up to 60 minutes if you suspect a slow one or a toilet.
- Read the meter again and compare. Any movement means water is still moving.
- Repeat the whole test overnight, before bed and first thing, to catch a very slow leak you would miss in an hour.
Then split the problem in two. Shut off the main valve at the meter and watch the meter itself. If it still creeps with your house isolated, the leak is on the utility side of your meter and it is the water company’s problem, not yours. If it stops, the leak is somewhere inside the house and your work starts now.
Before you call it a leak at all, rule out the boring explanations. Condensation on a cold window or pipe in humid weather beads and leaves a wet ring; a refrigerator or air conditioning unit dripping into a tray looks identical. Check whether the damp appears only on humid days and only on the cold side of a pipe before you commit to a search.
2. Look for the most common warning signs
Most hidden leaks announce themselves before you find them. Here is how to read each clue rather than just noticing it.
- A meter that never fully stops. The dial, the odometer-style register or the app on a smart meter should be motionless when everything is off. A slow crawl in a single digit is a classic silent toilet or a weeping supply line.
- A bill that jumps without a change in habits. Compare the same months year over year. Irrigation, a new water softener, an outdoor hose left running and a switched-off property all inflate usage, so rule those out first.
- Dampness with no obvious source. The stain is rarely the leak. Water travels along a floor joist, down inside a cavity or across the back of a plasterboard sheet, then emerges somewhere else entirely. Treat damp as a clue about the plumbing run, not a marker of the failure.
- A musty smell in a room with no window. That is mould starting on damp backing board or insulation, usually days or weeks before anything is visible.
- Mould, bubbling paint, peeling wallpaper or a swollen skirting board. All of these are consequences, not causes. Fix the water first or you will be redecorating twice.
- Water pressure that has dropped. If the pressure is fine with fixtures off and weak with them on, water is escaping somewhere on the supply rather than the whole house.
- Warm patches on floors or walls, and mould returning in the same spot after cleaning. Recurring damp in a fixed location is a stronger signal than a one-off stain.
By volume, the biggest leak in most homes is a toilet that runs and reseals. A dripping faucet is more annoying than costly, but a flapper that lets a few litres through an hour adds up to hundreds of gallons a day, and you will never hear it.
3. Isolate the plumbing safely
You isolate by closing valves one branch at a time and watching what the meter does. The goal is to narrow the search without dismantling anything.
- Close the supply valves under every sink and every toilet in turn, then re-run the meter test after each group.
- If the meter stops, the leak is in the group you just closed. Reopen them one fixture at a time to find the culprit.
- If closing fixtures does not stop it, close the hot water branch, then the boiler and water heater, then the appliance feeds.
- If it still runs with every interior valve closed, turn off the main at the meter. Consumption that continues is the utility’s responsibility.
Before opening any wall, ceiling or access panel, work out what the plumbing in that space actually is. Old homes mix galvanised steel, copper and polybutylene in the same wall, and pipes may run where the drawing does not show. Trace the line from the fixtures on either side and note where it disappears into the structure.
Relieve pressure before you open anything. Turn a tap on to bleed the line down, and keep a bucket under the joint. If water is near anything electrical, cut the power first and dry the area before you go near it.
4. Locate the leak with the meter and moisture clues
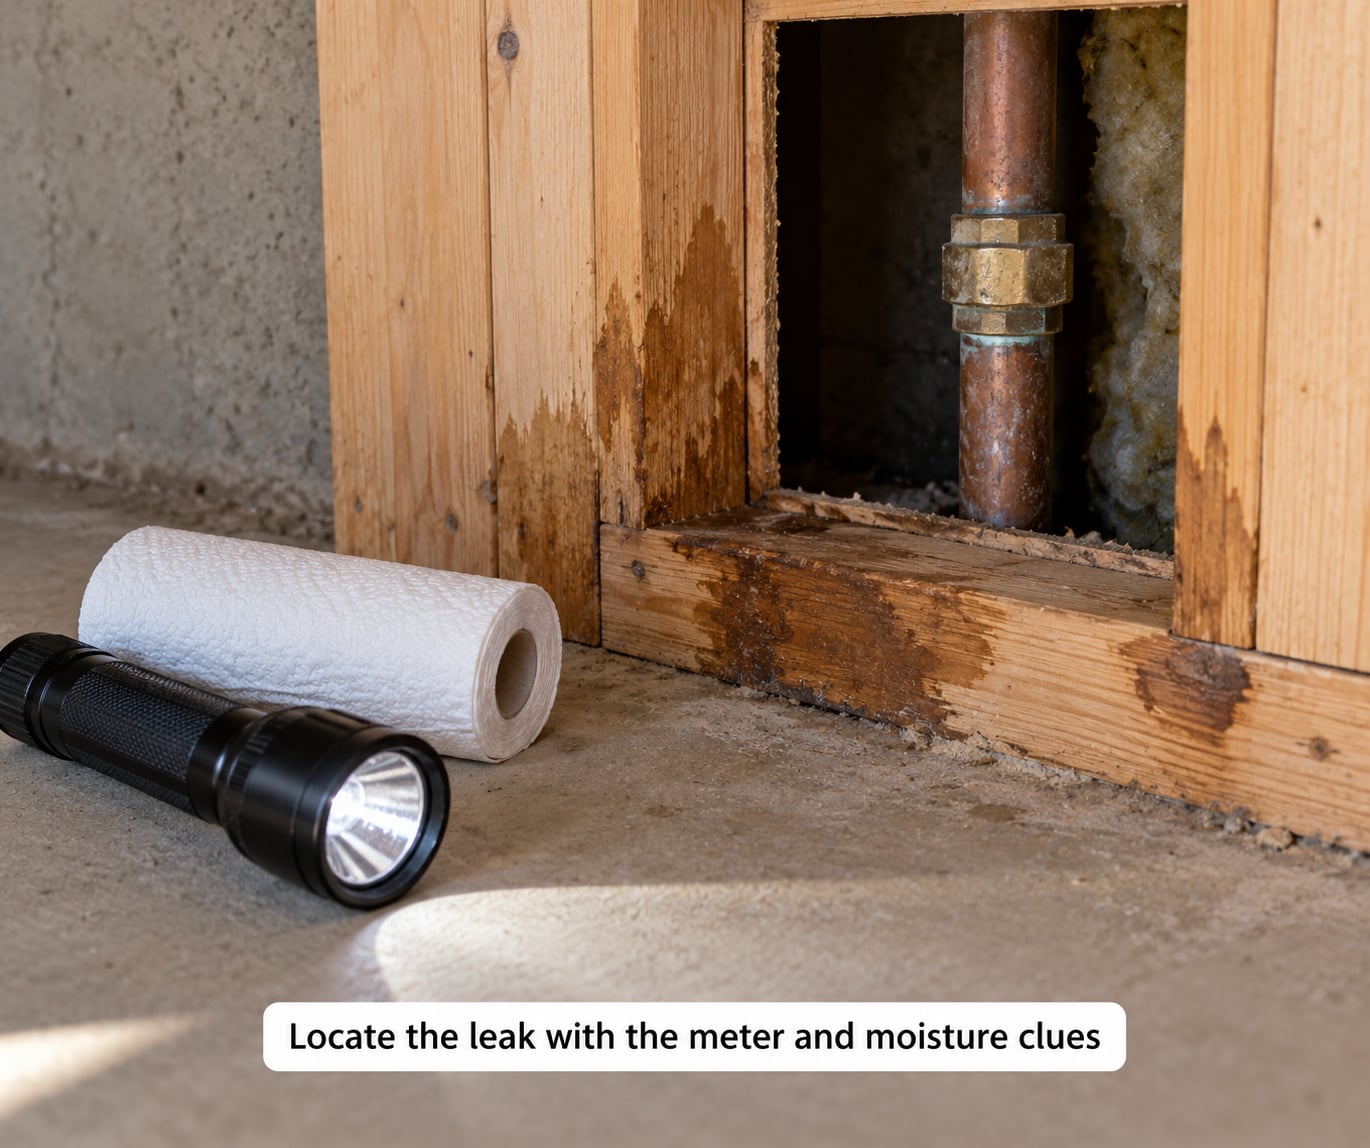
Once a branch is identified, you are looking for the point where water escapes on that branch. Most of it can be done without a single tool beyond a flashlight.
Start with a paper towel. Wrap it around every joint, valve and appliance connection on the branch and leave it overnight. If it is damp in the morning, you have your location and you have a five-minute fix ahead of you. Homeowners on plumbing forums swear by this test for new connections because it costs nothing and never lies.
Next, look and listen. Shine the flashlight along the underside of every pipe, at every hanger and clip, and at every point where pipe passes through framing. Look for water staining, rust weeping, a swollen patch of plasterboard, a warped floorboard or a paint blister. Put your ear or a screwdriver handle against the pipe and the wall and listen when fixtures are flushed or a tap runs; a hiss, hum or a fast tick is water moving through a leak.
Then trace the run. Follow the pipe from the last dry joint to the first wet one. Where a pipe disappears into a wall, check the other side of that wall and the floor or ceiling cavity below it.
| Tool | What it detects | Homeowner friendly? |
|---|---|---|
| Paper towel or tissue at joints | Slow weeping at visible connections | Yes, free, most reliable first step |
| Borescope (inspection camera) | Corrosion, blockage or a wet joint inside a wall cavity | Yes, useful if you have a small access hole |
| Infrared / thermal camera | Cold spots and temperature differences in finishes, floors and ceilings | Partly; cheap models pick up damp, professional ones map it |
| Acoustic sensors | Vibration of water escaping under pressure | Rarely; this is a plumber’s tool |
| Tracer gas and pressure testing | Leaks in pressurised or underground lines | No, specialist equipment |
| Ground-penetrating radar or video pipe inspection | The route of a pipe under a slab or in the ground | No |
A cheap borescope and a thermal camera bought online genuinely help. Owners report them as useful for spotting cold spots and damp patches behind finishes. Neither replaces an acoustic sensor on a quiet, deep leak inside a wall, and neither helps at all if the pipe is under a slab.
5. Fix an accessible leak or arrange a professional repair
Fix what you can reach. These are the four repairs that account for most fixable hidden leaks, and all of them are within reach of a careful homeowner with a wrench.
Toilet flapper
Shut the toilet’s supply valve and flush to empty the tank. Lift the old flapper out, note the orientation, and press the new one in so it sits squarely and seals against the flush valve seat. Fill the tank and flush three or four times, then run the dye test again. No colour in the bowl after ten minutes means it sealed.
Fill valve or float
Replace the whole valve rather than fighting a float that will not adjust. Match the new valve to the tank’s inlet height, tighten the shank with an adjustable wrench and a cloth so you do not crack the tank, then set the float so the tank stops filling at the right line.
Braided supply hose
This is the single most common cheap fix in a house, and it is worth doing anyway as prevention. Shut off the valve, relieve pressure by opening a tap, loosen the old hose from the shutoff and from the fixture, and fit the new hose. Hand-tighten plus a quarter turn is right. Do not overtighten: the threads are brass or plastic, and a stripped valve is a bigger job than the leak.
Compression or threaded joint
Loosen the nut, slide the ferrule and the nut off in the order they came off, and inspect the ferrule. Replace the ferrule rather than reusing it if it is flattened. Clean the threads with a damp cloth, wrap fresh PTFE tape the other way from how you found it if it was taped, and hand-tighten before a quarter turn with the wrench.
Test every repair before you close the wall or cabinet. Restore the water, run the fixture for several minutes, and repeat the paper towel test. If the towel is wet in the morning, the repair failed and you have lost nothing but a night.
Call a licensed plumber for concealed pipes, anything inside a wall cavity or under a slab, a burst line, a leak in a pressurised heating system, or any job involving electrical work or gas. Call a leak detection specialist, rather than a plumber, when you have confirmed a leak exists but have no clue where it is and the meter still runs with everything shut off. Ask for the location of the leak to be marked and photographed, and ask for finding the leak to be quoted separately from repairing it.
Two warnings for renters and for anyone with a claim pending. If you rent, your landlord is responsible for finding and fixing the leak; document what you see, use towels rather than a sledgehammer, and report it in writing. If you are claiming on insurance, photograph everything before any repair starts and ask before anything is dismantled, because the assessor needs to see it and sudden repairs can be difficult to prove.
6. Dry, inspect and prevent repeat damage
A stopped leak is only half the job. Wet building fabric that is not dried goes mouldy, and mould spores are the part that does not come off with a cloth.
- Keep water off. If the repair is only temporary, leave the main shutoff closed until the permanent fix is done.
- Remove standing water with a wet vac or a bucket and towels. Do not push water under skirting or insulation.
- Open doors and windows and run fans. A dehumidifier is better if you have one; rent one if you do not.
- Pull out saturated carpets, underlay and blown insulation. Dry material kept in place will smell for years.
- Photograph the damage for your insurer before you repair anything, and keep the receipts.
- Repaint or re-tile only when the area is fully dry to the touch and the meter test stays clean for a week.
Then set a monitoring habit. A monthly meter reading in the same spot catches the next leak in its first week, and a smart meter with leak alerts does it for you automatically. If mould has already grown, deal with it after the drying, not before.
Common Mistakes
These are the errors I see most often, and each one has a simple correction.
- Ignoring a slow meter movement because the bill looks normal. A meter that moves with everything off is already a leak. Re-read it overnight, because a small crawl over an hour can be invisible.
- Assuming condensation is a pipe leak. Check whether the damp appears only on humid days and only on cold surfaces. Condensation beads on the outside of the pipe; a leak soaks the material behind it.
- Working on a joint without shutting the water off. A basin and a closed valve take a minute. Flooding a ceiling takes an afternoon.
- Using the wrong fitting or reusing a compression ferrule. Take the old parts with you to the shop, match the pipe material and diameter, and fit new ferrules and washers rather than rebuilding with old ones.
- Overtightening a plastic or brass threaded connection. Hand-tighten plus a quarter turn is enough. Stripped threads turn a hose swap into a valve replacement.
- Not testing after the repair. Restore the water, run the fixture, and check the paper towel again in the morning. A repair you have not tested is a repair you do not have.
- Opening finishes before locating the leak. Make the location repeatable: meter test, branch isolation, dye or paper towel test, listening. Only then open anything.
- Redecorating before the structure is dry. Paint over damp and you will be doing it twice, on a surface that is already compromised.
Tips for Preventing Future Hidden Leaks
Prevention is mostly boring and cheap, which is exactly why it works.
- Read the meter monthly and write the number somewhere you will actually see it. An unexplained rise of a few hundred gallons between bills is worth investigating before it becomes a stain.
- Replace appliance hoses before they fail. Washing machine, dishwasher and ice maker hoses should be replaced every five to seven years, or sooner if the rubber is stiff, bulging or showing braid rust. Stainless braided hoses outlast rubber ones.
- Keep household pressure in a sane range. Sustained pressure above roughly 60 PSI puts real stress on fittings and hoses. If your pressure is persistently high, have a pressure-reducing valve fitted rather than living with it.
- Once a year, open the under-sink cabinets and look at the joints and the base of the cabinet for damp. Most supply line leaks announce themselves here years before anything else shows.
- Clear gutters, downpipes and floor drains before the wet season. An overflowing drain is the fastest route from a small leak to a large bill.
- Protect pipes in unheated spaces in winter, and insulate outdoor hose bibs. Insulate any pipe running through an exterior wall or an unheated crawlspace.
- Know where your shutoff is and label it, and do the same for every fixture supply valve. In a rental, ask the landlord to confirm both.
- In an older home, have a plumber inspect the plumbing every few years. Galvanised steel and polybutylene lines have known failure modes, and replacing them in advance is far cheaper than repairing them around a ceiling.
Prevention is also the water-saving case. Every leak you catch early is water you did not waste, and on a conservation-minded site that matters as much as the drywall you did not replace. EPA WaterSense fixtures and a household that fixes leaks promptly are the two habits that show up fastest on a water bill.
Frequently Asked Questions
Can you find a hidden water leak without opening the walls?
Most of the time, yes. The meter test, branch-by-branch isolation, a dye test in the toilet, a paper towel left on suspect joints and a flashlight inspection will locate the source without breaking anything. Thermal cameras and borescopes extend that reach behind finishes. What you cannot do is confirm a joint buried inside a wall cavity or under a slab, which is why those need a plumber or a detection specialist.
How do I know if a hidden leak is causing mold?
Look for a persistent musty smell in a room with little ventilation, mould returning in the same place after you clean it, and damp finishes that soften or darken. Confirm by drying the area and watching whether it comes back while the meter is still running. Mould needs sustained moisture, so fixing the leak stops the problem but does not remove what already grew. Dry everything fully before treating or painting.
Where is the main water shutoff valve in most homes?
It is usually on the house side of the water meter, either in a meter box outside at ground level or just inside the boundary wall, often in a basement or utility area. Trace the cold supply pipe from where it enters the building to find it if you cannot see it. If there is no valve on your side of the meter, have a plumber install one, and label it so you can find it in the dark.
Why is my water bill higher even when I have not used more water?
Something is using water when you are not. A running toilet flapper, a weeping supply line or a stuck irrigation valve will do it quietly, and a hidden pipe leak will too. Read the meter with every fixture shut off and wait 20 to 60 minutes to check. Also rule out new appliances, an irrigation timer or a leak on the utility side of the meter, which is not the homeowner’s responsibility.
When should I call a plumber instead of repairing a leak myself?
Call a licensed plumber for anything inside a wall cavity or under a slab, any burst pipe, leaks in a pressurised heating system, and any work near electricity or gas. The same applies to recurring leaks, leaks in older galvanised or polybutylene lines, and jobs where you would have to cut structural framing. Home DIY is fine for flappers, fill valves, supply hoses and compression joints you can physically reach.
Conclusion
Do the meter test first: everything off, read, wait, read again. Then follow dampness, mould and pressure changes back to the branch they point at, shut the water off if the leak is active, and isolate one group of fixtures at a time until the meter goes quiet.
Keep finishes closed until you can point at the location. Replace the flapper, the hose or the fitting yourself when you can reach it, and bring in a licensed plumber the moment the pipe is concealed, the system is pressurised or electricity is anywhere near the water. Dry everything out properly afterwards, photograph it for your insurer, and the next bill will be the quietest one you have had in years.