Joining a volunteer stream monitoring program starts with finding the group that covers your watershed, then registering for their training session before your first sampling day. Most programs are free, supply the field equipment, and take complete beginners, so the hard part is knowing which organization to contact and what to ask them.
A few hours of setup usually buys you a year or more of field days. The guide below walks through the preparation, the signup sequence, the recording habits that make your data useful, and the mistakes that trip up new volunteers.
Table of Contents
- What You Need Before You Sign Up
- How to Join a Volunteer Stream Monitoring Program, Step by Step
- Step 1: Find a Local Stream Monitoring Program
- Step 2: Contact the Coordinator and Ask the Right Questions
- Step 3: Complete Training and Choose a Monitoring Site
- Step 4: Collect and Record Consistent Observations
- Step 5: Submit Data and Keep Contributing
- Common Mistakes to Avoid in Stream Monitoring
- Frequently Asked Questions
- Do I need experience to join a volunteer stream monitoring program?
- What equipment do I need, and is it provided?
- Is stream monitoring safe for beginners?
- How much time does stream monitoring take per visit?
- What if my watershed has no volunteer stream monitoring program?
- Is volunteer stream monitoring data credible?
- Conclusion
What You Need Before You Sign Up
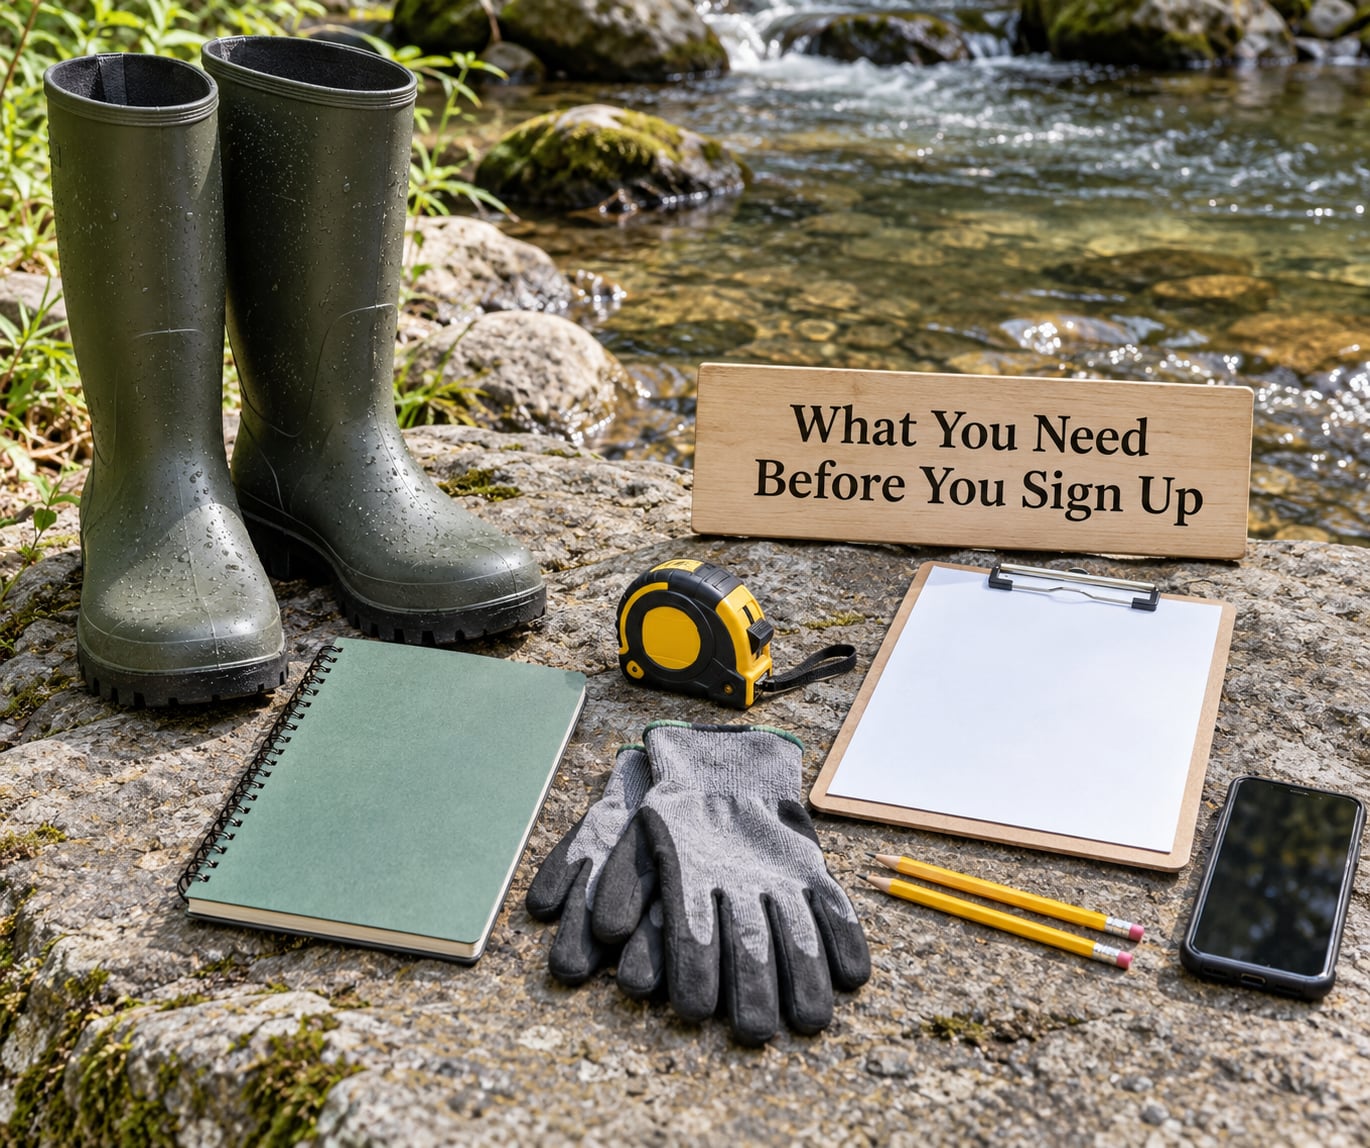
Most volunteers need far less than they expect, and a large share of it gets lent to you by the sponsoring organization.
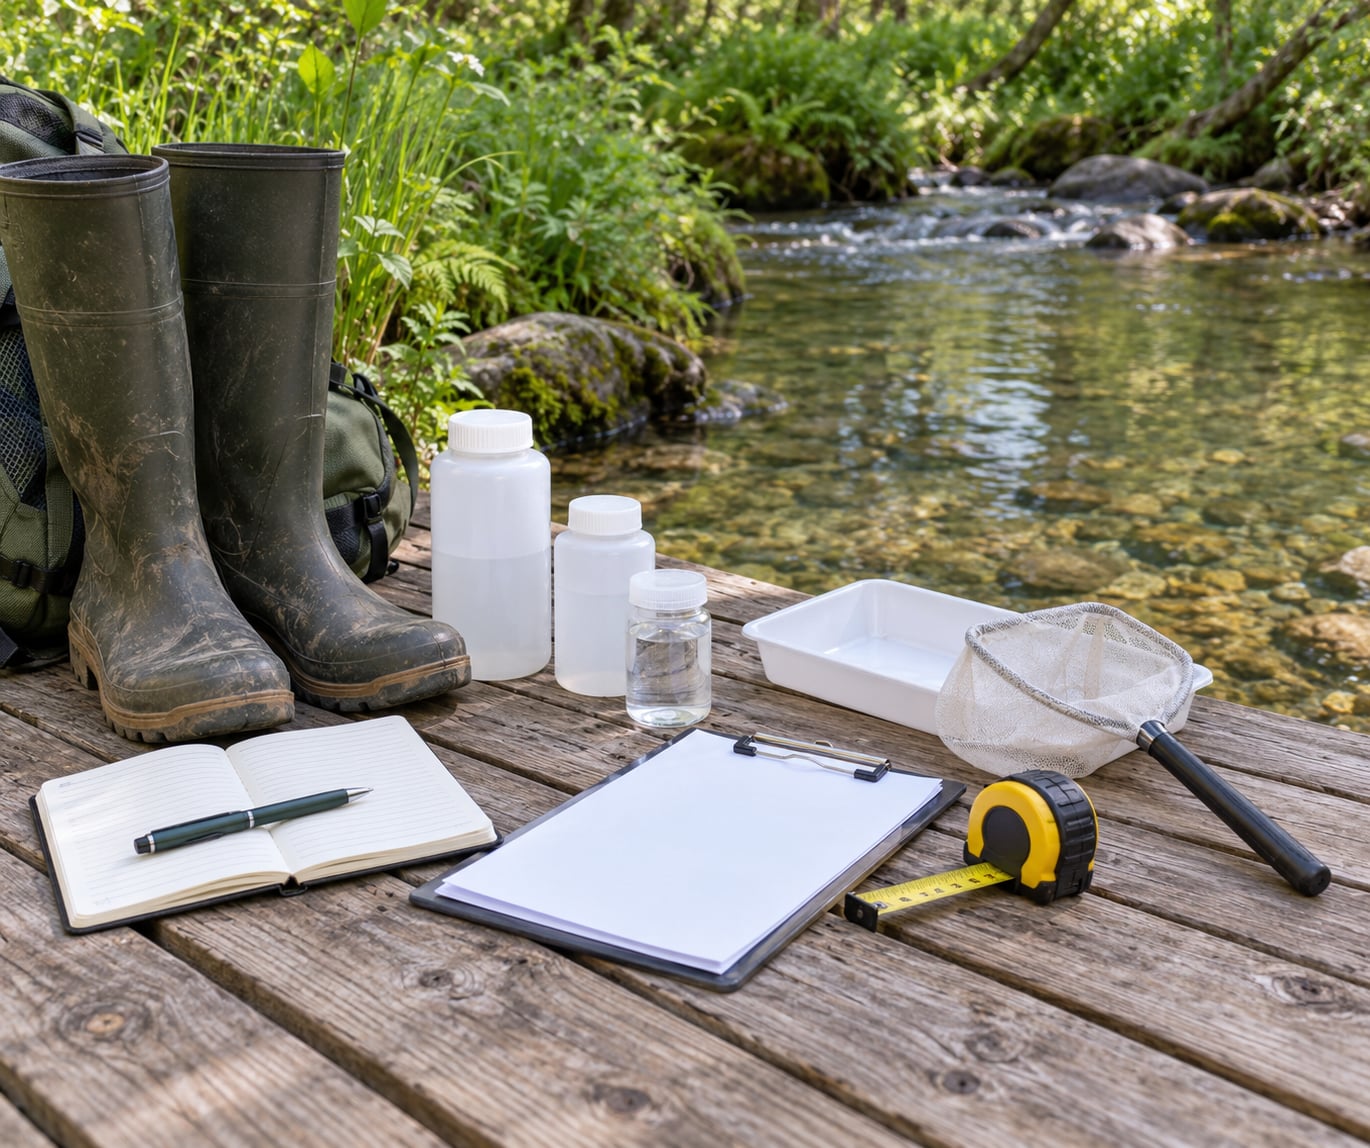
- Clothing suited to the season. Long trousers, layers you can strip off, and a waterproof outer shell. In the Southern Hemisphere that means winter gear during the June-to-August sampling window; in North America and Europe it usually means spring and early summer.
- Waterproof footwear. Waders are ideal but rarely required for a first session. Old trainers or hiking boots you do not mind soaking work for shallow reaches and bank sampling.
- Field documentation. A waterproof notebook or clipboard, pencils, and the official data forms. Programs that use a phone app will tell you so during training.
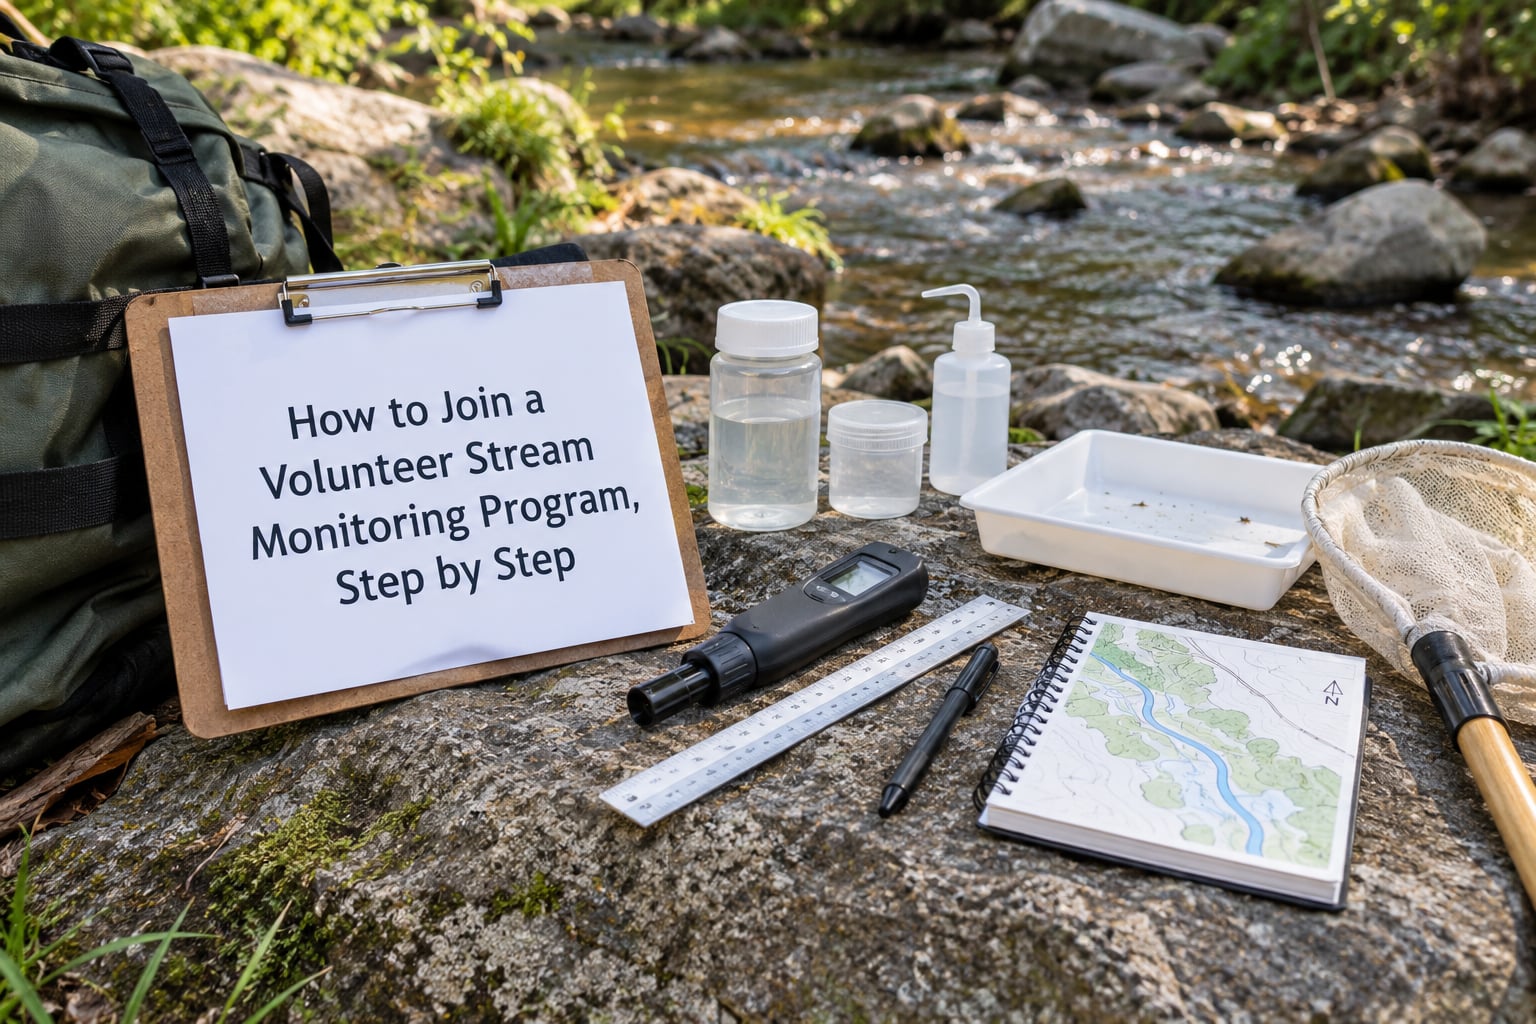
- Equipment the organizer supplies. Kick nets, sample bottles, thermometers, pH and dissolved oxygen meters, turbidity tubes, waders, and gloves are standard loaner-kit items in most established programs.
- A phone or camera for photographs of the sampling point, which are usually part of the record.
- Health and safety information. Waterproof footwear that fits, medical details if the coordinator asks, a working phone, and a second person who knows where you are going.
Before you commit, ask the coordinator for the project’s standards document and equipment list. Confirming these two things early is the cheapest way to avoid turning up on sampling day with the wrong boots.
How to Join a Volunteer Stream Monitoring Program, Step by Step
Step 1: Find a Local Stream Monitoring Program
Search for programs through your state or provincial environment agency, then your county conservation district or soil and water conservation district. If neither has an active project, widen the net to watershed councils, riverkeeper and streamkeeper groups, university extension offices, and national citizen science portals such as the USGS water quality site.
Verify three things before you email anyone. The project should follow a recognized method, there should be a named coordinator with a direct email address, and the group should tell you plainly whether it works with beginners.
For comparison, several well-known schemes run the same structure under different names: Save Our Streams in the United States, Streamkeepers in British Columbia, MiCorps in Michigan, and the Riverfly Monitoring Scheme in the United Kingdom.
Step 2: Contact the Coordinator and Ask the Right Questions
One short email gets you everything you need. Ask about training dates and whether registration is required per session, any experience or minimum age, what the monitoring calendar looks like, which equipment the program lends you, and the safety rules that apply.
Also ask how the data reaches you. Programs that describe quality review, database entry, and who reads the results are the ones where your records carry weight.
Step 3: Complete Training and Choose a Monitoring Site
Training is not optional paperwork. A half-day or full-day session usually covers the protocol, the equipment, how to fill out the data forms, and the biology of the organisms you will sort. Some programs add a field day and a supervised second visit before you sample on your own.
Sites are usually assigned based on need, though some programs let you adopt a reach near home. Once assigned, note the exact point, the landmarks, and the depth so you can find it again in different seasons.
Step 4: Collect and Record Consistent Observations
Follow the assigned protocol rather than your own method. Depending on the program you may record water clarity, temperature, flow, pH, dissolved oxygen, conductivity, litter counts, or wildlife sightings, and you may collect a sample for laboratory sorting.
Record the time, exact location, weather, and your name on every form, even when conditions look routine. Label samples before they leave your hands, take each measurement the way the protocol says, and write down anything that went wrong.
Do not improvise. A reading taken with a different method, or at a different spot half a metre away, can weaken an entire season of results.
Step 5: Submit Data and Keep Contributing
Enter your observations into the project’s system or hand in your forms on the deadline the coordinator gives you. Flag anything that looks unusual rather than quietly discarding it, since odd readings often trigger a coordinator to check the site.
Where a program protects sensitive site locations, keep those details out of public posts. Regular volunteers are the ones whose repeat visits build a baseline worth using, so aim to stay on schedule across the whole season.
Common Mistakes to Avoid in Stream Monitoring
- Sampling before training. Fix: complete the session and, if offered, the supervised practice visit before collecting real data.
- Switching sites or improvising methods. Fix: work the assigned reach and the documented protocol every single time, even when the creek next door looks more interesting.
- Taking unsafe samples. Fix: follow the project’s rules on wading depth, storm timing, and buddy pairs, and postpone a visit when lightning is forecast or the flow is dangerously high.
- Recording incomplete metadata. Fix: write the time, date, weather, and location at the top of the form before you measure anything.
- Disturbing wildlife. Fix: move slowly, keep nets in the water rather than dragging them across the bed, and return rocks and undercut banks to their original position.
- Treating one strange reading as proof. Fix: repeat the measurement, check your calibration, and report it. A single odd number usually means an instrument, not a river.
- Keeping quiet about hazards or broken gear. Fix: message the coordinator the same day about damaged equipment, damaged vehicles, erosion, or anything you feel unsafe around.
A few field habits carry a long way: photograph the same marker stone each visit, keep a spare battery for your meter, and pack a second pair of dry socks. Weatherproof your field notebook, and give your kit a rinse with plain water at the end of the day rather than leaving silt on it overnight.
Frequently Asked Questions
Do I need experience to join a volunteer stream monitoring program?
Almost never. Nearly every program states that no prior experience is needed, and the training session exists precisely because the scientific method and the organism identification are taught from the start. What matters more is reliability: show up on your assigned dates, follow the protocol, and record honestly. If you are nervous about taxonomy, tell the coordinator, since most groups pair beginners with an experienced mentor for the first season.
What equipment do I need, and is it provided?
Most programs lend you the scientific gear: kick nets, sample bottles and labels, thermometers, pH and dissolved oxygen meters, turbidity tubes, waders, and gloves. You generally supply your own clothing, waterproof footwear, water, sunscreen, a phone or camera, and a weatherproof notebook or clipboard. Ask for the equipment list before your first session, and confirm whether the project supplies waders or expects you to arrive with boots.
Is stream monitoring safe for beginners?
It is safe when the project sets the rules and you follow them. Beginner protocols usually restrict wading depth, require a buddy, and set weather stop conditions for thunderstorms, high flows, heat, and ice. Beginners are rarely asked to enter fast or deep water. Tell the coordinator about any mobility limits, allergies, or medical conditions, and reschedule rather than push through a rising stream.
How much time does stream monitoring take per visit?
Plan on roughly two to four hours per sampling day including travel, setup, sampling, and cleaning the kit, plus a short stretch at home to finish your forms. Add a half-day or full day for initial training, and refreshers where the program requires them. Some projects run quarterly visits, others sample seasonally or once a year for spring inventories, so ask about the calendar before you join.
What if my watershed has no volunteer stream monitoring program?
Start with your state or provincial environment agency and your county conservation district, then contact nearby watershed councils and riverkeeper groups, because they often know about programs in adjacent counties or can point you to regional contacts. If nothing exists nearby, your options include joining an established project on a larger river, contributing to a national citizen science portal, helping a lab team sort samples and enter data, or asking the agency what it would take to start a local program.
Is volunteer stream monitoring data credible?
Yes, when it follows a standardized method and passes quality review. Programs built on established protocols run duplicate and blank tests, recheck outliers against reference sites, require training before sampling, and enter validated results into agency databases used for watershed assessments and clean water planning. That is also why training and consistent protocol matter so much: the credibility comes from the method and the review, not from the volunteers themselves.
Conclusion
Your first move is small: identify a credible program covering your waterway and email its coordinator for orientation dates, training requirements, the equipment list, and the upcoming sampling schedule. Programs run by a state or provincial environment agency, a conservation district, a watershed council, or a riverkeeper group will get you started with training and equipment at no cost.
From there, follow the official protocol rather than your own approach, record your metadata every time, and report anything unusual or unsafe. Volunteers who return on schedule are the ones who turn a single afternoon of sampling into a record that agencies, councils, and local planners can actually use.