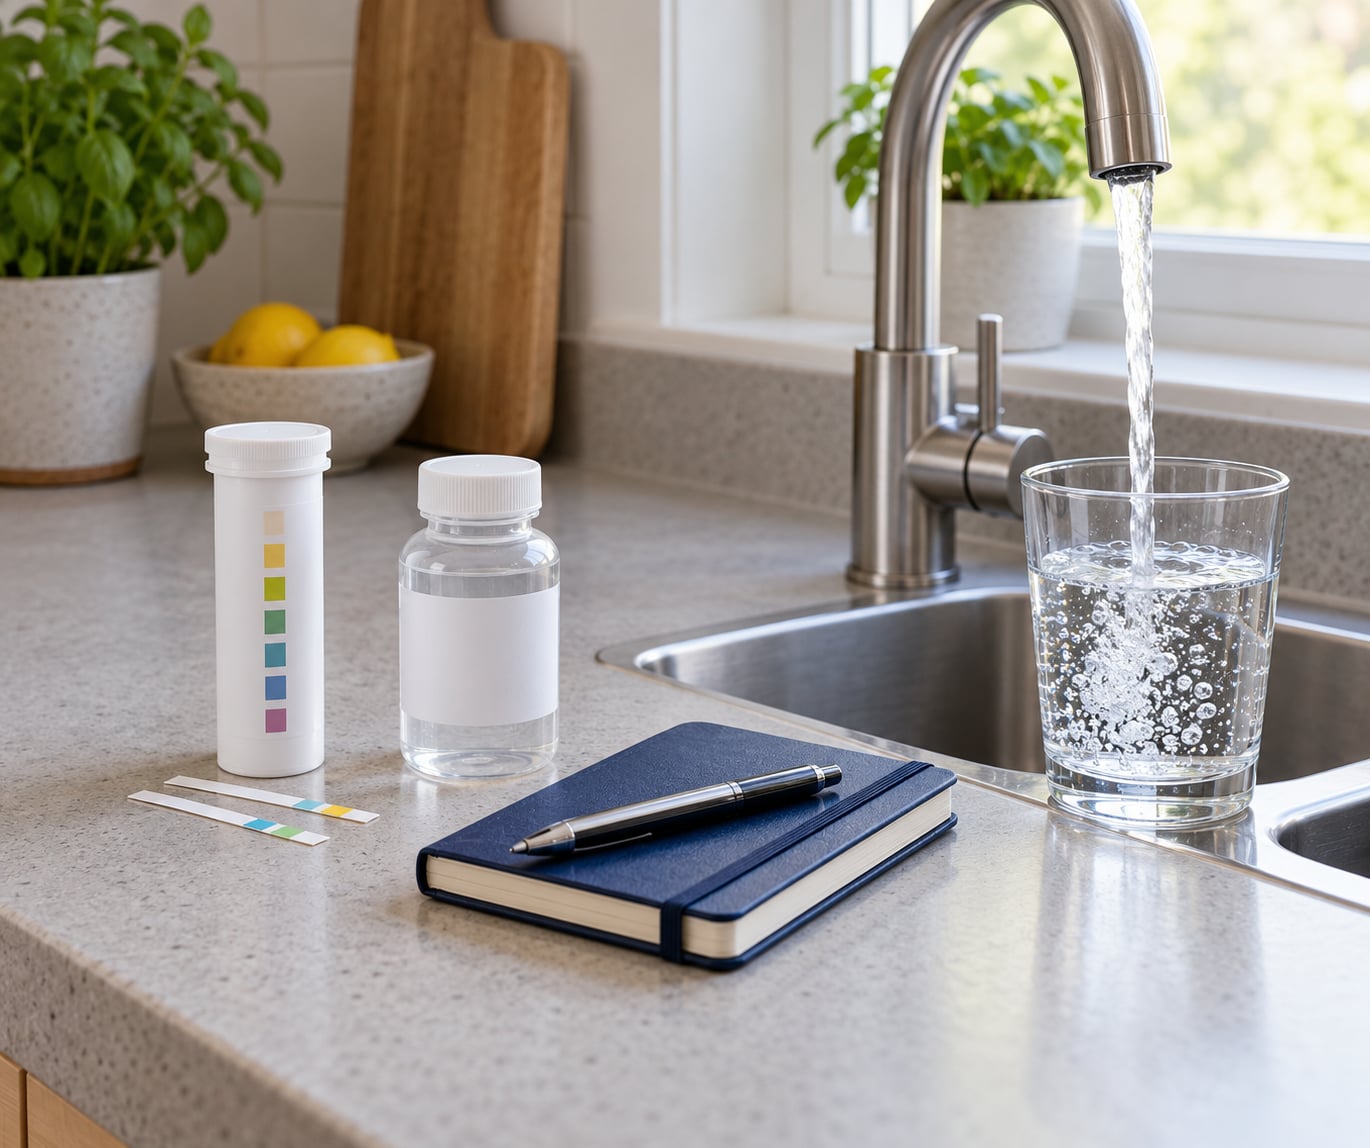
How to test well water at home comes down to two different jobs. Home screening strips tell you what the water tastes and behaves like; a certified laboratory tells you what is actually in it. The first takes ten minutes and costs almost nothing. The second takes a phone call to your state health department and a couple of weeks of waiting. Most problems happen when someone treats the first as a substitute for the second.
A private well is the homeowner’s responsibility in a way municipal water never is. Nobody is running monthly samples from your aquifer, and a well can go from fine to unsafe without any change you would notice in a glass. Coliform bacteria, nitrate, arsenic and lead all fail the look-taste-smell test. That is the whole reason to test at all.
Here is the process, in the order it actually works. Allow about 30 minutes for steps 1 through 3, and several weeks for step 4 depending on how long results take to come back.
Table of Contents
- What You Need
- Step-by-Step
- 1. Check the Well and Plumbing First
- 2. Collect the Sample Correctly
- 3. Use Home Strips for Basic Screening
- 4. Order Tests from a Certified Laboratory
- 5. Interpret Results and Decide What to Do
- Common Mistakes
- Frequently Asked Questions
- Can I test well water at home with a test strip?
- What is the easiest way to test well water for bacteria?
- How often should a private well owner test drinking water?
- Does a clear or good-tasting well water sample mean it is safe?
- What contaminants should a home well test include?
- Who should interpret the results from a private well water test?
What You Need
You can start screening today with almost nothing. To get a result you can act on, you need a few more things, and the order you gather them in matters more than people expect.
- A drinking-water test strip rated for the parameters you care about. Look for one that lists its detection range, not just the word “water.” A pool strip and a drinking-water strip are not the same product.
- A clean, unopened sample bottle from the laboratory, if you already have a test on order. Do not substitute a jam jar or a water bottle. The lab supplies the bottle because it is sterile and chemically clean, and reusing anything from your kitchen puts the result at risk.
- The lab’s collection instructions, in writing, before you fill anything. Some analytes have holding times measured in hours, not days, and the instructions tell you which.
- A pen and a label that will not dissolve or smudge. Date, time, sample point and who collected it.
- A cooler or insulated bag with ice packs if the drive to the lab is longer than an hour or the weather is hot.
- Your well log, pump records and any past test results, if the house has them. Prior results turn a snapshot into a trend, and a trend tells you far more than a single number.
Order the laboratory test before you collect anything, not after. Several tests have a short holding time, and a sample delivered late is a sample you paid for and cannot use.
Step-by-Step
1. Check the Well and Plumbing First
Start at the well, not at the kitchen tap. Ten minutes of looking saves you the cost of testing water from a problem that is really a plumbing problem.
Find where the well casing enters the ground or the wellhead sits, and note how close it is to the septic system, a driveway, a road, or any place chemicals are stored. A wellhead that sits in a low spot where runoff collects is a wellhead that will eventually collect runoff. Look for surface water entering the casing, a cracked cap, a missing seal, or a casing that sits above the soil grade where a boot is supposed to cover it.
Then ask what changed. Any of these means test now, regardless of when you last tested:
- Flooding, or high water anywhere near the well after heavy rain
- Any repair to the pump, casing, pressure tank or electrical work at the well
- A change in taste, odor, color or clarity
- A drop in water level or an unexplained change in pump behavior
- Nearby land use changes, new construction, or a new septic system nearby
- Construction of any kind on the property, including digging for a fence post
Inside the house, look at the fixtures. Orange or rust-colored staining in a sink usually means iron. Black or brownish staining in a shower or on a faucet aerator points to manganese. Blue-green staining in a bathtub can mean copper. None of those are dangerous on their own, but each one is a clue about what the aquifer is handing you, and each one belongs in the panel you order.
If there is a water softener, reverse osmosis unit, or any other treatment device, note where it sits. If you sample downstream of a softener, some metals will look artificially low. For most routine panels, sample the raw water at the wellhead or at the closest unfiltered tap before any treatment.
2. Collect the Sample Correctly
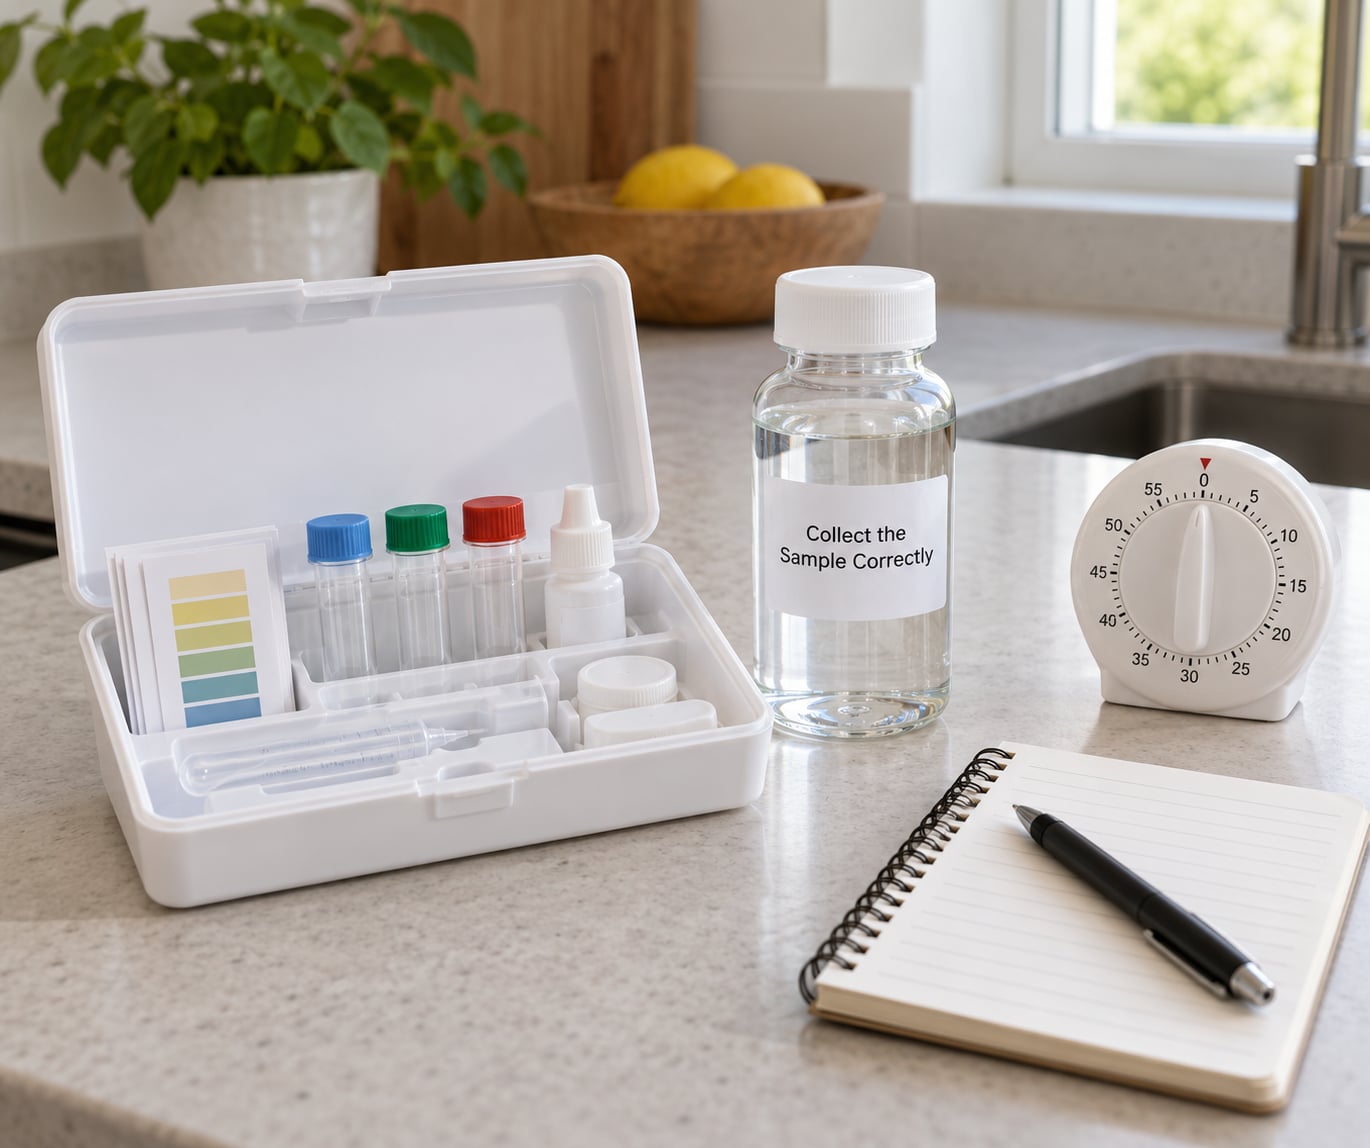
Collection is where most home samples get ruined. The water itself is fine; the handling is what fails.
- Read the lab’s instructions first. They override everything here, including this guide. Some labs want a first-draw sample, some want a flushed sample, and some want two bottles filled in a specific order.
- Run the tap until the temperature stops changing. Cold water sitting in a line picks up metals from copper and iron pipe. A steady temperature means steady chemistry, usually after a minute or two.
- Do not clean the bottle yourself. It is already sterile. Washing it reintroduces exactly what you are trying to measure.
- Fill it without touching the inside. Hold the cap by the edges. Do not set the bottle on the counter, do not let the tap stream splash up the sides, and do not wipe the rim with a cloth or a hand.
- Fill to the line, not past it. Some bottles carry a preservative powder or a fixative below the fill mark, and the headspace above it is part of the method. Underfilling can dilute; overfilling breaks the balance.
- Label it immediately. Date, time, sample point, and the name of whoever collected it. Unlabeled bottles get discarded, and an unlabeled bottle in a lab is not a rare event.
- Keep it cool and dark. Hold the temperature at or below refrigerator cold. Bacteria counts shift with heat, and pH drifts as dissolved carbon dioxide off-gasses and the sample warms.
- Deliver it inside the lab’s stated window. Microbiological samples often have a holding time of 24 hours or less. Chemical samples may allow more, sometimes up to 28 days. Getting this wrong is the single most common reason a paid test comes back unusable.
If you are collecting for lead, the protocol changes again and it matters. A first-draw sample is water taken the first thing in the morning, before any flushing, because it captures what has been sitting in the service line and fixture overnight. A flushed sample runs the tap until it clears, and it looks for corrosion happening in the distribution pipes. Which one you want depends on whether you are worried about the fixture or the infrastructure, and the laboratory should tell you which to collect. Getting this backwards is why many low lead readings from old homes mean very little.
Order more than one bottle. A single sample cannot be repeated if something goes wrong in transit, and a duplicate is how you tell a real result from a laboratory or handling error.
3. Use Home Strips for Basic Screening
Home strips are genuinely useful, and I use them as a first pass before spending anything. They give you a rough picture of pH, hardness, alkalinity, and in some kits iron, manganese and residual chlorine in a few seconds.
What they cannot do is rule anything out. That is not a brand problem, it is a physics problem. A color pad cannot see arsenic at ten parts per billion, cannot detect lead below its threshold reliably, and cannot distinguish a dead culture from a live one. Nitrates and bacteria are exactly the categories where people rely on strips and then get a false all-clear.
A few practical limits worth keeping in your head:
- Match the strip to the parameter. A strip listing four parameters cannot screen for twelve.
- Read the timing window exactly. Most strips are only valid inside a specific number of seconds after dipping, and every second past that window skews the color.
- Dry pads read wrong. Outdoor plumbing, a wet counter, or a sample that is above the strip’s temperature ceiling all produce colors the chart does not cover.
- Compare against printed reference colors in daylight, not under warm indoor bulbs.
- Treat every result as a range, never a number. Two pads from the same water can land on different steps of the same chart.
What strips are genuinely good for is trend watching and for catching an obvious change early. Run one every few months, note the color step on the same chart, and you will notice a shift long before anyone would describe the water as bad.
4. Order Tests from a Certified Laboratory
This is the step that produces an answer you can make decisions with. Look for a laboratory certified by your state health department, or nationally accredited for drinking water. The EPA recommends using an accredited lab, and state certifications are the mechanism most states actually enforce.
A routine panel for most private wells covers total coliform bacteria and E. coli, nitrate and nitrite, and a set of inorganic and organic contaminants. What belongs on yours depends on your geology, your land use, and your plumbing.
- Total coliform and E. coli are the baseline every well should have annually. Coliform indicates that a contamination pathway exists. E. coli is the one that means fecal contamination specifically, and it matters most for anyone with a compromised immune system.
- Nitrate and nitrite are the reason infants and pregnant people are singled out in every piece of public health guidance. The federal Maximum Contaminant Level is 10 mg/L expressed as nitrogen. Groundwater near agricultural land, septic systems, and fertilized fields is where it shows up.
- Lead and copper matter where plumbing is older than 1986 or where brass fittings and solder were used. Copper is mostly a fixture issue; lead tends to come from service lines and solder.
- Arsenic is a geological problem, not a plumbing one. It is common in groundwater across parts of the West, the Plains, and the upper Midwest, and it is entirely tasteless.
- PFAS are the emerging concern in areas near fire-training sites, airports with foam use, and certain industrial sites.
- Local contaminants deserve a place on the list if they are relevant: radon in granite areas, pesticides in agricultural regions, solvents or VOCs near industrial land, and manganese or iron where plumbing staining shows it.
How to find one: your state health department or environmental agency keeps a list of certified drinking-water laboratories and many publish it online. EPA maintains a database of accredited labs as well. Your county health department can usually point you at both. Some areas also run free or low-cost testing clinics, and cooperative extension offices sometimes host them.
One word about mailing samples. Mail-in kits are convenient and often cheaper than a local lab, and plenty of them use accredited laboratories. The trade-off is transit time and the stability of what you are measuring. A pH result from a sample that spent two days in a warm van is a number with a wide band of uncertainty around it. Follow the lab’s temperature and time instructions exactly, and if they cannot explain their holding time in writing, choose someone who can.
5. Interpret Results and Decide What to Do
A lab report is a table, and the useful part is the comparison column. Most reports print each result next to a Maximum Contaminant Level, which is the enforceable federal drinking-water limit for a regulated public system. Those limits are useful reference points for a private well, and they are the yardstick most people use.
Work through it in this order:
- Check for flagged results first. Anything marked exceedance, fail, or an asterisk deserves attention before anything else. Do not start with the aesthetic parameters; start with health-based ones.
- Understand what the number means for you. The MCL is a population-level threshold, not a guarantee of safety or a bright line between danger and fine. Your state may set stricter limits, and a result at 80 percent of the MCL is worth understanding rather than ignoring.
- Repeat anything unexpected. One unusual result may be a sampling or laboratory error. A second sample from the same point, collected the same way, separates a real problem from a one-off. If both come back the same, treat it as real.
- Look at the pattern across parameters. A rising trend in several metals usually points at the aquifer or the well construction, not at a single treatment failure. Hardness and pH together explain a lot of scale, staining and soap behavior that people mistake for contamination.
- Get help before you buy equipment. Treatment choice depends entirely on what you found. A softener does nothing for nitrate, and reverse osmosis does nothing for coliform. Call a certified water treatment professional or your local health department and describe the actual numbers.
If a result exceeds a health-based limit, the next step is not shopping. For coliform and E. coli, stop using the water for drinking and cooking, use an alternative source, and get a repeat sample and local guidance. For lead, the guidance depends on how high the result is and who is in the house. Take the report to a doctor for personal advice, and to your health department for what to do next.
Common Mistakes
- Testing the first water out of the tap. Water sitting overnight picks up whatever the fixture is made of. It is a legitimate protocol for lead, and a misleading one for everything else. Fix: run the tap until the temperature is steady unless the lab told you otherwise.
- Using an unverified strip. Pool strips, aquarium strips, and generic multipurpose strips are not drinking-water tests. Fix: check that the packaging states the parameters and the detection range.
- Touching the inside of the bottle or the cap. Your hands introduce bacteria into a sample that exists to count bacteria. Fix: hold the cap by its edges and set the bottle on a clean surface, not the counter.
- Reading a negative strip as proof of safety. A pad that shows nothing simply means the concentration is below what that pad can see. Fix: treat every home test as a screening pass, and order the lab test anyway.
- Treating a home test as a replacement for lab analysis. There is no home method that covers the contaminants people worry about most. Fix: use home tests to decide what to order, not to decide whether you are safe.
- Buying treatment before you have results. Money gets spent on the wrong technology for the wrong problem. Fix: have the panel in hand first, then match treatment to it.
- Skipping the annual bacteria test because the water tastes fine. Taste and odor are unreliable indicators, and this is the mistake with the highest consequences. Fix: test total coliform and nitrate every year, and add a test whenever something about the well changes.
Frequently Asked Questions
Can I test well water at home with a test strip?
Yes, for screening. Drinking-water test strips will give you a rough read on pH, hardness, alkalinity, and in some kits iron or manganese, which is useful for spotting trends. They cannot reliably detect bacteria, lead, arsenic, or nitrate, and a negative pad only means the level is below what the pad can see. Use strips to decide what to order from a lab, not to decide whether your water is safe.
What is the easiest way to test well water for bacteria?
Order a total coliform and E. coli panel from a certified laboratory. That means collecting a sterile sample bottle, following the tap-flushing and handling instructions, keeping it cold, and delivering it inside the lab’s holding time, which is often 24 hours or less. Home reagent kits marketed for bacteria exist, but they are the least reliable option and they are not the answer to a question about drinking safety.
How often should a private well owner test drinking water?
At least once a year for total coliform bacteria and nitrate. Add testing whenever something changes: flooding, well repairs, a new septic system nearby, new construction on the property, or any shift in taste, odor, or color. Metals such as lead, copper, arsenic, and manganese usually do not need annual testing if nothing about the plumbing or the land has changed. Your state health department may recommend a stricter schedule.
Does a clear or good-tasting well water sample mean it is safe?
No. Coliform bacteria, nitrate, arsenic, lead, and PFAS are all invisible and tasteless at the concentrations that matter. Clear water with a pleasant taste can sit well above a health-based limit, which is the reason private well testing exists at all. If you are waiting for a reason to test, the honest answer is that you will probably never get one from the water itself.
What contaminants should a home well test include?
For most wells, start with total coliform bacteria and E. coli, nitrate and nitrite, and lead and copper. Add arsenic and manganese where the geology is known to carry them, pesticides in agricultural areas, volatile organic compounds near industrial land, and PFAS near fire-training sites or certain airports. Radon matters in some granite regions. Your state health department can tell you which contaminants are most common in your county.
Who should interpret the results from a private well water test?
Start by comparing each result to the Maximum Contaminant Level printed on the report and noting anything flagged. For anything above a health-based limit, take the report to your local health department and, for lead or any health concern, to your doctor. A certified water treatment professional can match the right treatment to the numbers, but choose that person after you have results, not before.
If you do one thing this month, call your state health department and ask for the list of certified drinking-water laboratories near you, then book a total coliform and nitrate panel for this coming quarter. That is the test that catches what a strip never will, and everything else on this page is refinement around it.