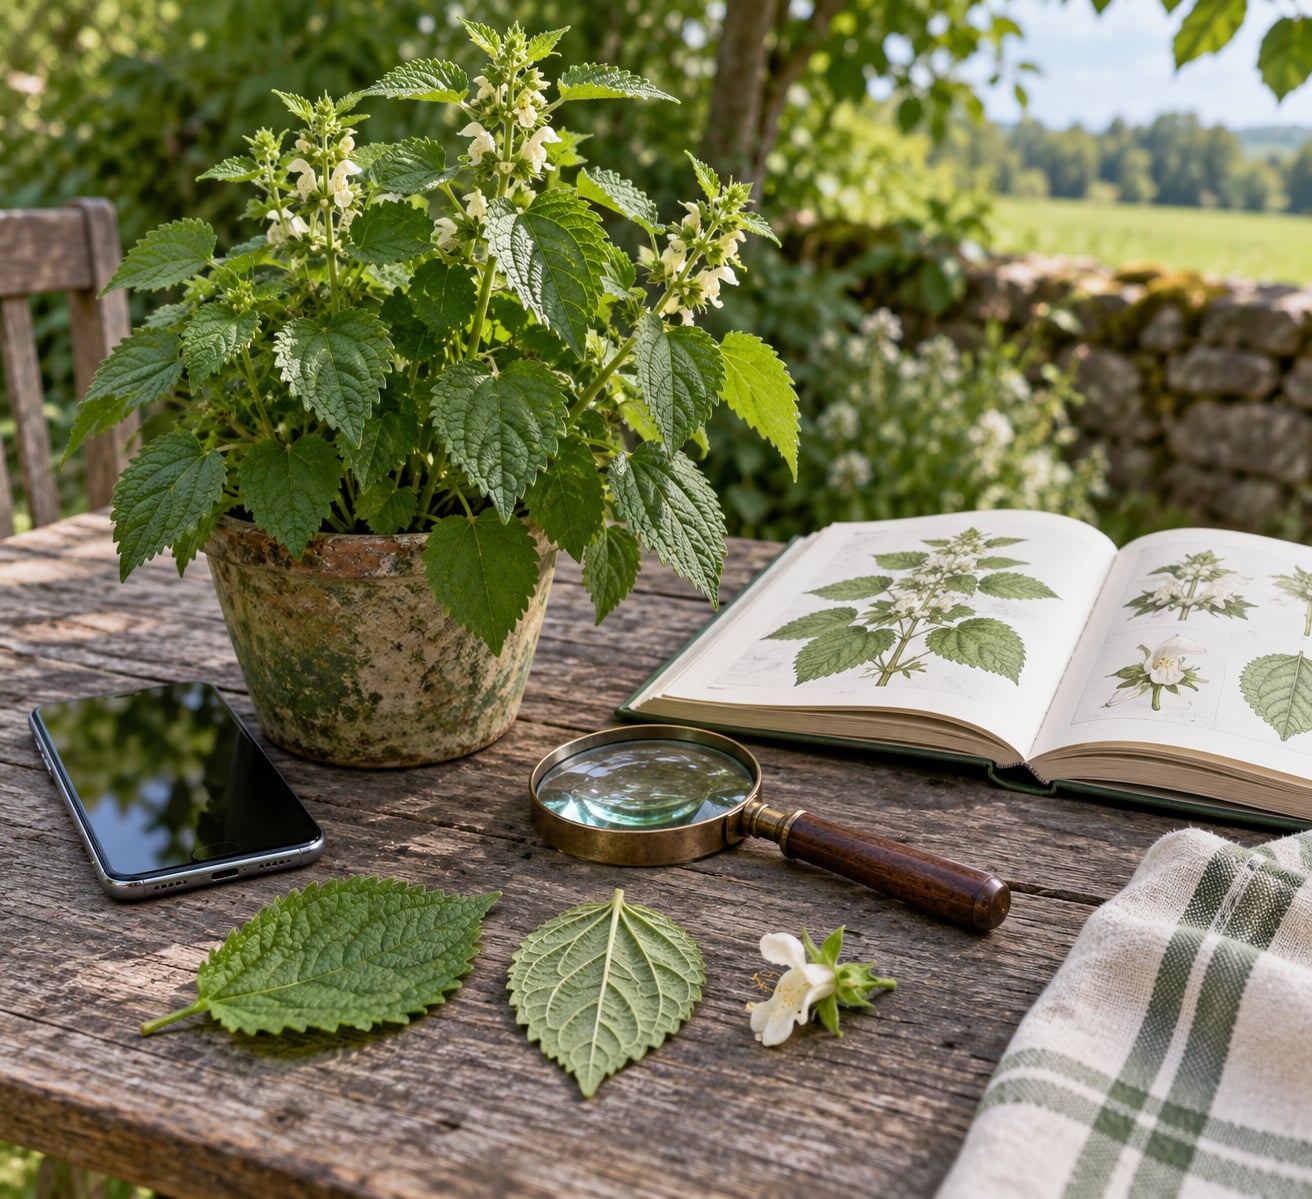
How to use a plant identification app accurately comes down to two habits: photographing the diagnostic parts of the plant in even light, and treating the answer you get back as a hypothesis rather than a verdict. The model only sees what is in your photo, so a blurry frame of a whole shrub tells it almost nothing useful. Give it the leaf arrangement, the leaf edge, the stem attachment, the flowers if there are any, plus your location and date, and the accuracy of your plant identification app improves more than any app swap will.
This is a field process. It takes about ten minutes for the first plant of a session and about three for each one after that, and it needs nothing more difficult than a phone and a clear view of the plant.
One thing to say plainly before we start: no app should be the last step before you eat a wild plant, brew it as a tea, or decide it is safe around a child or a dog. Identification and safety are separate questions, and only a qualified local expert can answer the second one reliably.
Table of Contents
- What You Need
- Step-by-Step
- Common Mistakes
- Frequently Asked Questions
- How accurate are plant identification apps?
- Why does a plant identification app return several possible species?
- Should I turn on location access when identifying a plant?
- Can I use a plant identification app to identify a poisonous plant?
- When should I ask a botanist or other plant expert?
- How can I tell whether an app’s suggested species is correct?
- Conclusion: Verify Before You Record
What You Need
You need a smartphone with a current plant identification app, and you need light that is bright and even. Overcast daylight outdoors is the best light most people will ever get. Direct midday sun creates hard shadows that hide venation and leaf margins.
You also need an unobstructed view of the whole plant, including how it sits in the ground or on a stem. Most first attempts fail because the photographer frames a single leaf at arm’s length and the model has no idea whether the plant is a groundcover, a vine, or a sapling.
Useful extras, none of them essential:
- A pair of gloves, so you can turn a leaf over without damaging the plant or your hands.
- A small ruler or a coin, to sit beside a leaf or flower as a scale reference.
- A regional field guide in print, so it still works with no signal.
- A regional flora or a county or university extension service, for the second opinion later.
- A notebook or your phone’s notes app, for the record step at the end.
One caveat about the app itself. Menus, camera controls, and identification features differ by app, by version, by phone, and by region, so exact button labels vary. Look for the equivalent of a capture or camera control, a location setting, and an observation or history entry in your chosen app, and use whatever your version exposes.
Step-by-Step
The workflow runs in nine steps. Steps 1 to 4 are about the photo, steps 5 and 6 are about reading what comes back, steps 7 and 8 are about checking it against an outside source, and step 9 is about recording what you actually know.
- Frame the whole plant first, in context, before you move in close.
- Photograph each diagnostic part separately, in the same light.
- Submit two or three images, not one, if the app accepts a set.
- Set the location and date before you submit, if the app asks.
- Read the result as ranked suggestions, not as a single verdict.
- Note the scientific name, not just the common name.
- Compare the suggestion against two reliable regional sources.
- Name the specific feature that matches or contradicts the suggestion.
- Record the observation with its confidence level and its rivals.
How to Use a Plant Identification App Accurately: Capture Diagnostic Features
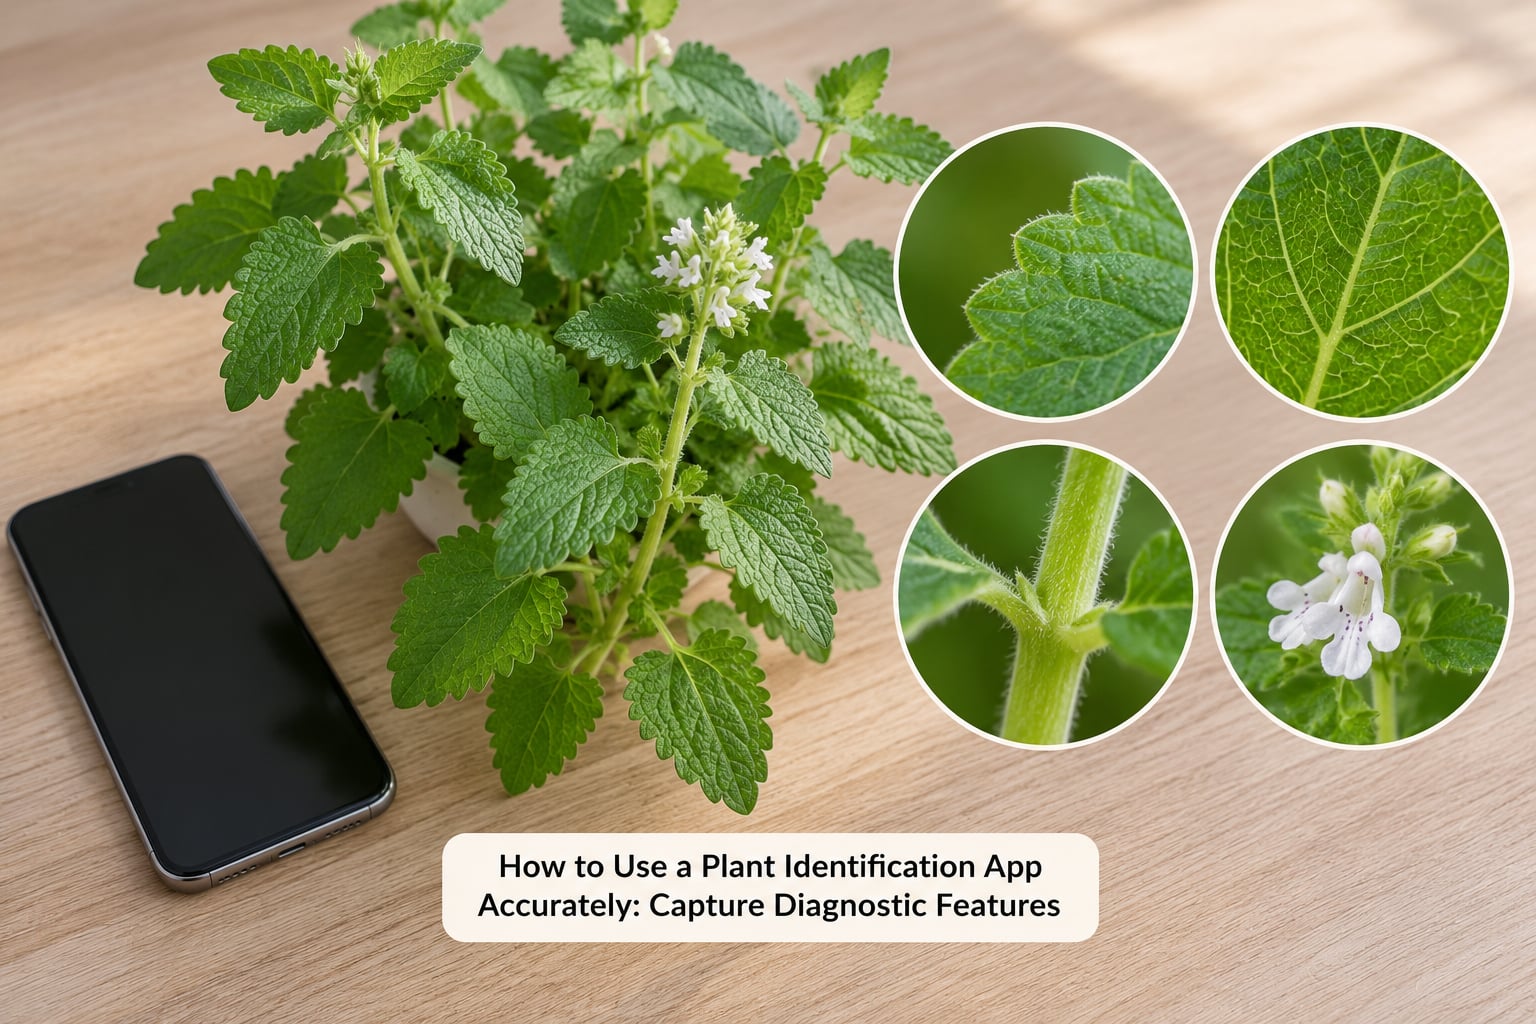
Start wide, then work inward. A whole-plant shot tells the model the growth habit, and everything after that narrows it down.
The close work is where accuracy is won or lost:
- Leaf arrangement — whether leaves sit opposite each other on the stem or alternate one per node. This single feature splits a huge number of species apart, and it is invisible if you photograph a detached leaf.
- Both leaf surfaces — the upper surface and the underside, where hairs, glands, colour change and vein relief often sit.
- Leaf margin — toothed, lobed, smooth, spiny or curled. Photograph the edge square-on with light passing through the leaf if you can.
- Venation — hold the leaf flat to the light or use your phone’s light behind it. Parallel, netted, pinnate and palmate patterns each rule out different groups.
- Stem and bark — the stem where the leaf attaches, plus a sample of bark on a tree. Include the node, not just a length of twig.
- Buds, flowers, fruit or seeds — a flower with petals, stamens and ovary visible beats a closed bud. Never dig up roots to look at them; if roots are already exposed in an eroded bank, photograph them in place.
Keep the background simple. Hold a plain sheet of paper or a light-coloured card behind the part you are photographing, or put the phone on the ground pointing up and lay the specimen over it. Background clutter is the second most common reason a good plant gets a bad answer.
Read the Result Critically
A result that lists several species is more useful to you than one that gives a single confident name, even though it feels less satisfying. A ranked list means the model knows it is uncertain. One confident answer means you cannot tell whether it is certain or guessing, and that is the dangerous outcome.
Experienced users on the iNaturalist community forums have long used a habit sometimes called the two-app rule: run iNaturalist’s identification model, and when it declines to commit, run Google Lens or PlantNet alongside it. A third check against a paper field guide usually settles it.
Read the names properly. Common names are ambiguous — the same English name covers several species in different regions, and one species carries different names in different countries. The binomial scientific name is the only identifier that means the same thing everywhere. If the app gives you only a common name, look the genus up yourself.
Check the range information too. A species the app proposes that does not occur in your region is probably wrong, however confident the app sounded.
On accuracy figures, take published tests at face value only when you know how they were done, and notice that they disagree. A test of 234 known images across roughly 80 species, published in May 2024, graded answers as correct, partially correct, or incorrect; PictureThis came out 78% correct and PlantNet 68%, while iNaturalist scored 39% correct but added 41% partially correct because it declines to commit when it is unsure. A peer-reviewed comparison found even the best-performing apps short of 90%, with per-species rates ranging from 23% to 85%. A California Native Plant Society comparison, shared on the iNaturalist forum, reportedly ranked iNaturalist at the top and Seek at the bottom — close to the opposite of the first result. A bushcraft forum thread reports accuracy as low as 4% in specific cases and advises starting with trees.
None of these figures is a promise about your plant. What they tell you is that accuracy varies by region, by plant group, and by how the test was scored, which is exactly why you verify.
Verify the Match in the Field
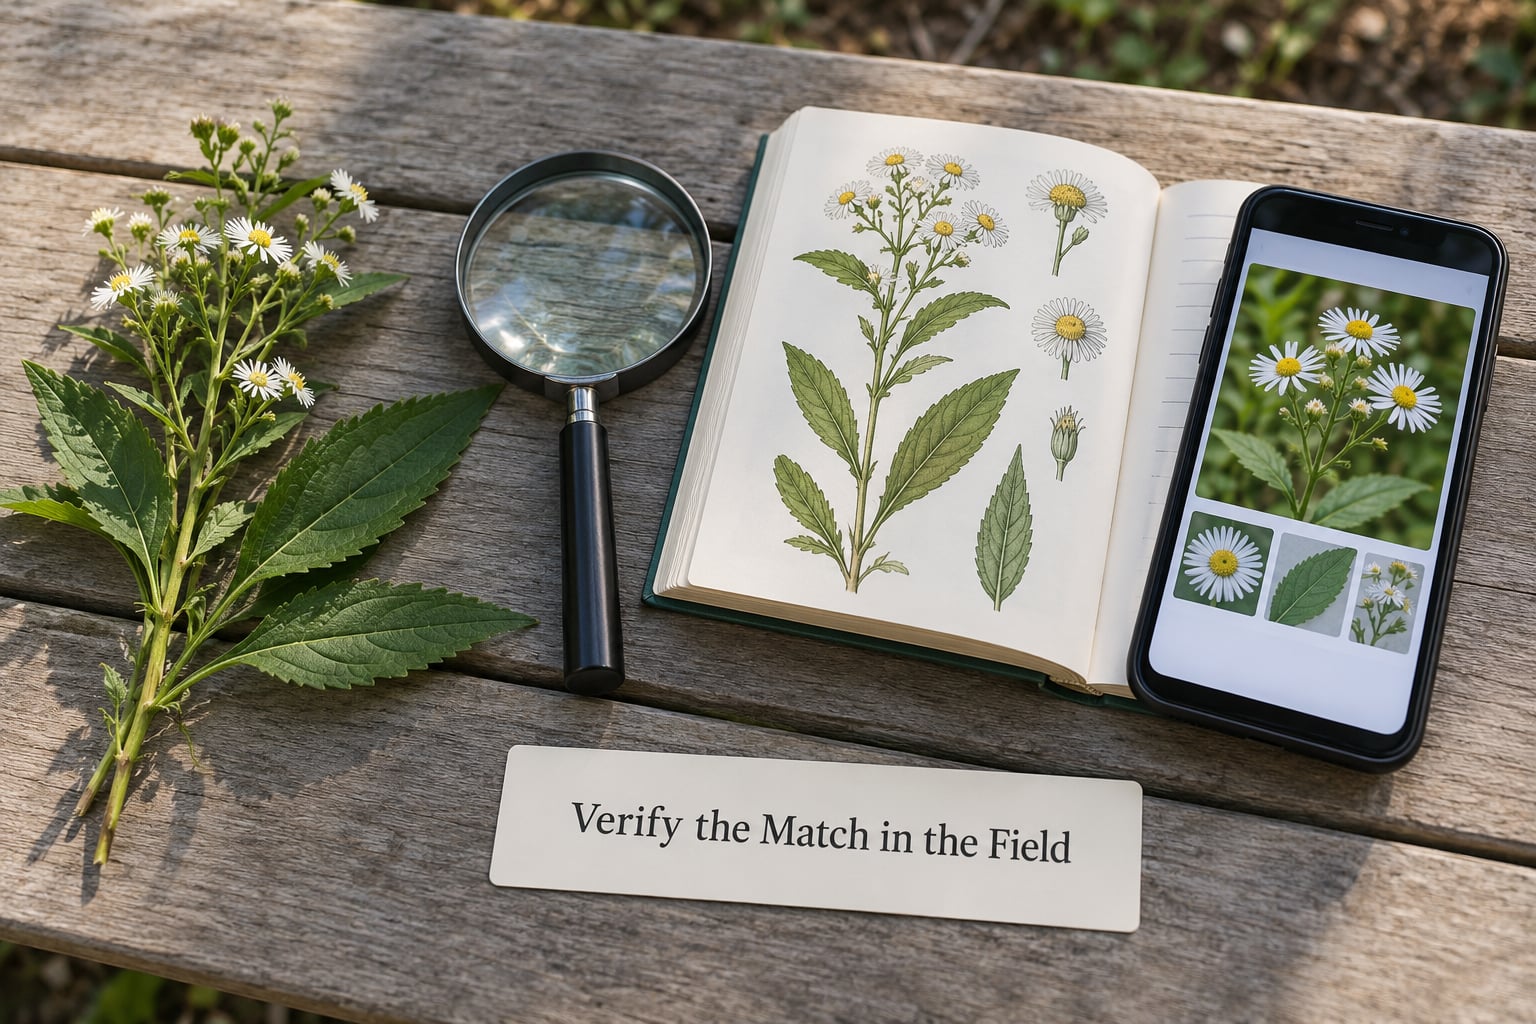
Check the proposed identification against at least two reliable sources that are independent of your phone. A regional field guide for your area is the obvious first, because it was written by people who know your plants. A local flora, a dichotomous key, or your county or university extension service are stronger still, and free.
Work feature by feature rather than by overall impression:
- Leaf arrangement and node spacing.
- Leaf margin and leaf shape, at full size and not just in silhouette.
- Venation on both surfaces.
- Bark texture and branching pattern on woody plants.
- Flower structure — number of petals, stamens, and whether the flower is arranged in a head, a spike, or an umbel.
- Fruit and seed form, where present.
- Habitat: dry ground, wet ground, woodland edge, roadside, wall base, inland water margin.
- Geographic range against where you actually are.
If the sources disagree, name the specific feature that decides it. “The leaves are opposite, the guide says alternate” is a diagnosis. “It doesn’t look like the picture in the app” is not, because the app’s photo may show a different specimen entirely.
If nothing matches, take that seriously as an answer rather than as a failure. A no-match result usually means the species is missing from the reference database for your region, which is a different problem from the plant being unidentifiable. Try another angle — flowers instead of leaves, or the bark of the trunk — and if it still fails, ask.
Record the Observation and Its Limits
Write the observation down while you still remember it. A short record contains: date, location, habitat, the plant’s stage (seedling, vegetative, budding, flowering, fruiting), the features you actually saw, the source you checked, how confident you are, and the other species you are still weighing.
Mark a verification level honestly in your own notes. Something like three tiers works well: verified, meaning two reliable sources agree on the species; probable, meaning one source agrees and nothing contradicts it; and tentative, meaning the app suggested it and you have no independent check.
Plan the recheck. Many plants are far easier to identify once they flower, and a tentative identification of a bare sapling in winter is normal rather than failed. Come back after flowering or fruiting, or after leafing out, and settle it then.
If you use a community-science app such as iNaturalist, submit the full set of images with the location and date filled in. Other observers and local identifiers review submissions, and a community-confirmed identification is the strongest result you can get from a phone. Getting a research-grade observation takes good images, accurate location, and an ID agreement among enough identifiers, so it rewards the same photo discipline described above.
Common Mistakes
Every one of these has a straightforward correction.
- Photographing one leaf up close and nothing else. Correction: take the whole-plant shot first, then the close-ups.
- Working too close. A leaf filling the frame loses its attachment to the stem. Correction: back off until you can see the leaf, its petiole, and the stem it comes from.
- Blurry shots. Usually movement rather than poor light. Correction: brace your elbows, tap the screen to focus on the part, and take three frames to pick from.
- Dim or harsh light. Correction: overcast daylight, or shade in bright sun. Avoid light straight from a lamp at night.
- Mixed subjects in frame. Two plants in one photo means the model must guess which one you meant. Correction: one specimen per photo, and photograph the neighbour separately if you want its ID too.
- Wrong plant part uploaded from your gallery. Picking the wrong image from the camera roll is a common error on houseplants with several problems. Correction: photograph the current state, not an older picture.
- Location switched off. Without coordinates the model loses the range filter entirely. Correction: allow location for the identification session, and check that it is actually on.
- Judging by a single result. Correction: run a second app, or add the observation to a community app for review.
- Confusing common and scientific names. Correction: record the binomial and verify that name.
- Relying on habitat alone. Plenty of species grow in the same place. Correction: use habitat as a filter after the features, never as the sole evidence.
- Ignoring season and stage. A flowering stem and a fruiting one can point to different species groups. Correction: date the record and note the stage.
- Stripping leaves or digging plants up for a better photo. Correction: photograph in place, use a mirror or a zoom, and leave the plant intact. Wild plants should not be transplanted either.
Two more tips. If you are photographing something fungal, remember that plant apps are not built for mushrooms and most will not give you a usable answer — mushrooms need a different process and their own safety rules. And think about where your photos go: an identification session uploads your images to a third-party server and often stores your location alongside them. Use your location only when range information helps, and avoid photographing private property, house numbers, or other people’s faces if you plan to upload.
Frequently Asked Questions
How accurate are plant identification apps?
Accuracy depends on the plant group, your region and how the test was scored. A published 234-image test from May 2024 graded PictureThis at 78% correct and PlantNet at 68%, while iNaturalist scored 39% correct plus 41% partially correct because it withholds answers when unsure. A peer-reviewed comparison found even the best apps short of 90%, with per-species rates from 23% to 85%. Treat any percentage as context, not a guarantee.
Why does a plant identification app return several possible species?
A list usually means the model is genuinely uncertain, which is a more honest result than one confident name. Several candidates often means the image lacked a diagnostic feature, such as flowers, or that several species in the genus look nearly identical without close detail. Take another photo of the part the app seems to want, submit it alongside the first, and compare the two runs.
Should I turn on location access when identifying a plant?
Yes, for most wild plants. Location filters the reference database to species that actually occur where you are, and it removes suggestions that would never grow there. Check that the setting is really on before you submit, because a photo taken with location disabled often comes back with a broad list of look-alikes from other continents. You can switch it off again once the identification is confirmed.
Can I use a plant identification app to identify a poisonous plant?
Not on its own. Apps identify species reasonably well in common cases and poorly in exactly the cases that matter most, where a toxic species resembles a harmless one. If there is any chance of contact or ingestion, treat the plant as unidentified until a qualified local expert, a poison control service, or a vet has looked at it. Photograph the plant without handling it and keep children and animals away in the meantime.
When should I ask a botanist or other plant expert?
Ask when the answer affects something you cannot undo: eating, medicinal use, touching, feeding to animals, or removing an invasive species. Ask also when two reliable sources disagree, when the plant is rare or protected where you are, or when an identification would be recorded publicly as citizen science. Your local botanical garden, county extension service or a regional flora is usually the fastest route to a human who can confirm it.
How can I tell whether an app’s suggested species is correct?
Compare the suggestion with the plant in front of you feature by feature, not by overall impression. Check leaf arrangement, leaf margin, venation, stem and bark, flower structure, habitat and geographic range against the app’s own text and photos. Then confirm the scientific name against a regional field guide or local flora. If any single diagnostic feature contradicts the suggestion, treat the identification as unconfirmed.
Conclusion: Verify Before You Record
To use a plant identification app accurately, photograph the whole plant in good even light first, then add close views of the parts that separate species: leaf arrangement and attachment, both leaf surfaces, venation, the stem node, and any flowers, fruit or seed. Read the result as a ranked suggestion rather than a verdict, confirm the scientific name against a regional field guide or local flora, and record how certain you actually are.
Start with the wide shot. Everything else depends on it.